Objective: In this video and/or step by step walkthrough, you’ll learn about mapping quantities via manual shape selection on an individual page in The EDGE
Project Conditions Pane
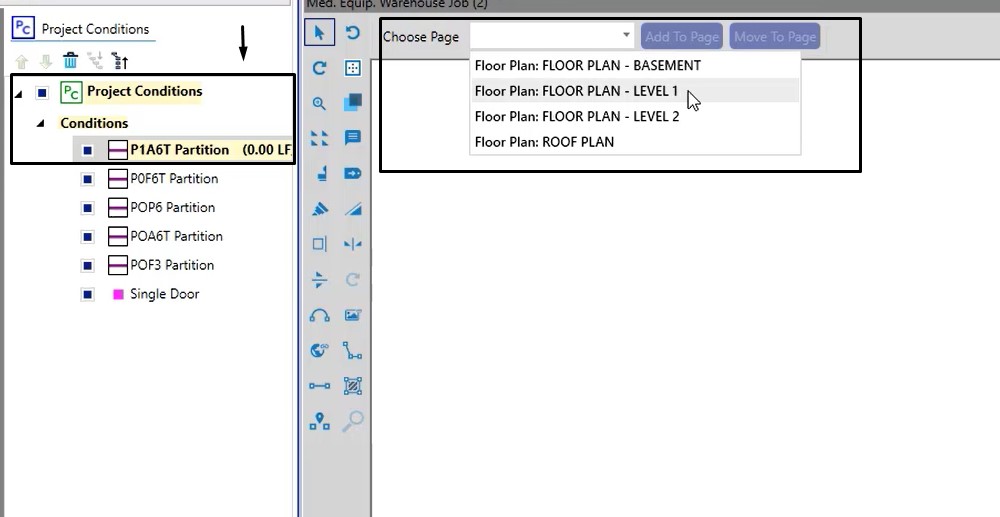
We start from The Edge Version 12 Takeoff Screen, in the Project Conditions pane
For this example:
- Left click on the condition you would like to start mapping quantities for; in this case we are using P1A6T Partition
- In the middle pane, left click on the Choose Page dropdown
- Left click on Floor Plan – Level 1
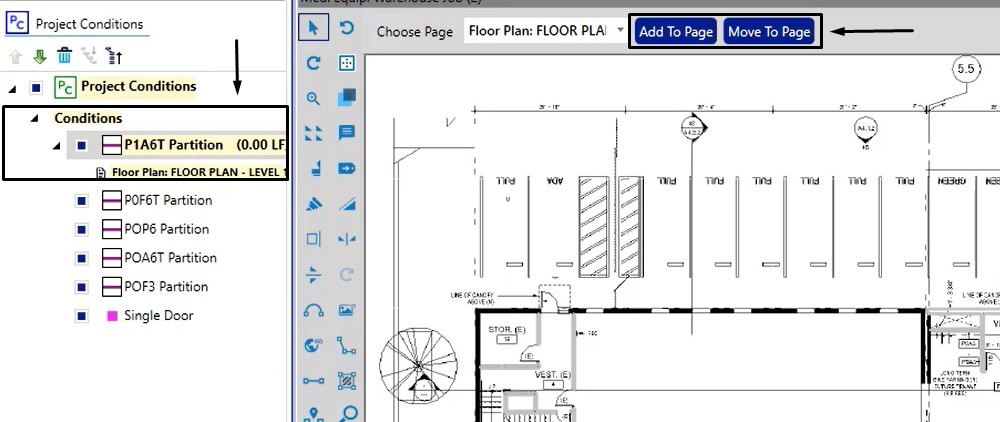
Manual Selections – Option 1
- Left click on the Condition again
- Left click Add to Page button
- Left click Move to Page
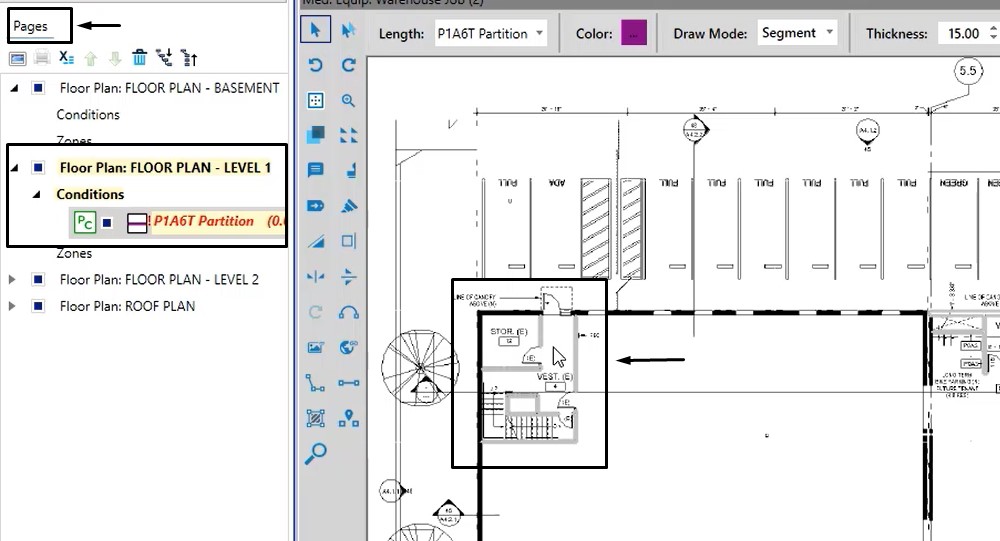
Manual Selections – Option 2
- Left click on the Pages pane
- Manually left click the Condition inside of the Level 1 Floor Plan
Now, all Revit Elements appear grey
Select a Shape
Left click on the node labeled Conditions and the shapes will now appear green
- To select a shape, click on it and it will appear blue (selected)
- Left click somewhere else in the background to undo your selection
You can also left click, hold and drag to select any shapes within that selection (please see video for demonstration)

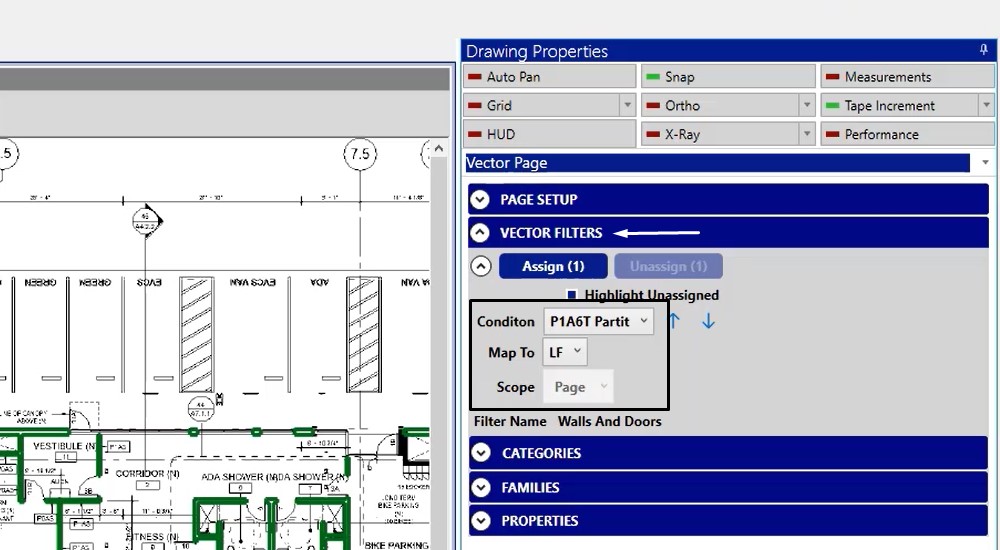
VECTOR Filters
Focusing on the VECTOR Page tools, VECTOR Filters section note:
Condition:
Left click and select the condition from this page that you would like to map quantity to
Map To:
Based on the condition type, this field will display choices
Scope:
The dropdown is greyed out at the Page level
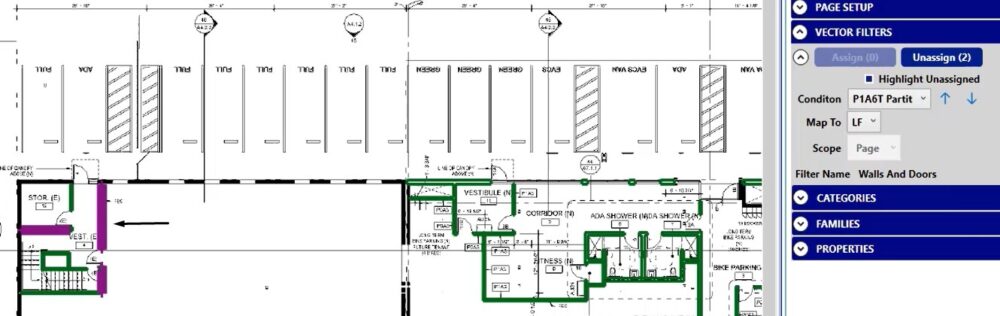
Assign
You can now click on an individual shape to select it and the assign button will become highlighted with a number in parenthesis indicating how many shapes were selected.
By selecting additional shapes, the Assign number will change accordingly
For this example, (2) shapes are selected so the number by Assign has also been updated to (2)
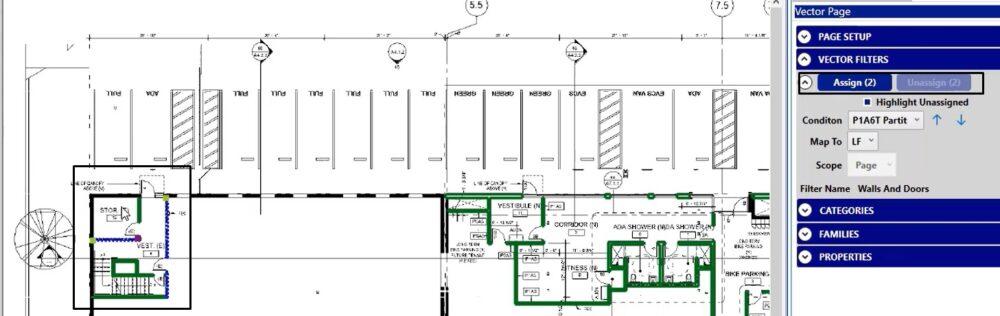
Left click on the Assign button and the quantities for those two Revit elements will then be mapped to the selected condition
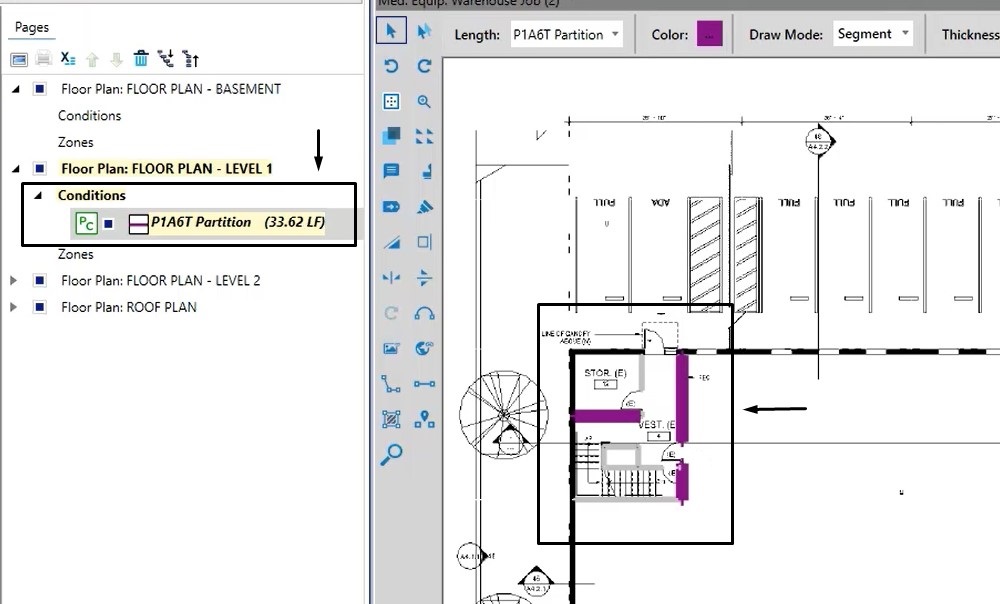
Lineal Footage
In the calculations table in the bottom right hand corner, the Lineal Footage (LF) has been updated
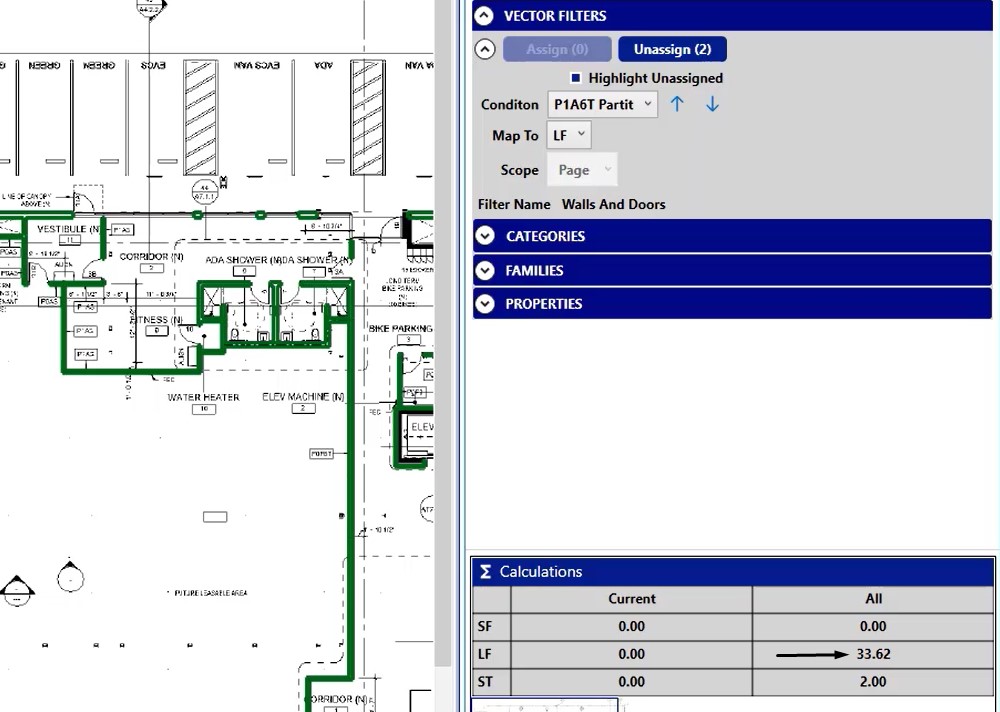
If you left click on the name of the condition, the Lineal Footage will be displayed there as well
The Revit elements have changed color to indicate they have now been mapped to a condition
Without Project Conditions
Let’s take a look at how this would work if we did not use project conditions
For this example, we will focus on Floor Plan – Level 2, where we see a condition has been added in the normal fashion (Partition)
There is no PC label to indicate this is a project condition
- Left click on the Conditions tab to select
- Input your Condition & Map To drop down
- Select your shapes
- Left click the Assign Button to map the quantities
