Objective: In this video and/or step by step walkthrough, you’ll learn how to delete a filter set
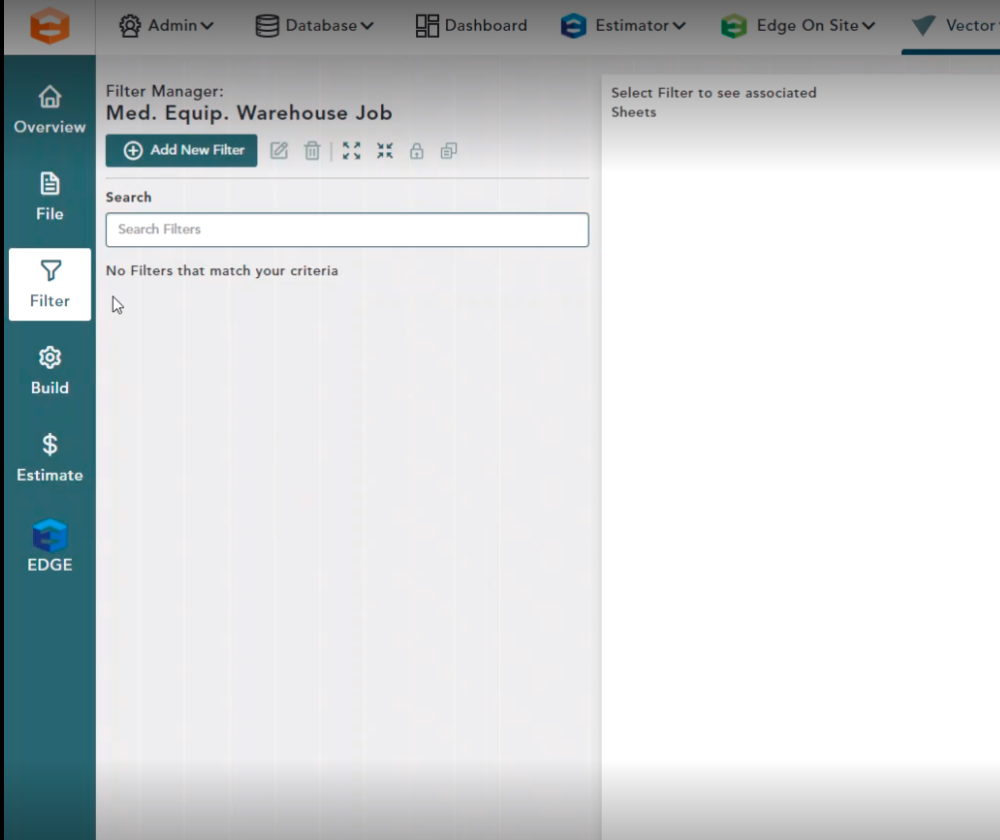
Access Filter Manager Screen
Login to the Administrative Portal of the VECTOR Application
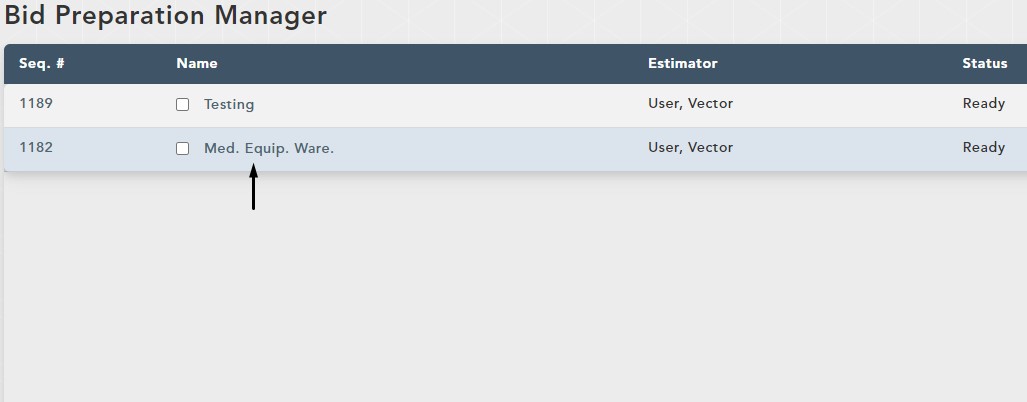
Click on the VECTOR drop-down and click Bid Preparation Manager
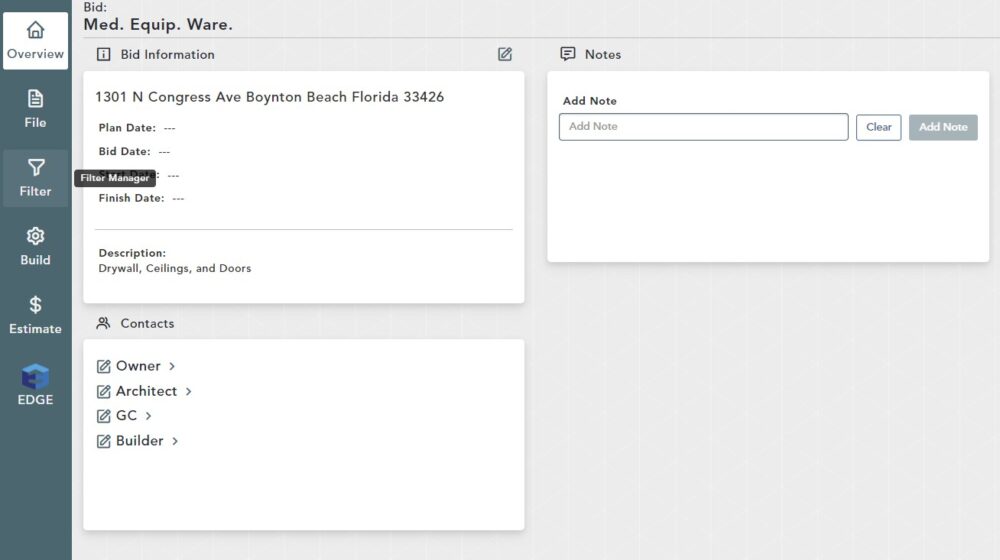
Click on the Bid you would like to work on
Click Filter
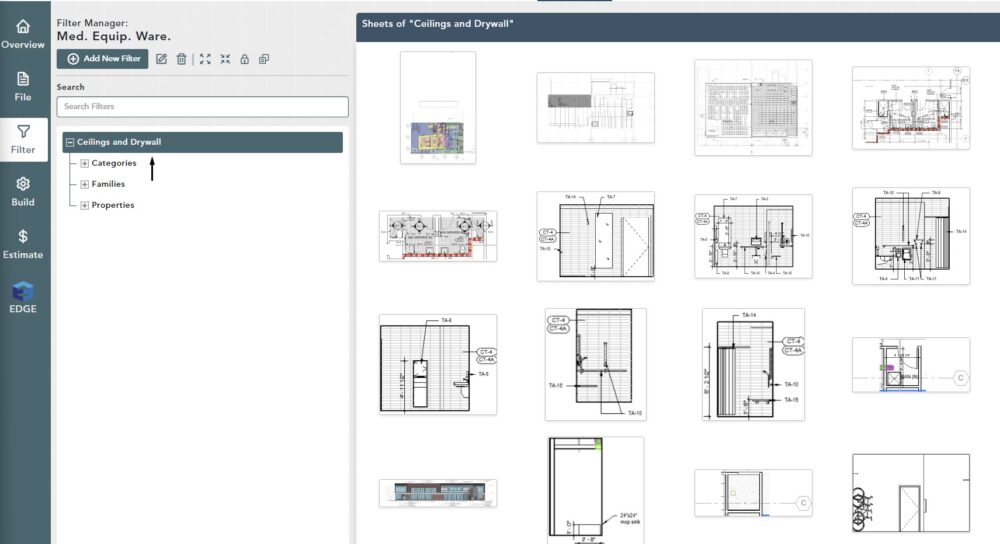
Choose the Filter to Edit
Select the level you would like to edit
Any filter set being used by a scenario that was previously exported to the Edge Estimator cannot be deleted.
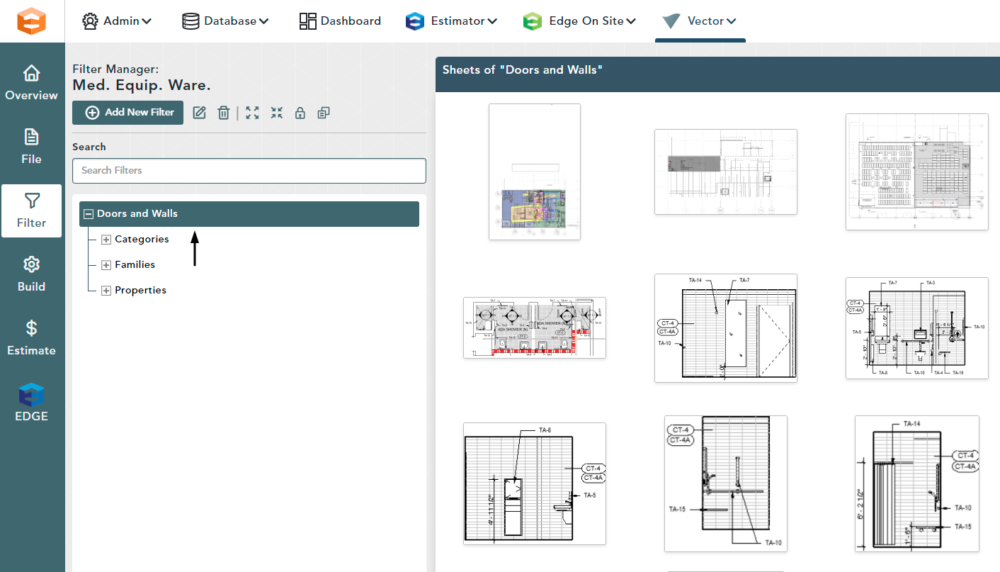
Select the Filter Set
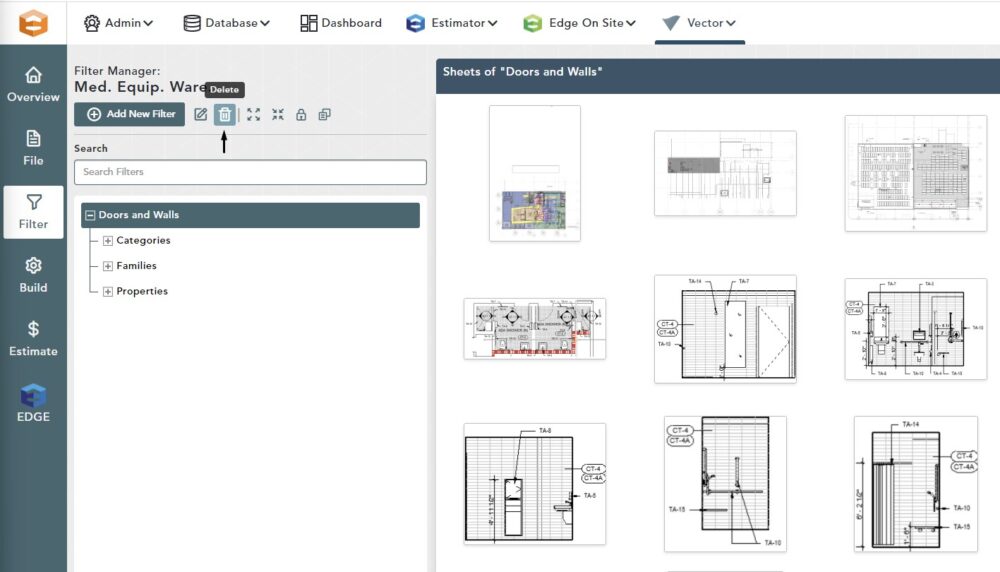
Click on the header of the Filter Set you would like to delete to select it
Click the Trash Can icon
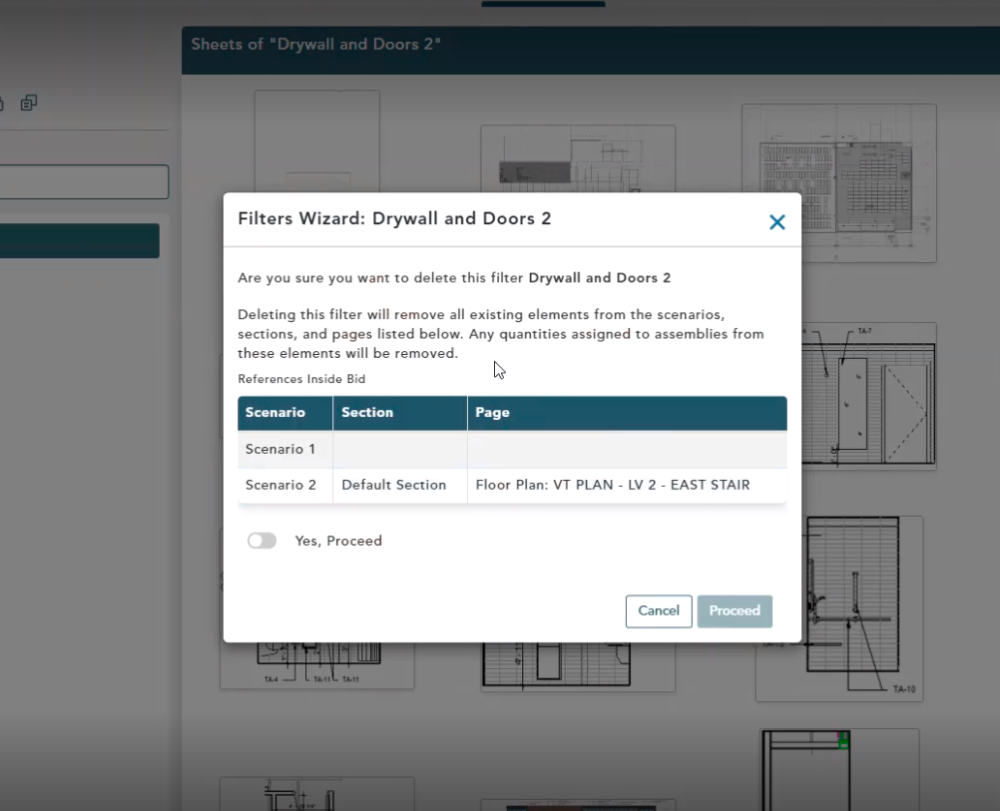
A pop up message will appear for you to confirm the deletion of the filter set
Confirm the Deletion
Click Proceed to delete the filter set
You may also click Cancel or the X in window if you do not want to proceed

Once you click proceed to confirm, your filter set will be deleted. Note: This can not be undone so be sure you want to delete before moving forward.
Delete a Filter Set that is Being Used
Click the header of the Filter Set you would like to delete
Click the Trash Can icon
Click Proceed
A pop up will appear that warns that deleting this Filter Set will remove all REVIT elements that are being used in this scenario as well as any quantities assigned to assemblies.
You will also be provided a list of where this Filter Set is being used.
Scenario 1:
Since this scenario is blank, that indicates that every section and page in this scenario is utilizing this filter set
Scenario 2:
Shows that only one specific section is utilizing this filter set
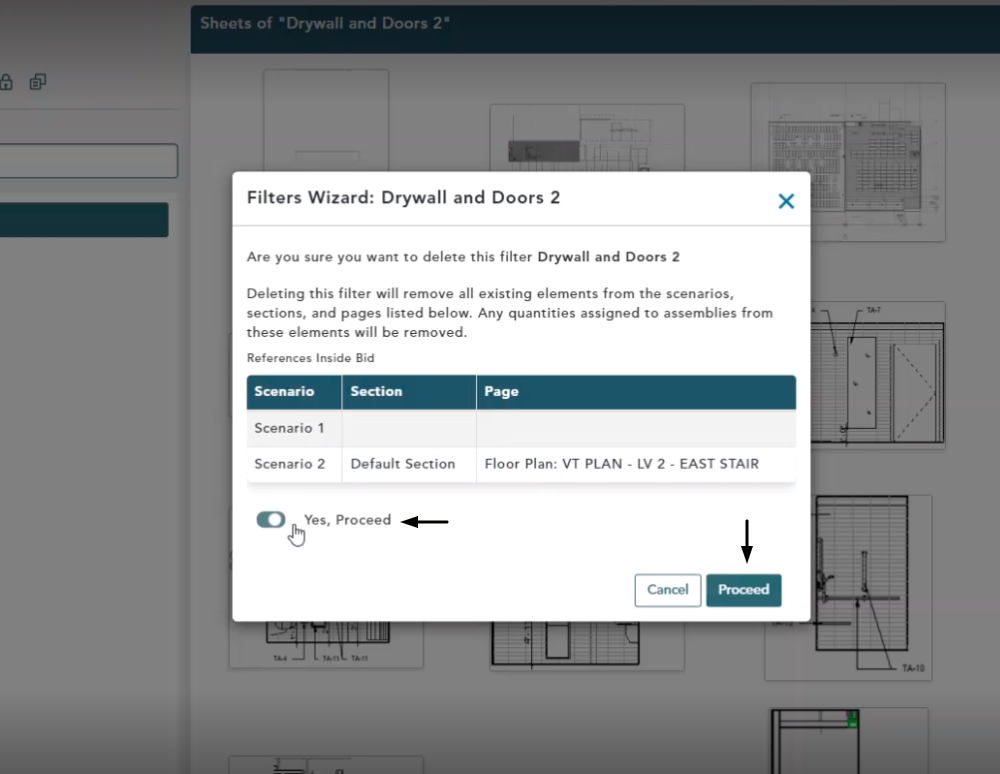
Click the toggle button next to Yes, Proceed
Then click the Proceed button
Confirm Delete
On the Filter Manager window you will now see your Filter Set has been deleted