Objective: In this video and/or step by step walkthrough, you’ll learn how to view asset text and annotate files for an uploaded file
Access File Manager Screen
Login to the Administrative Portal of the Vector Application
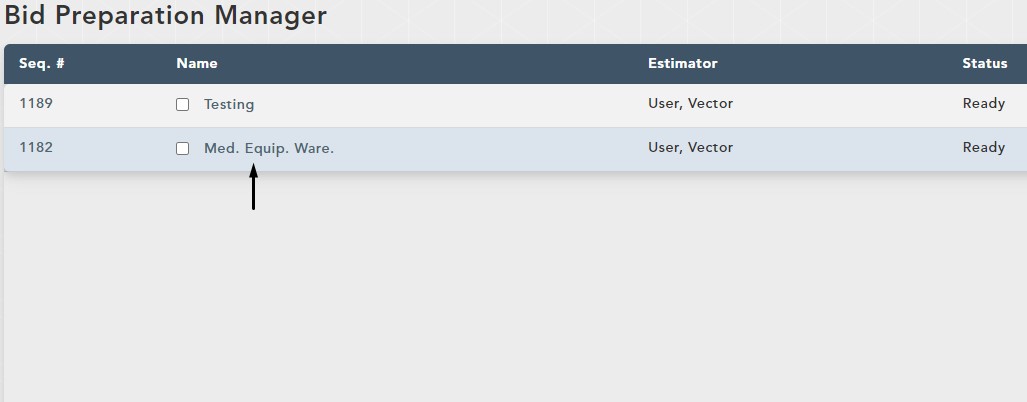
Click on the VECTOR drop-down and click Bid Preparation Manager
Click on the Bid you would like to work on
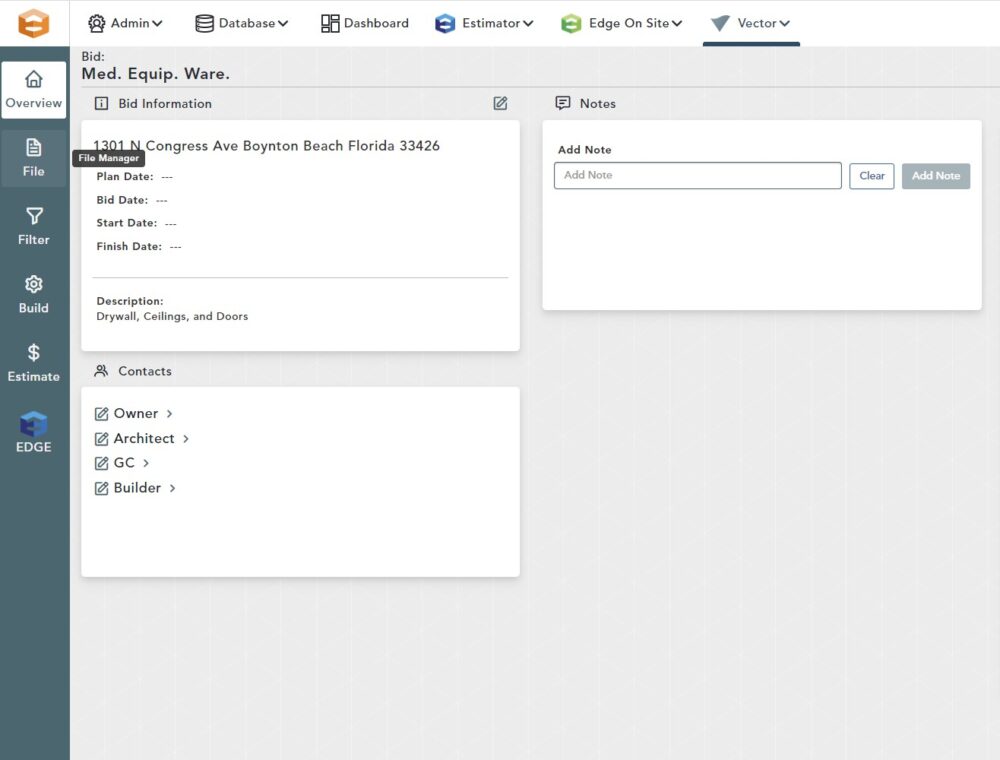
Click the File Manager button
View Asset Text Document
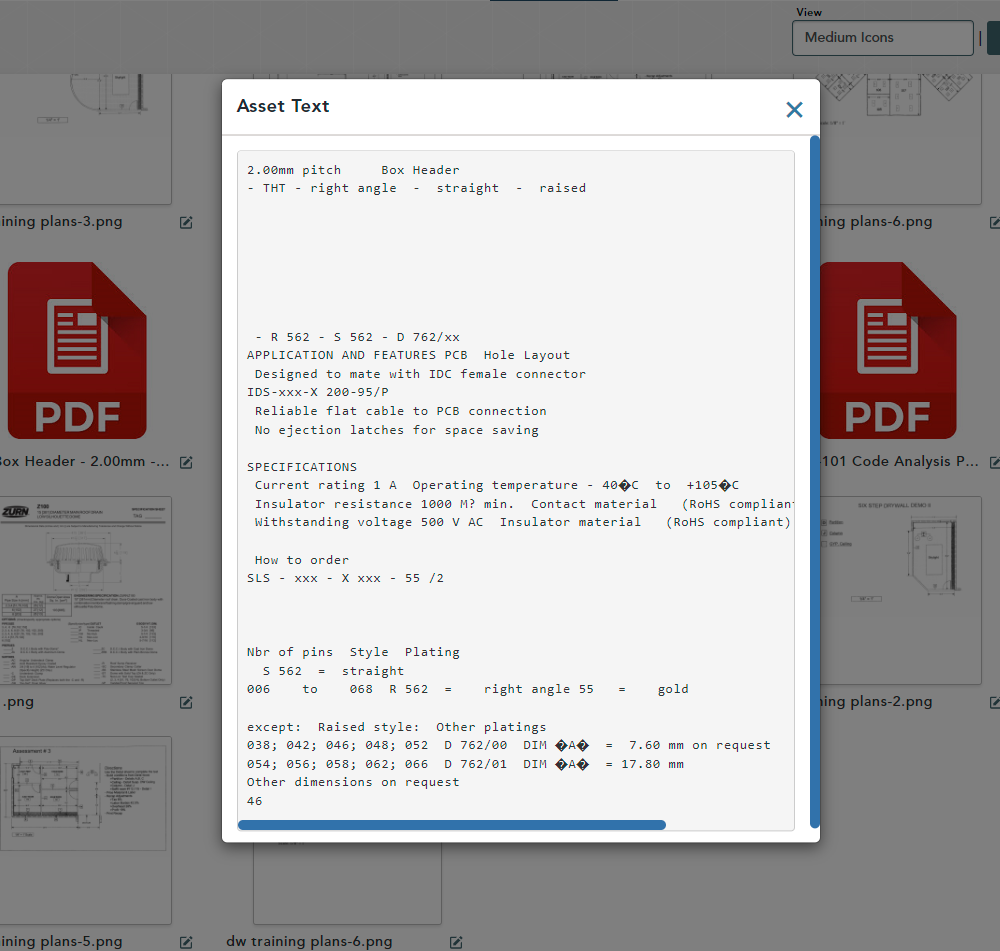
Hover over an uploaded file that includes Text; represented with a “T” icon
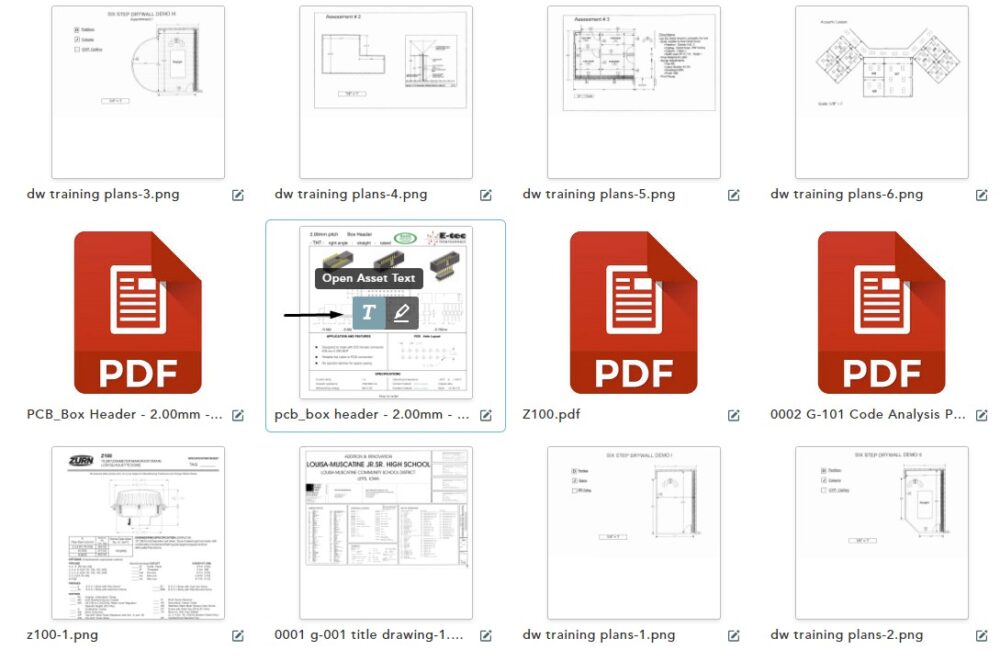
Click the Open Asset Text button to view the text included within the file
Use the scroll bar on the right-hand side or bottom to view additional information within the file
Annotate a File – Option 1
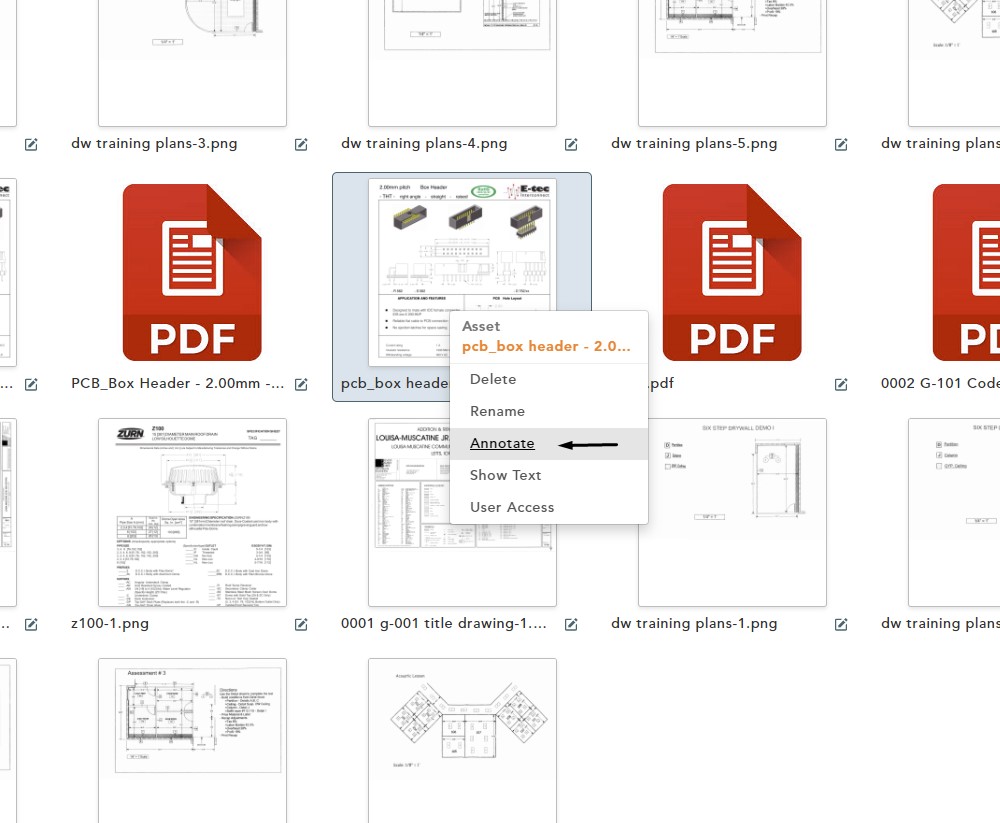
Hover over a file, then right click
Click Annotate
Annotate a File – Option 2
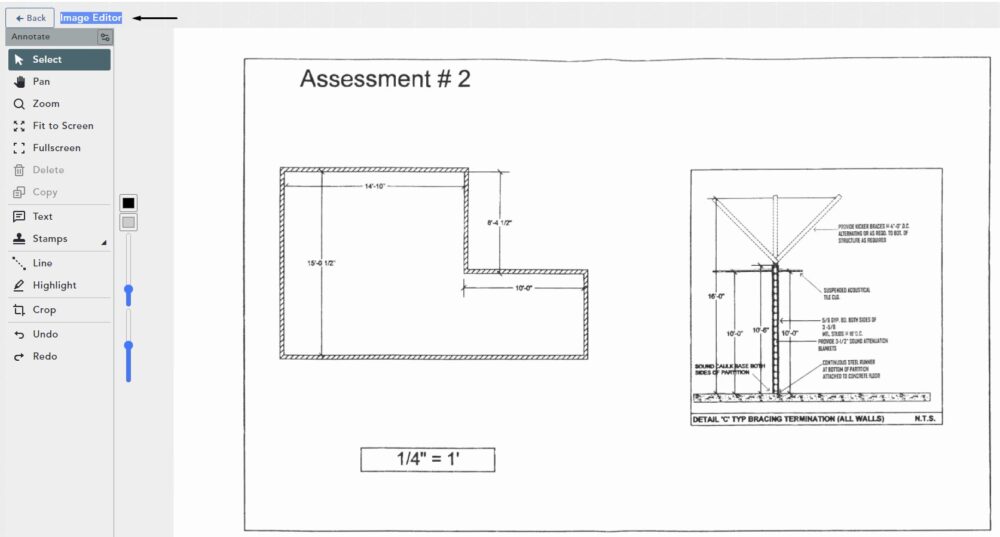
Click the Open in Image Annotator button

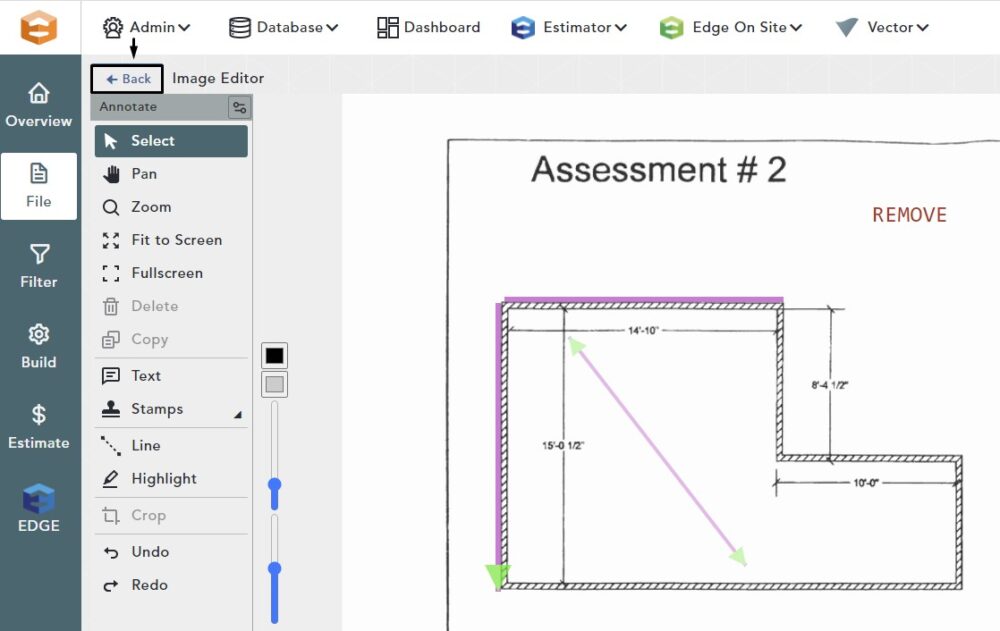
Either option will take you into the Image Editor for the selected file
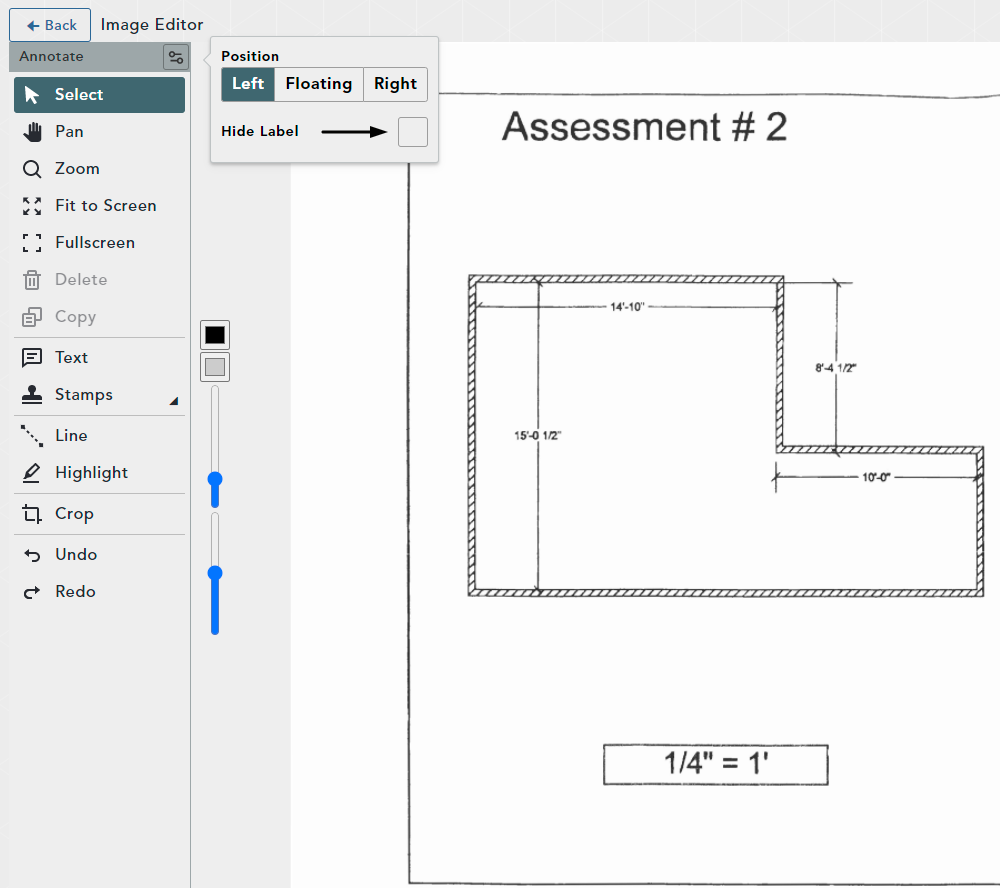
Docking the Toolbar
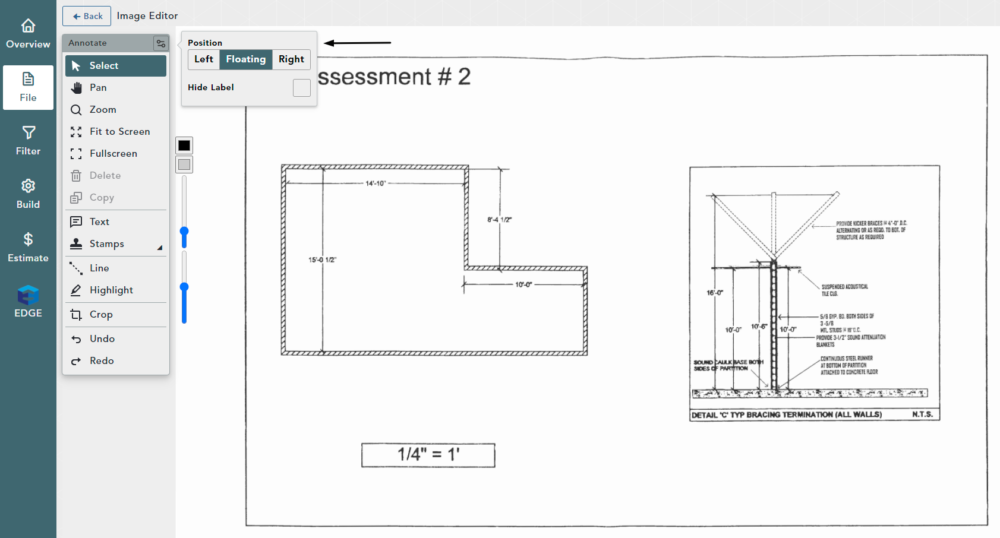
Click the settings button to the right of Annotate
You may choose to dock (or move) your toolbar to the Left or Right side of your screen
If you click the Floating option, you will have the ability to click and drag your toolbar anywhere on the page
Hide Label
Click the Hide Label button and the toolbar text will no longer be visible
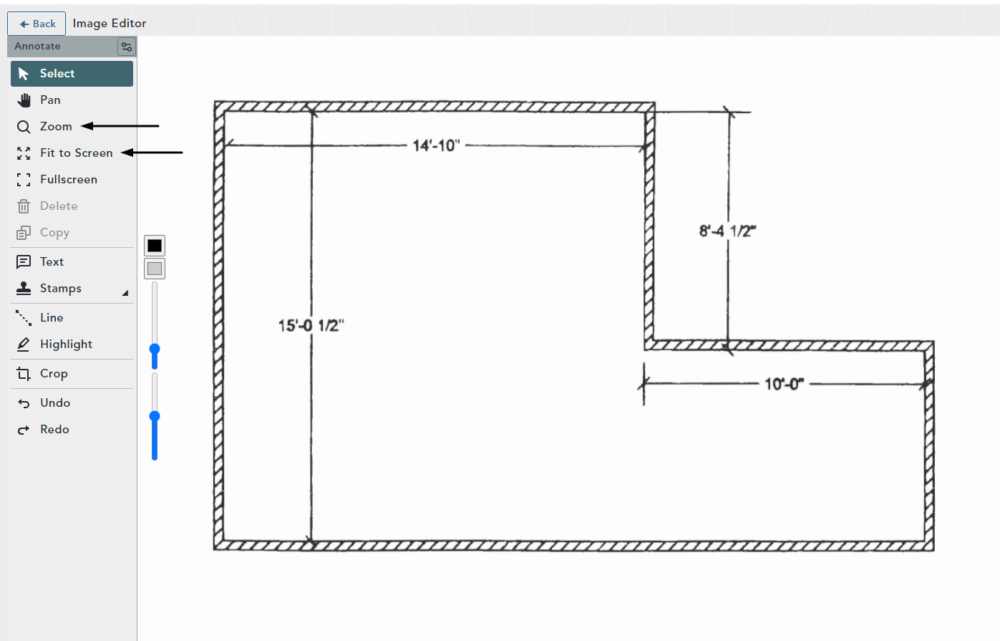
Zoom In on Image
Option 1:
Hover your mouse over the area of the image you would like to zoom
Scroll your mouse wheel forward to zoom in, backwards to zoom out
Option 2:
Click the Zoom button on the toolbar
Left click and drag over the perimeter of the area of the image you would like to zoom
Click Fit to Screen on your toolbar to return to the default zoom setting
Pan Your Image
Option 1:
While zoomed in, click and hold mouse scroll wheel and drag to pan in any direction
Release your left mouse button and you will be returned to the select mode
Option 2:
Click on the Pan button on the toolbar
Your cursor will turn into a hand and allow to left click, hold and drag to pan in any direction
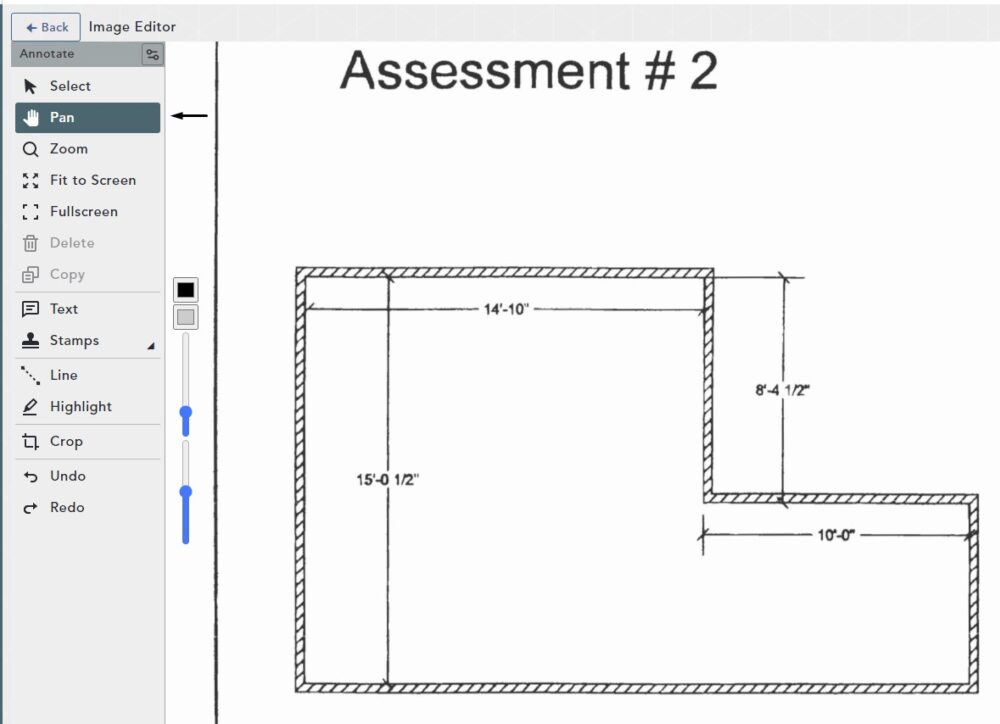
To exit the Pan feature click the Select button on the toolbar or right click on your mouse
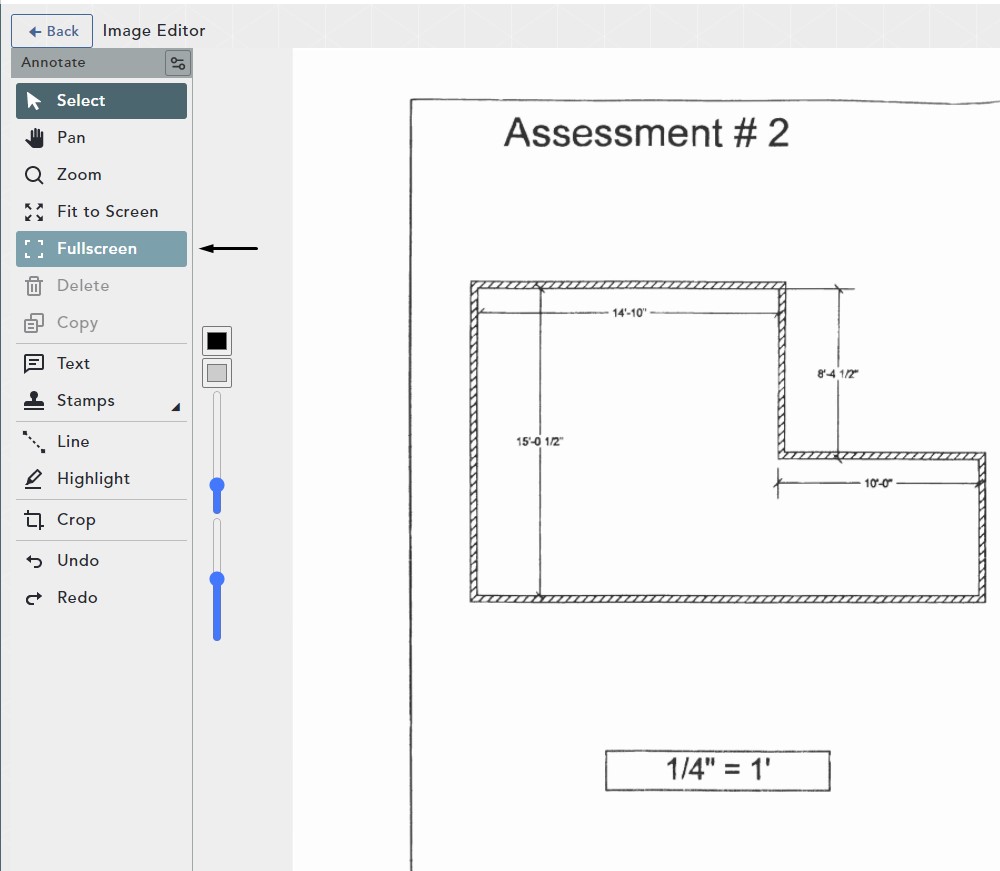
Entering Full Screen Mode
Click the Fullscreen icon on your toolbar
To exit the Fullscreen mode, click the Fullscreen icon again or click the ESC key on your keyboard
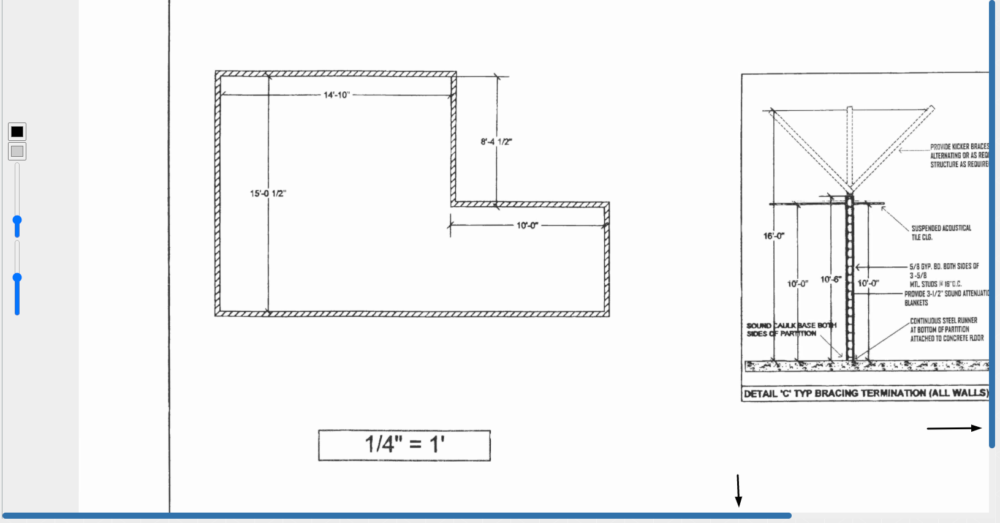
Navigate the Image
Move the image Left to Right
Left click and drag the toolbar at the bottom of the screen
You can also accomplish this by holding the Shift key on your keyboard and scrolling your mouse wheel up or down
Move the image Up and Down
Left click and drag the toolbar on the right- hand side of your screen
You can also accomplish this by holding the CTRL key on your keyboard and scrolling your mouse wheel up or down
Secondary Toolbar
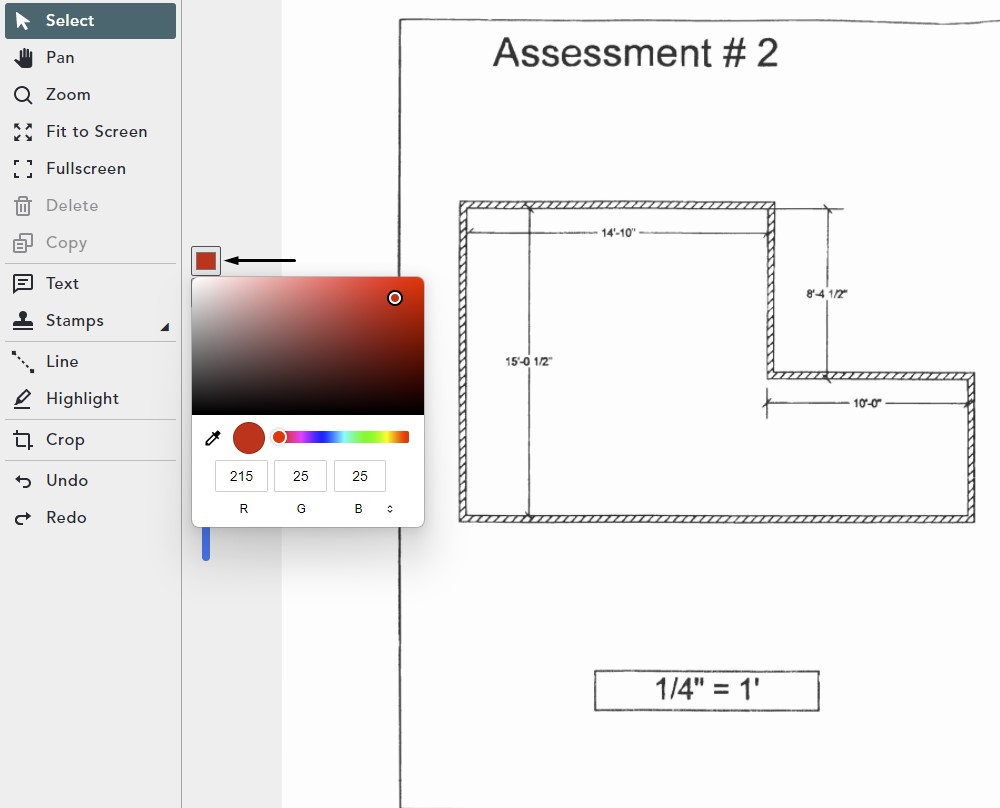
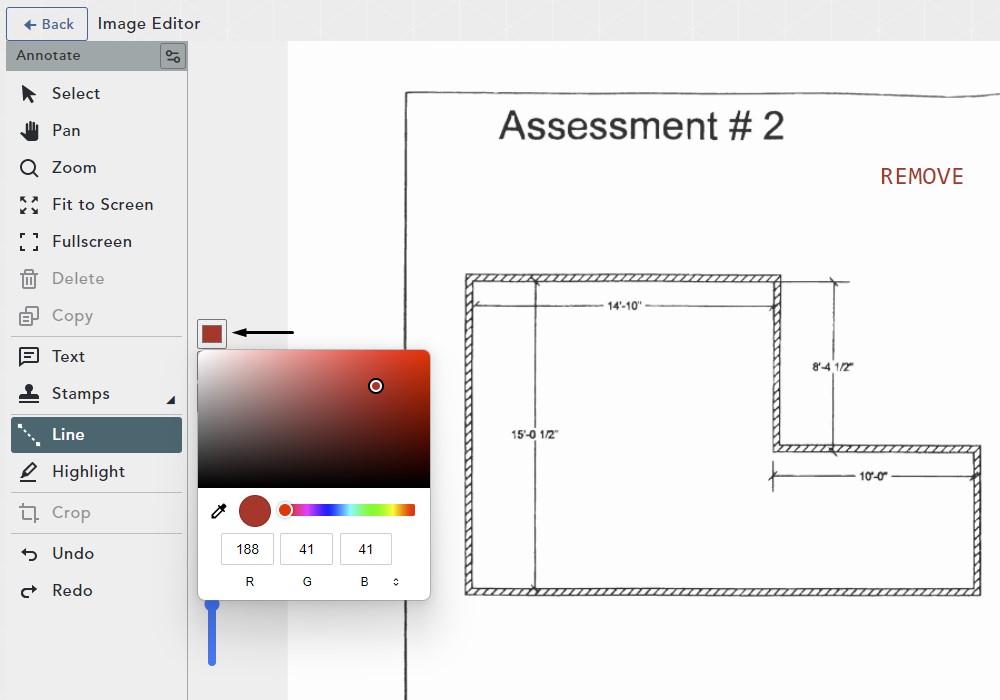
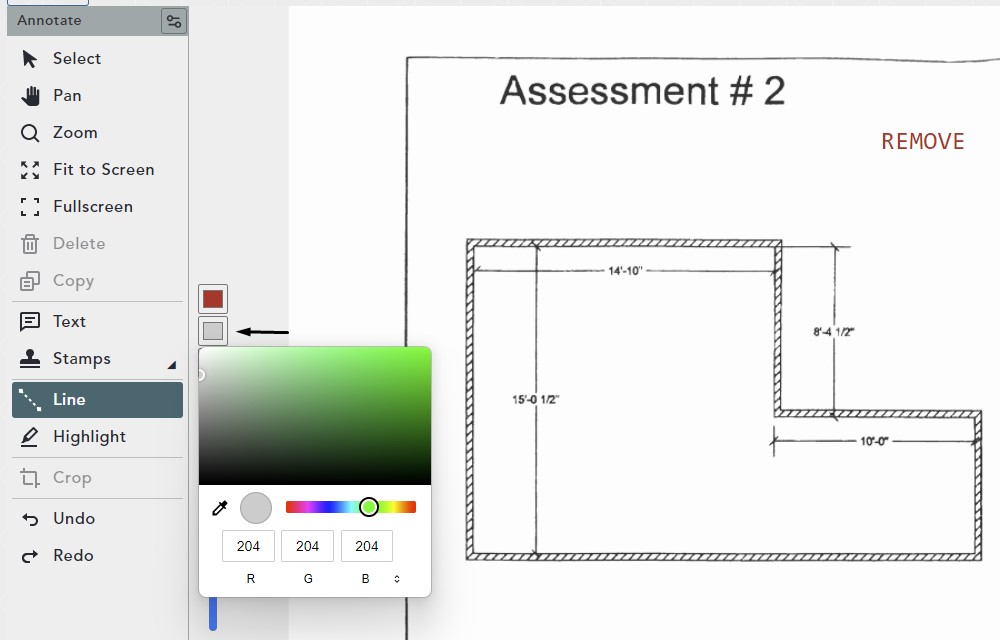
Option 1: Define a Color
Click on the button, then choose a base color
To change the hue of the color, click and drag your cursor until you find the hue you would like
Hit Enter to close
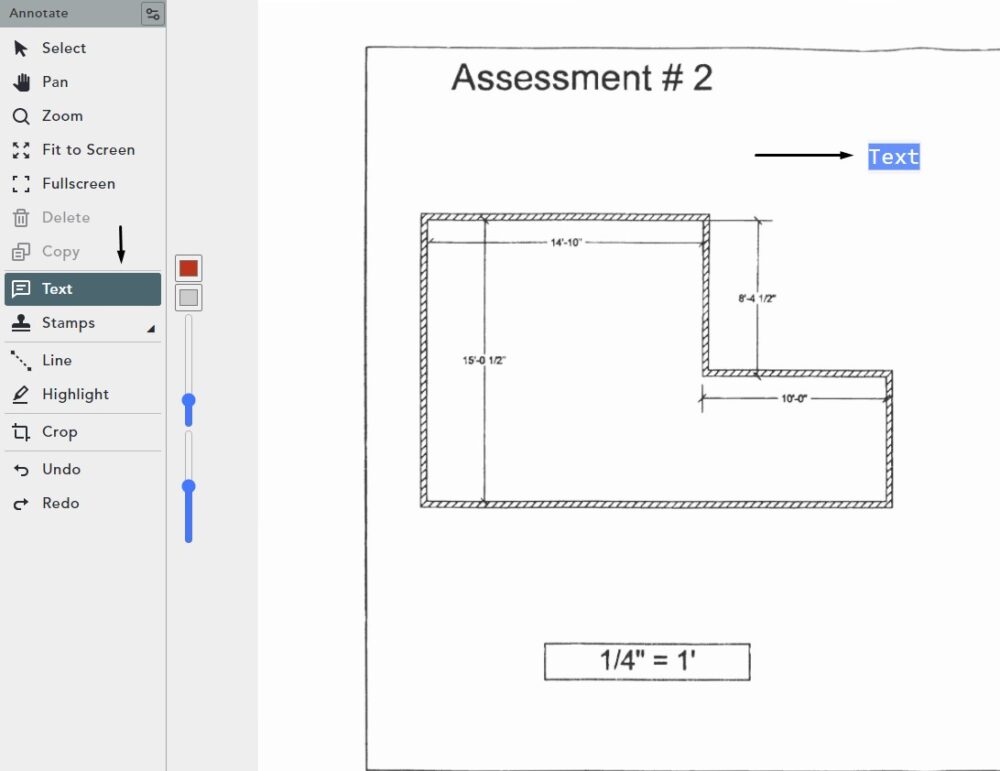
Adding Text to an Image
Click the Text button
Left click on your image where you would like the text to be placed
Type your text
Left click outside of the text box to finish the box
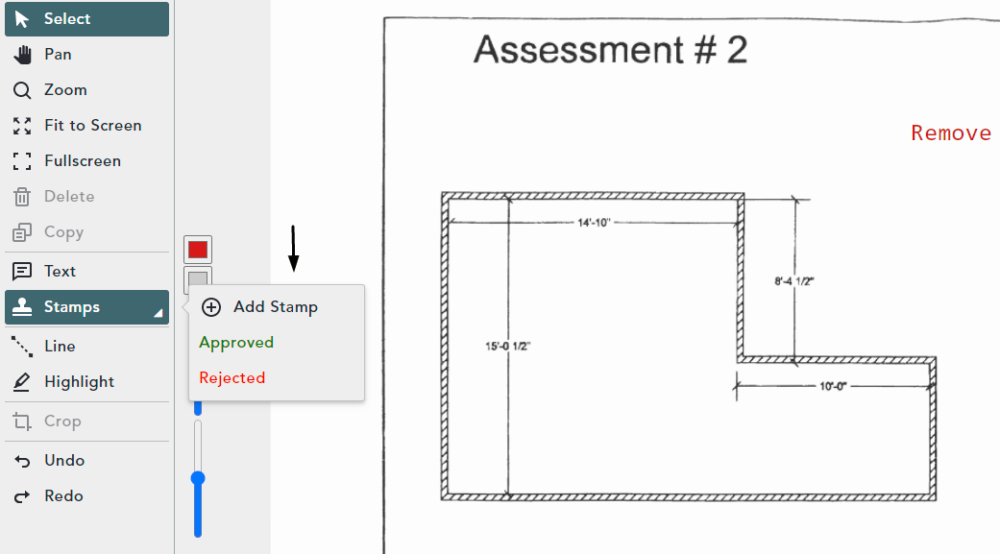
Add a Default Stamp
Click on the Stamps button where Approved and Rejected are defaults
Left click one of these options
Click your cursor within the image where you would like to place the stamp
Click the ESC key to remove the stamp from hover
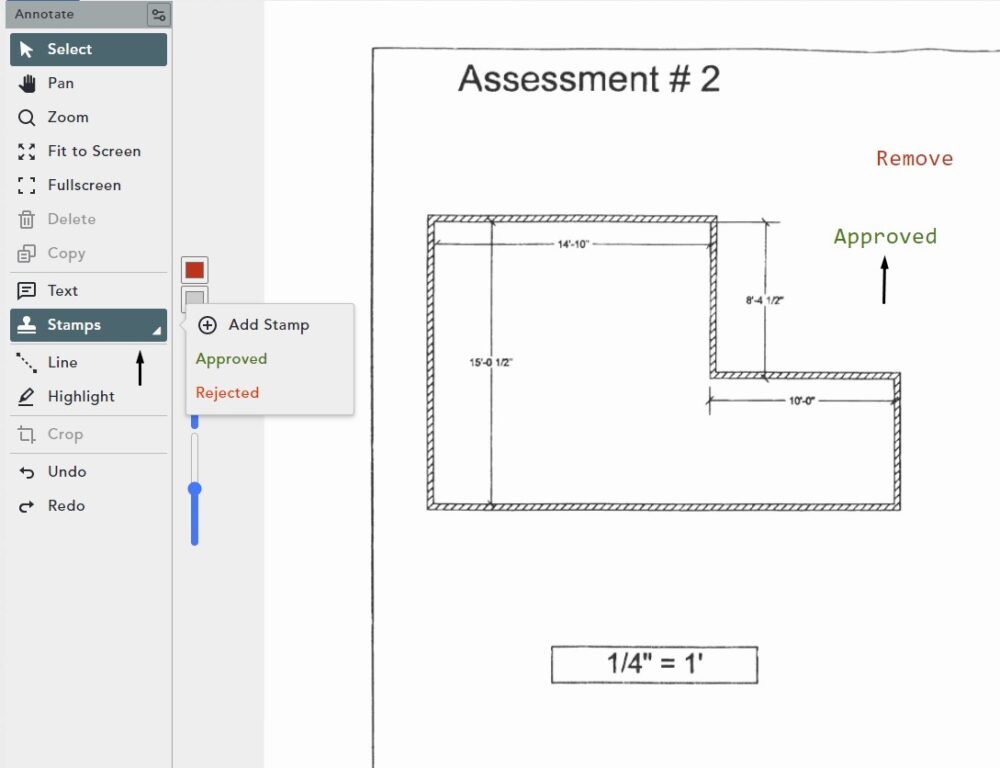
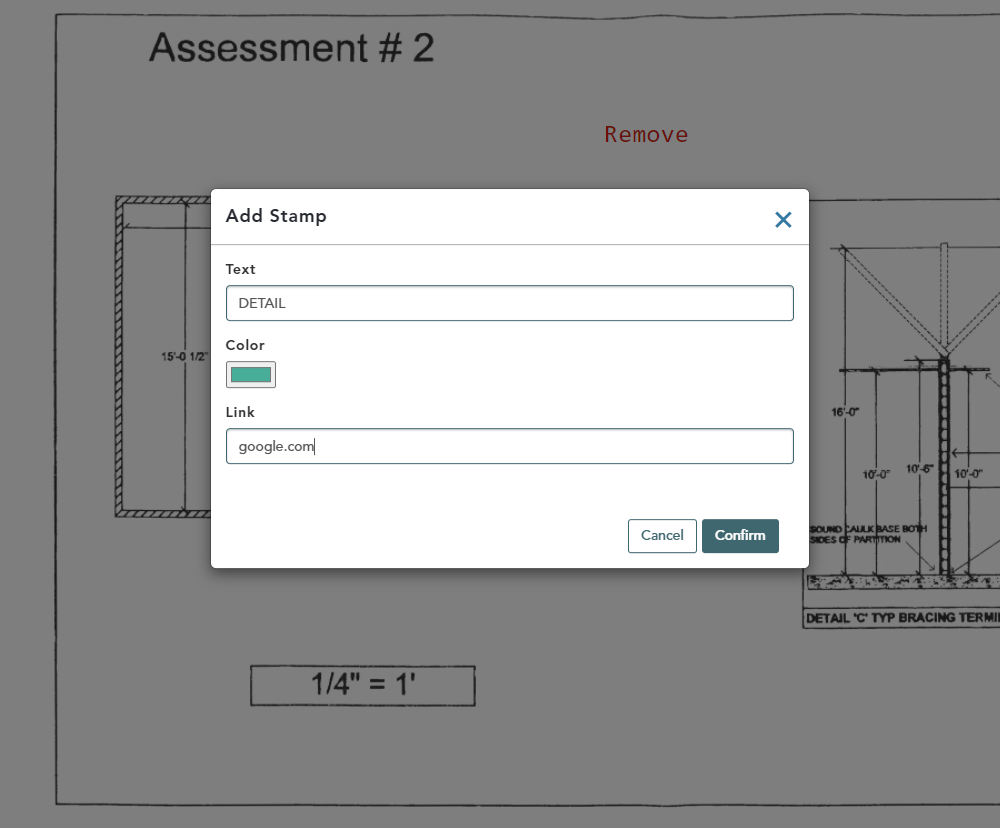
Create a New Stamp
Click on Add Stamp
Type in a name for your stamp in the Text box
Choose a Color for the font
Add an external website link in the Link box (optional)
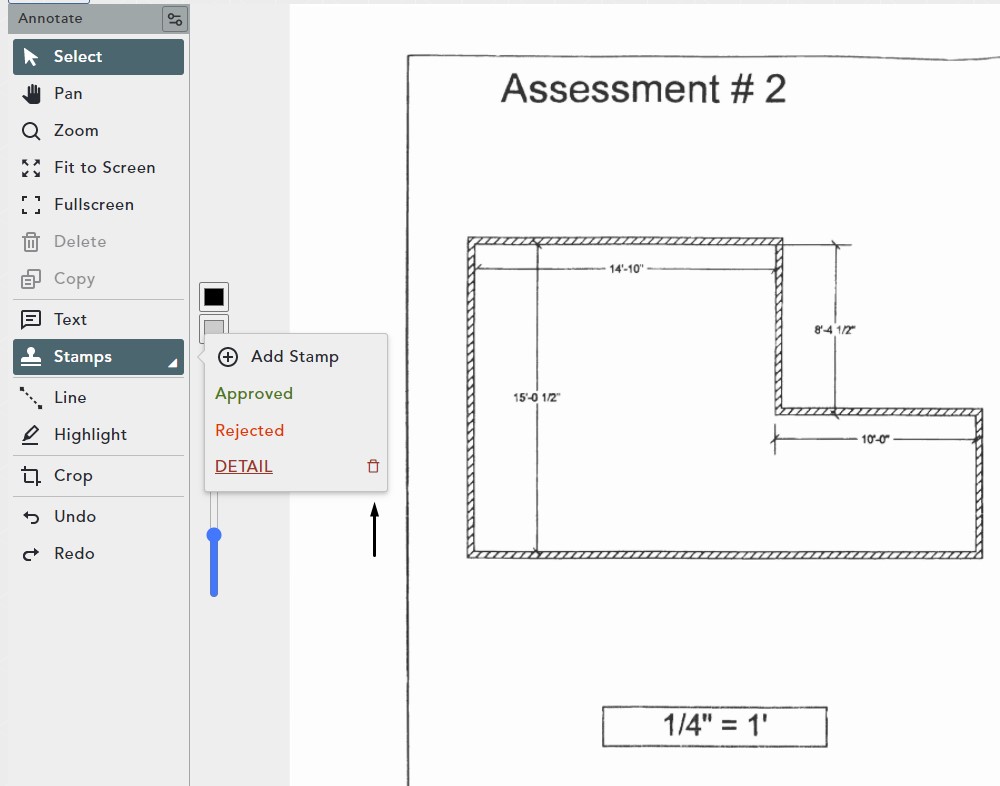
Click Confirm to add to your list of stamps
Delete a Stamp
Click on Stamps
Click the Trash Can icon
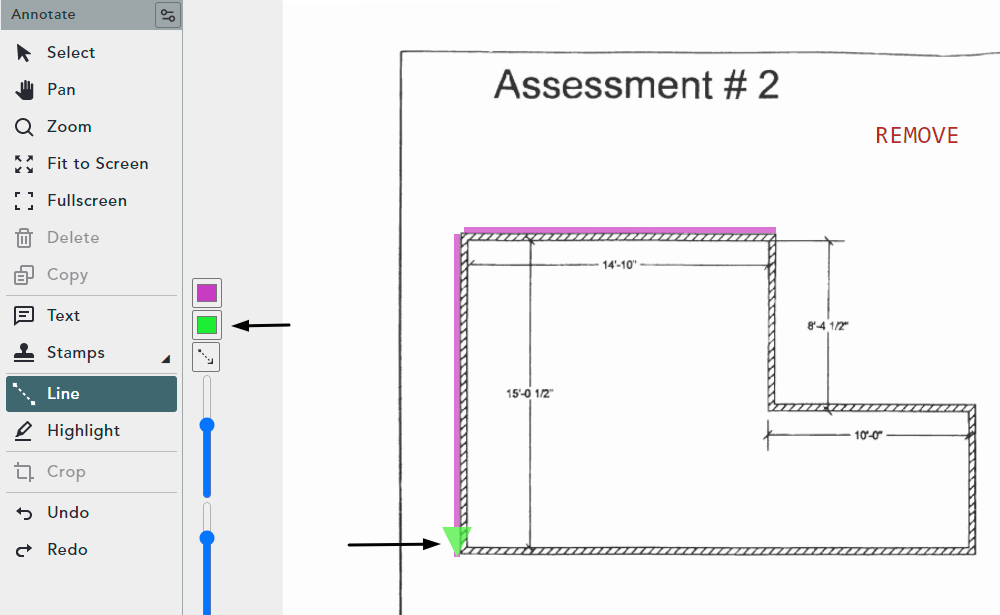
Draw and Customize a Line
Click on the Line icon
On the secondary menu, click on the first option to change the line color
Then hit enter
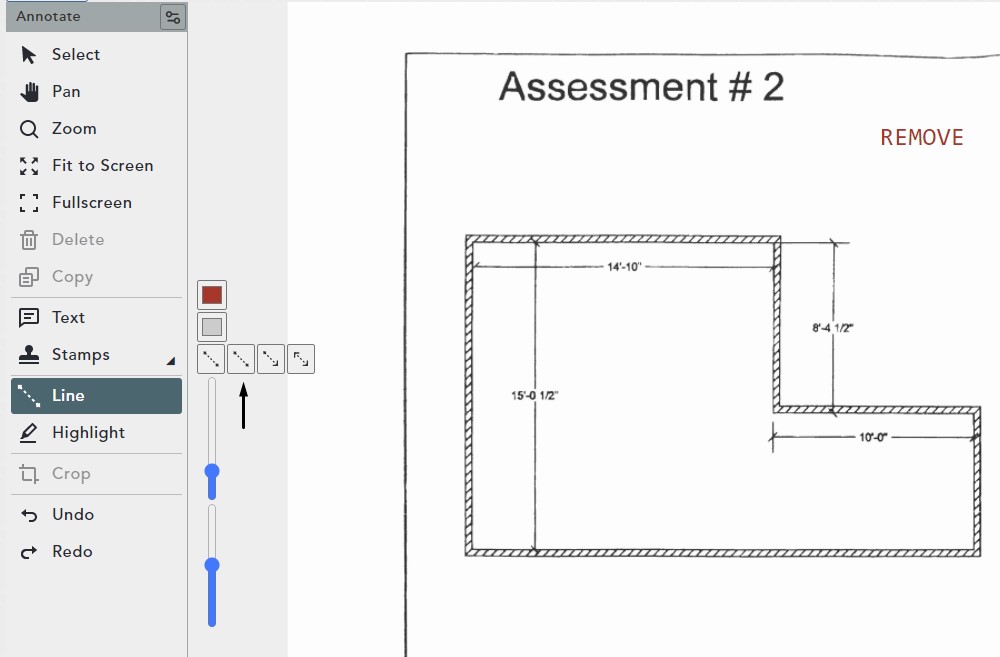
On the secondary toolbar, the second option defines a color for the optional arrowhead
Choose your color, then click Enter
On the secondary menu, the third option allows you to change the line style
Choose from: Normal line segment, Single sided arrow or Double sided arrow
Choose Line Segment
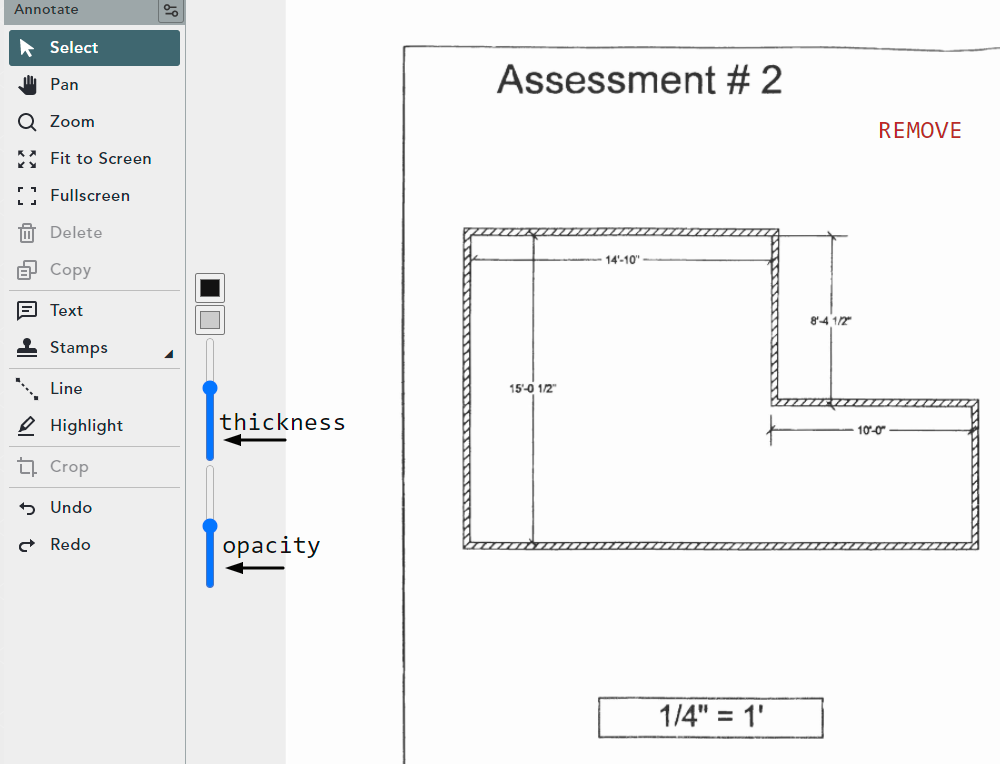
Thickness & Opacity of the Line
On the first slider, click and drag up or down to change the thickness
On the second slider, click and drag up or down to change the opacity (transparency)
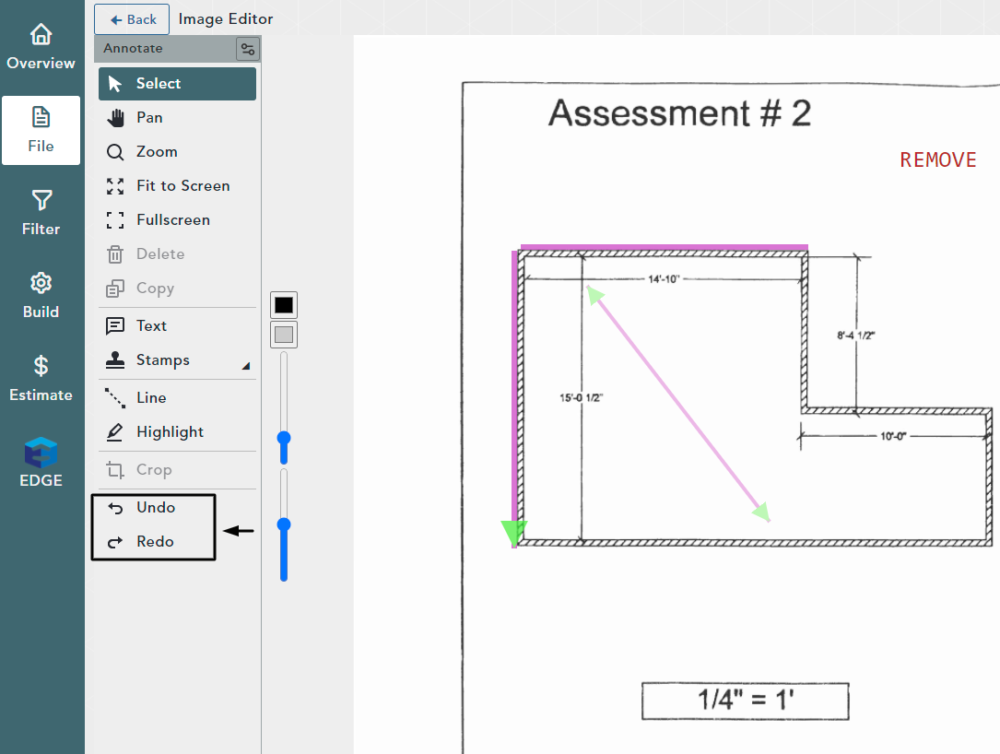
Draw & Place Your Line
Hover your mouse on the image where you would like the line to start
Left click and drag, then left click again where you want your line to end
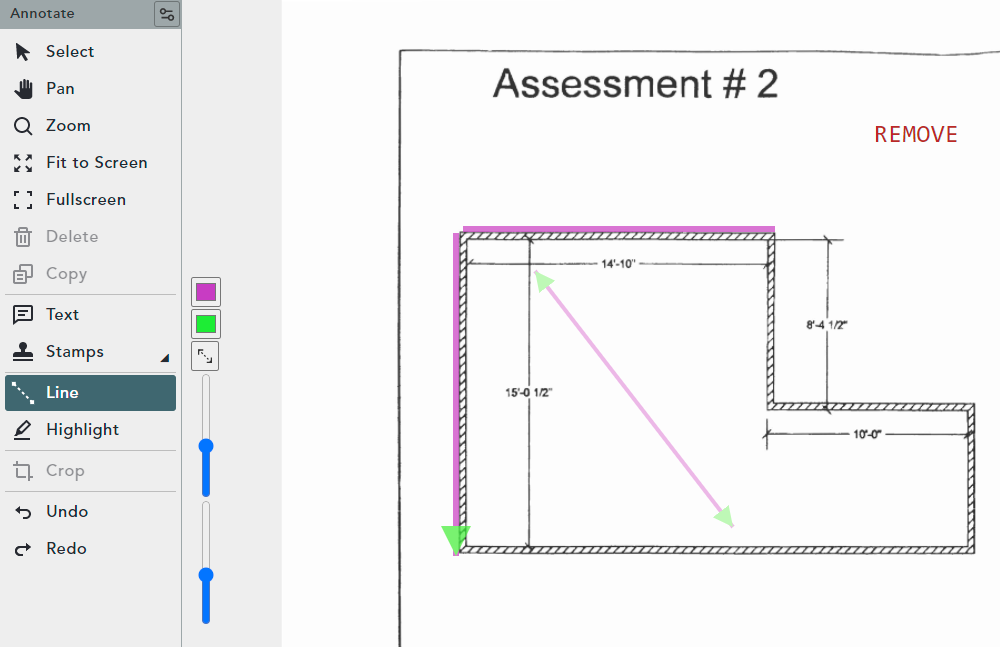
Change the Line Style
Change the Line Style to single arrow
Repeat the steps above
Note: The arrowhead reflects the secondary color you chose on the toolbar
Change the Thickness & Opacity of the Line
Click to choose the double arrow line
Adjust both the thickness and opacity based on the previous steps
Draw your double headed arrow that reflects the different thickness and opacity
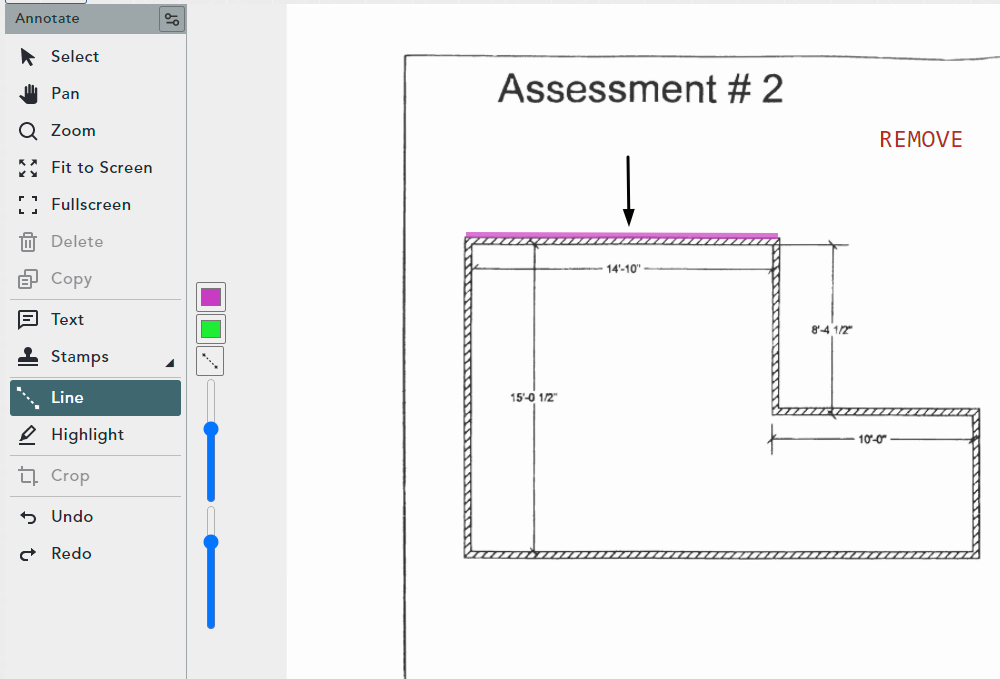
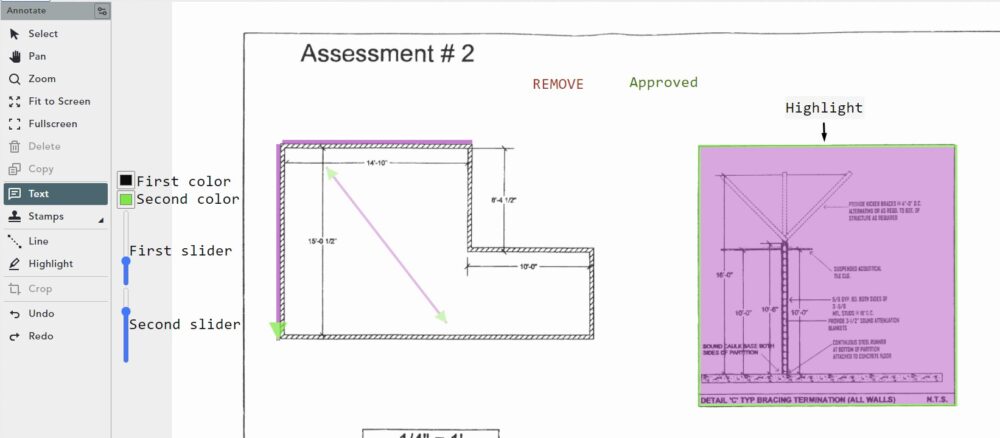
Draw a Highlight
Click on the Highlight button
On the secondary menu your options include:
- First color option – Changes the area fill for the highlight
- Second color option – Defines the perimeter lines for the highlighted area
- First slider – Update the thickness of the perimeter lines
- Second slider – Controls the opacity of the fill
After making all of your selections, hover your mouse over where your highlight will begin, left click, hold and drag over the entire area you would like to highlight
Select an Annotation
Click on the Select button, then click on an Annotation
A new menu will appear that allows you to make changes to the annotation
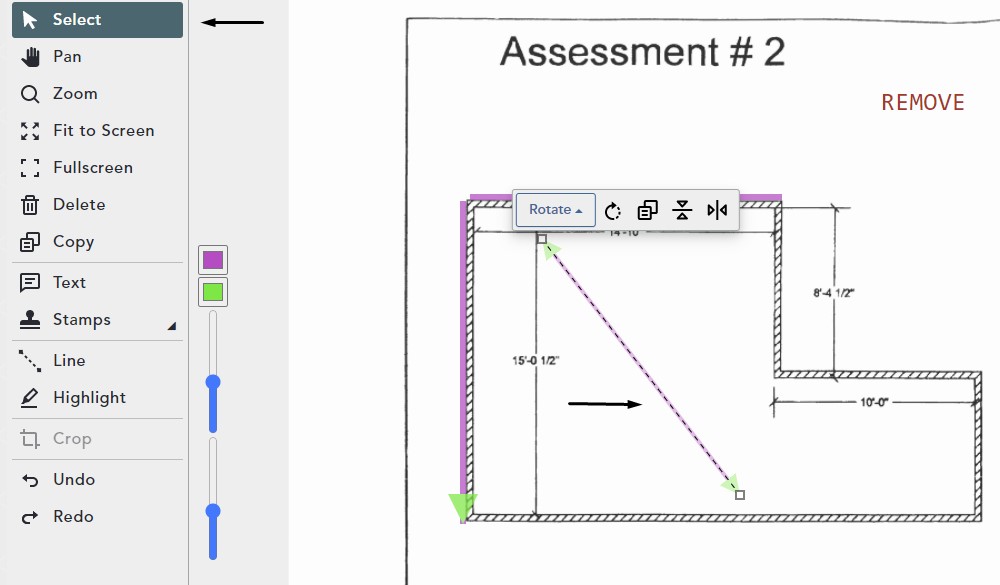
To make changes to multiple annotations at one time, select them by left clicking and dragging to draw a lasso around all of the annotations
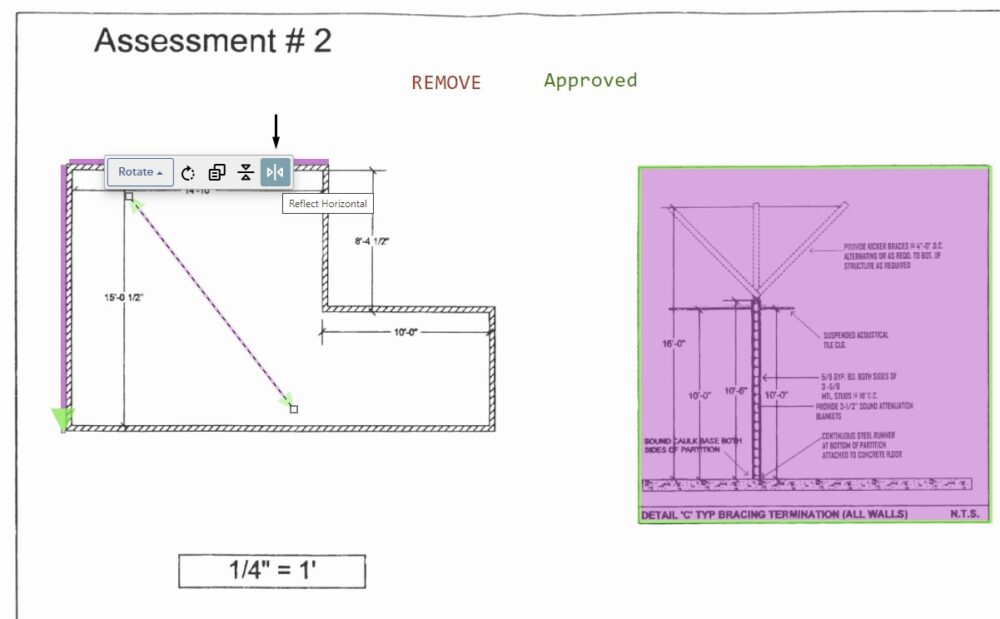
Reflect Horizontally
Reflect horizontally over its axis by selecting the Reflect Horizontal button
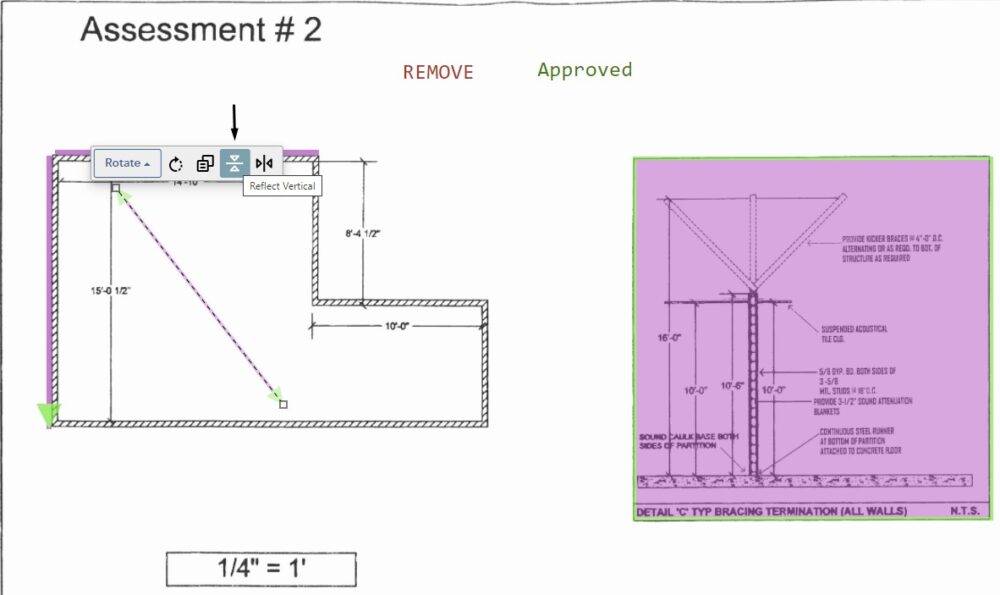
Reflect Vertically
Reflect vertically over its axis by selecting the Reflect Vertical tool
Copy an Annotation
Click the Copy button to create a duplicate of the selected annotation
Hit the ESC key on your keyboard to exit the copy mode
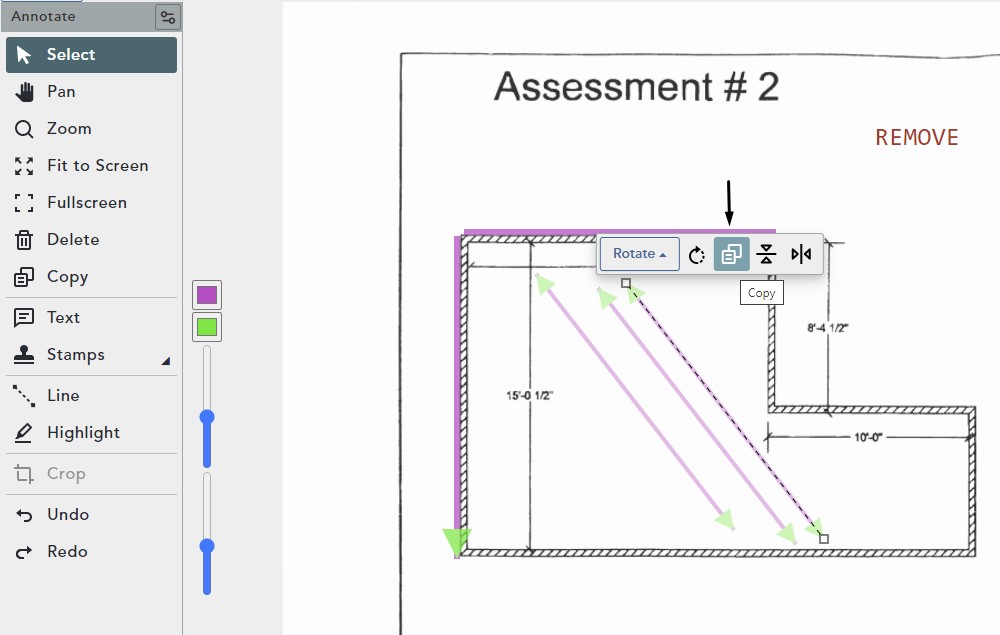
You can also hit Copy on the Annotations toolbar and follow the same steps above
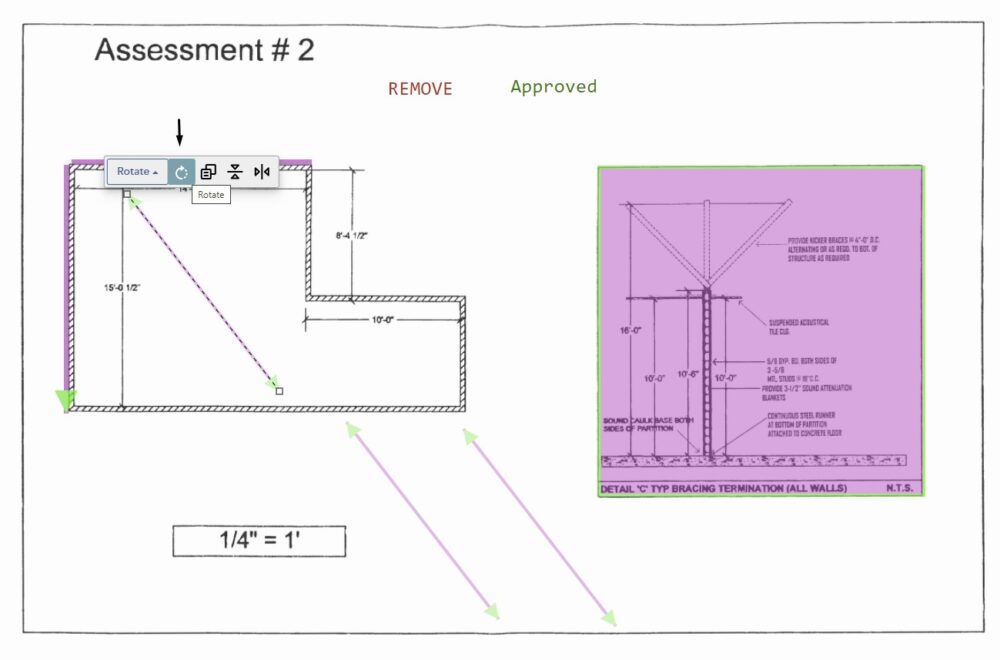
Rotate an Annotation – Option 1
Click on the Annotation to select it
Click the Rotate button
Drag your mouse to rotate right or left
Left click your mouse to stop the rotation feature
Rotate an Annotation – Option 2
Click the Rotate Text Box
Choose from defaults of 45 or 90 degrees, or type in a specific degree of rotation and click the + or – sign to rotate the annotation
Left click to exit the context menu for this annotation

Context Menu for Text Box
Click on a Text Box to select it
The Context Menu is the same as the previous annotation, with the exception of the Link button
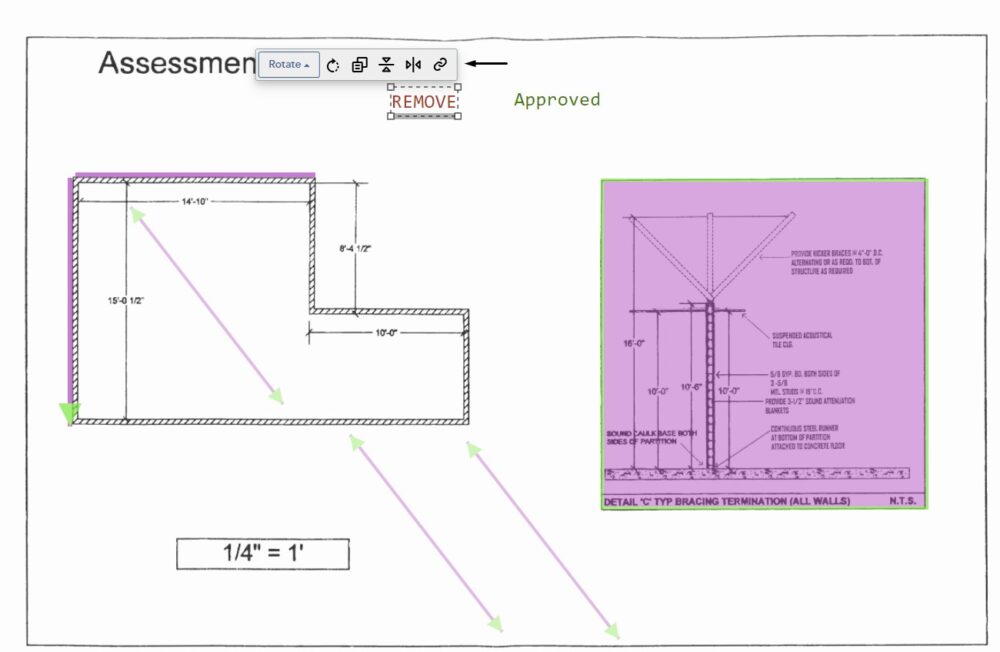
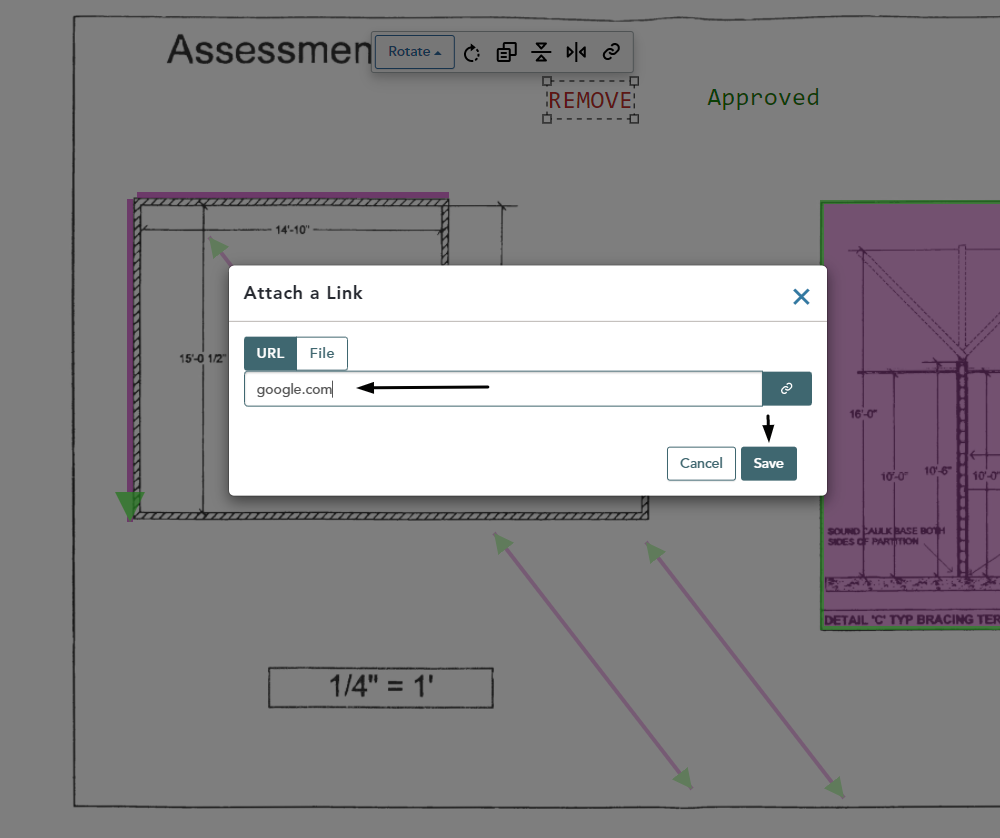
Click the Link Button
Type a URL into the box
Click Save
Your URL will now be save to the selected Text Box
Click on the Open Website button to text your new link
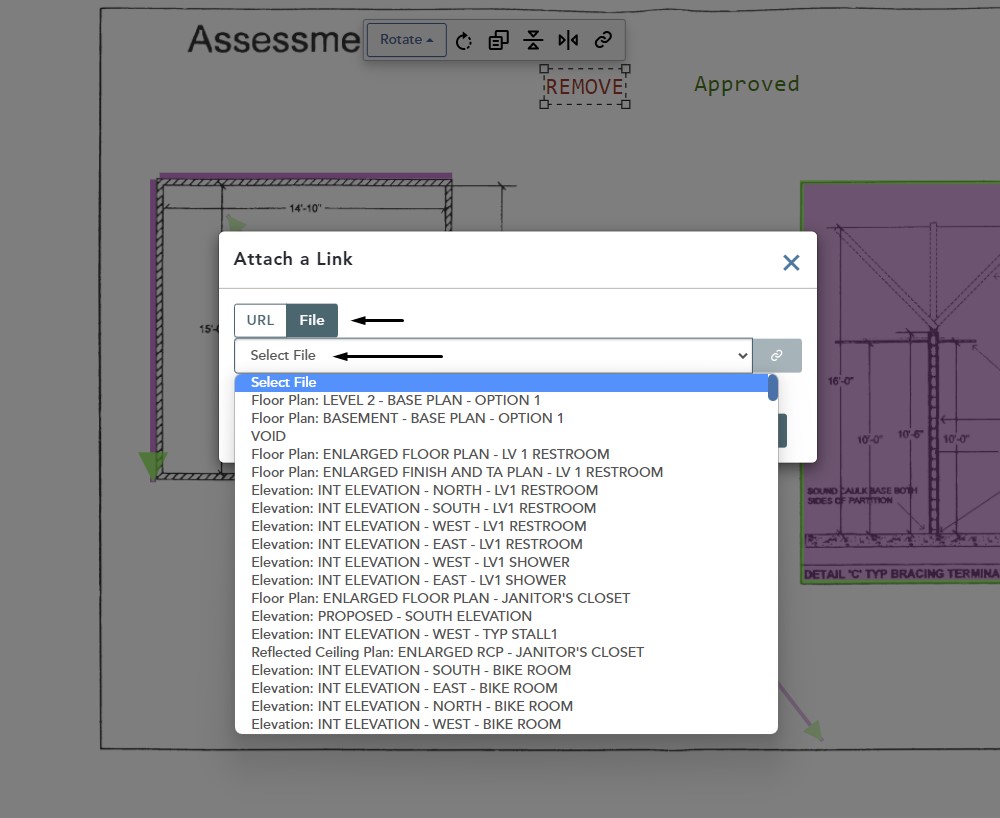
Click on the File Tab
Click in the Drop down box
Select your File, then click Save
The linked asset (file) will appear in the list
Click the Open File button and the Image Editor for the file you linked will open
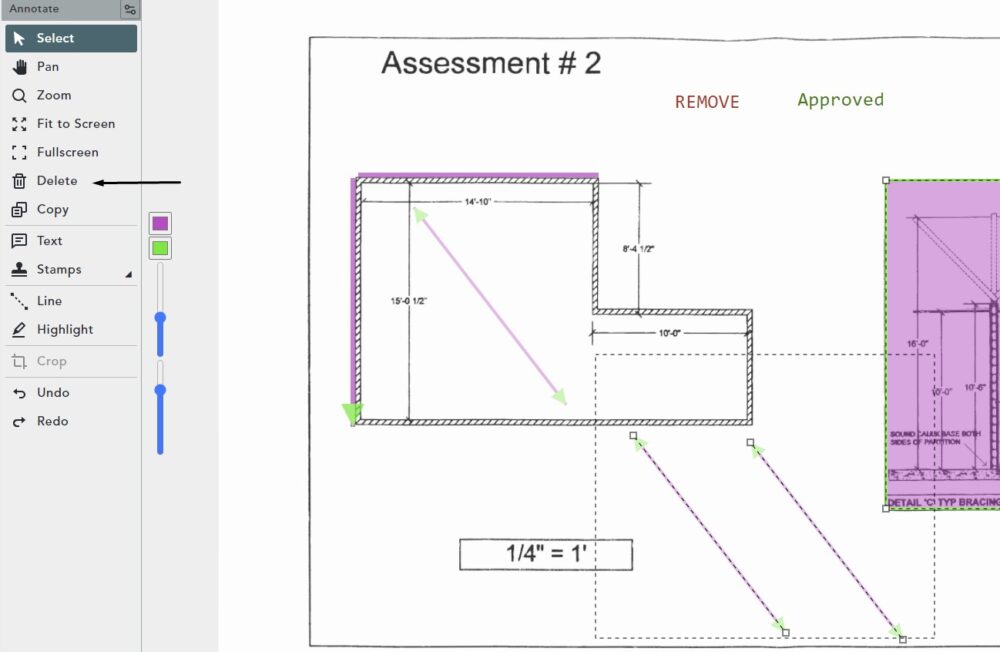
Delete Annotations
Select the annotations you would like to delete by clicking to select or if you choose to delete multiples, click and drag to select more than one
Click Delete on the Annotate toolbar or hit the delete key on your keyboard
Undo or Redo an Action
To Undo or Redo a previous action, click the corresponding keys on the toolbar
Crop an Image
Click the Crop icon on the toolbar
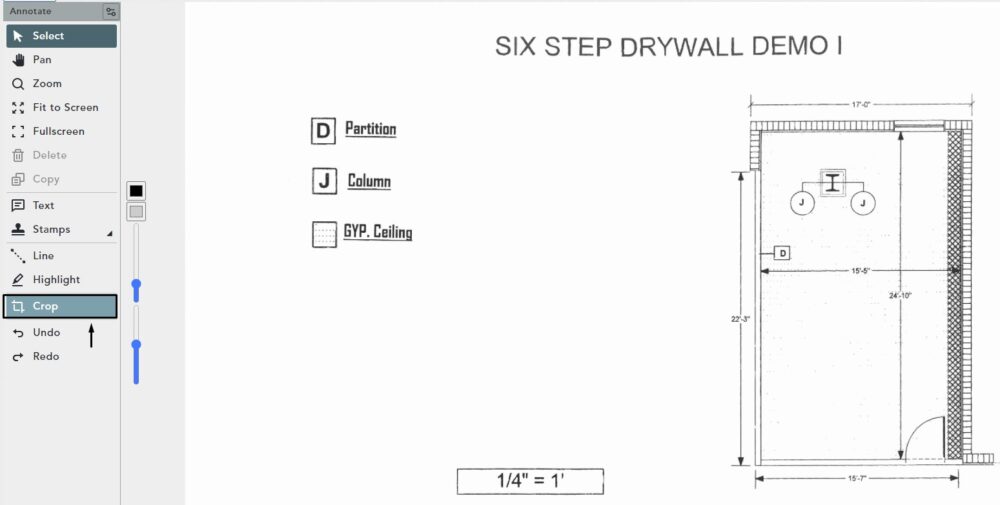
Left click and drag around the area you would like to crop
Left click to release and your Crop Toolbar will now be visible
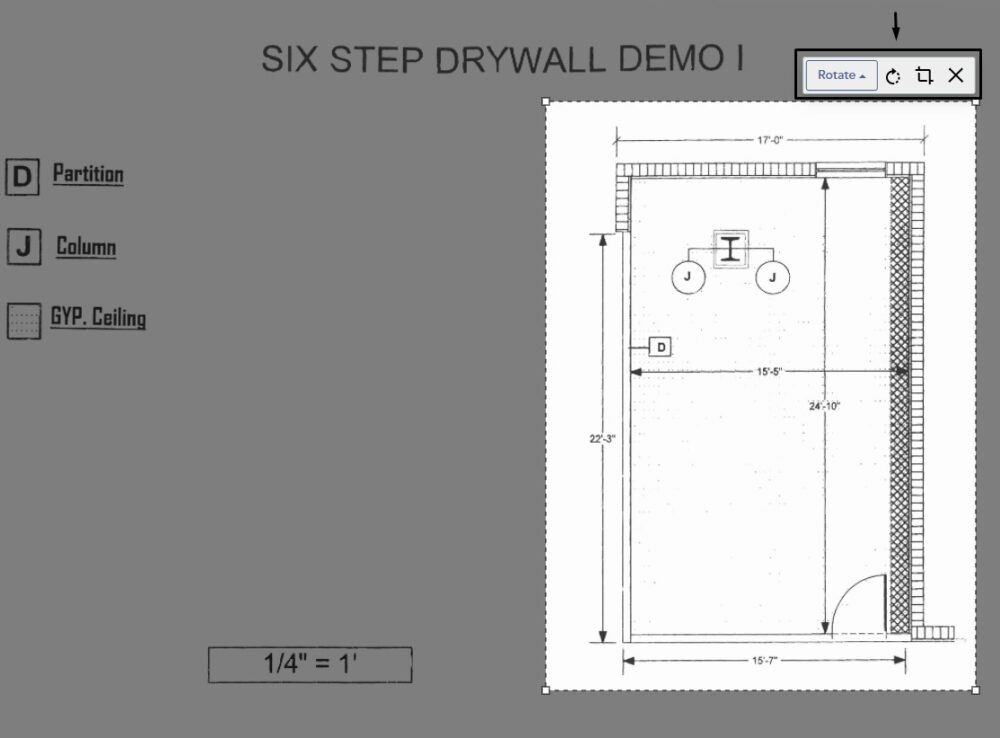
Click the Crop button
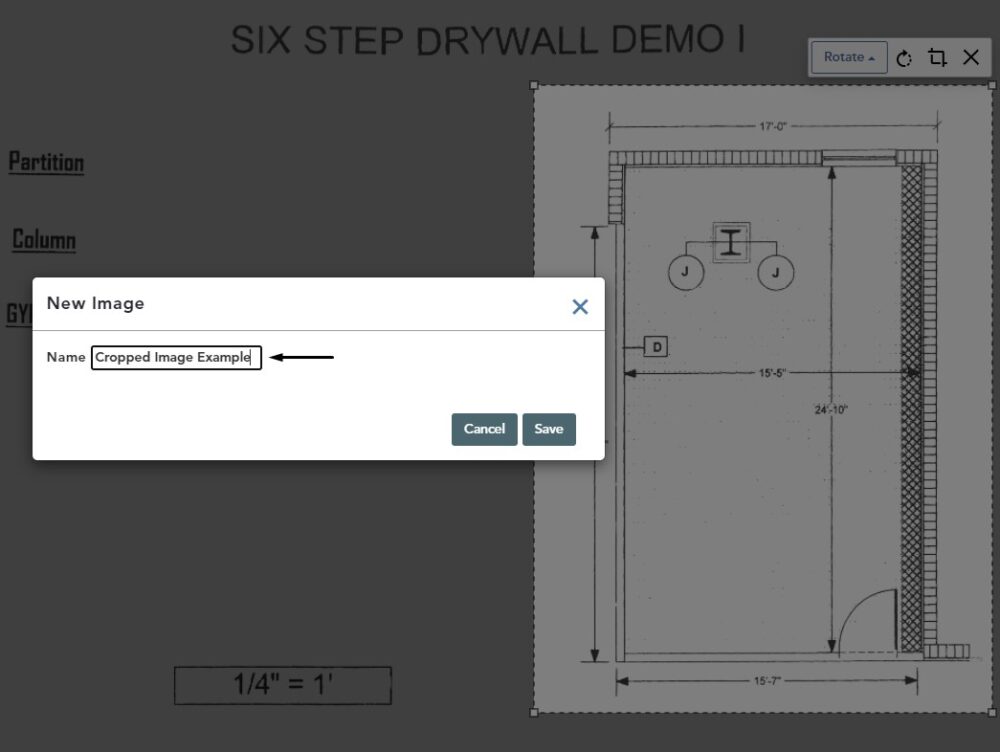
In the text box that appears, type in a name for your cropped image
Click Save
You will automatically be taken to the Image Editor for the cropped file
Return to File Manager
Click the Back button on the toolbar