Objective: In this video and/or step by step walkthrough, you’ll learn how to create a filter set
Access Filter Manager Screen
Login to the Administrative Portal of the Vector Application
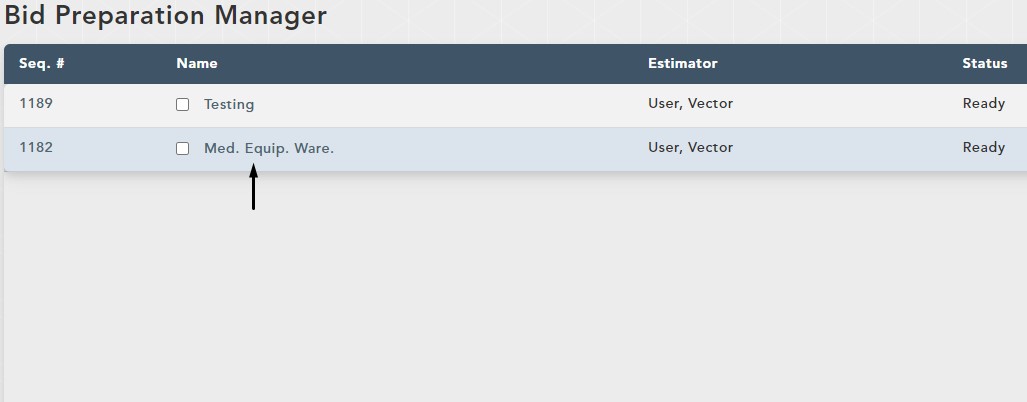
Click on the VECTOR drop-down and click Bid Preparation Manager
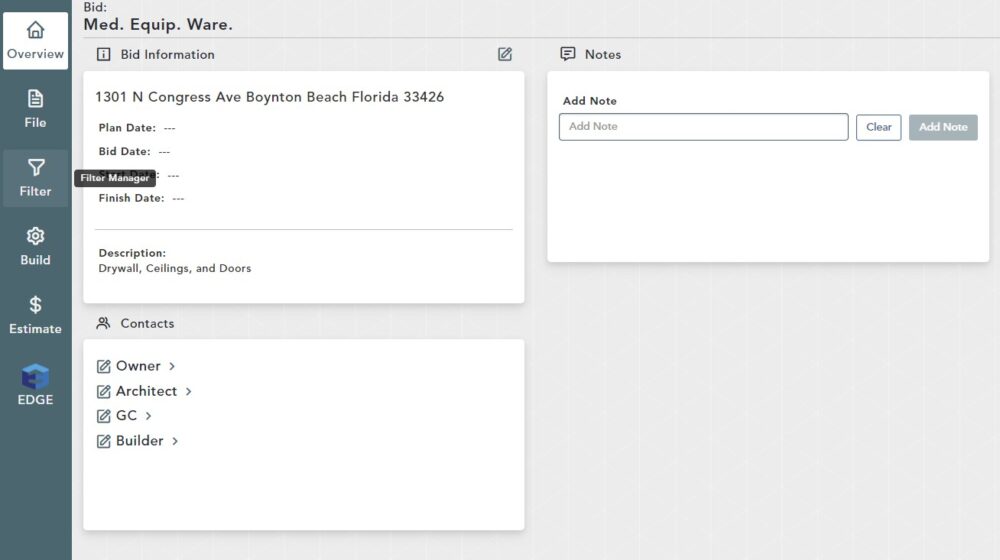
Click on the Bid you would like to work on
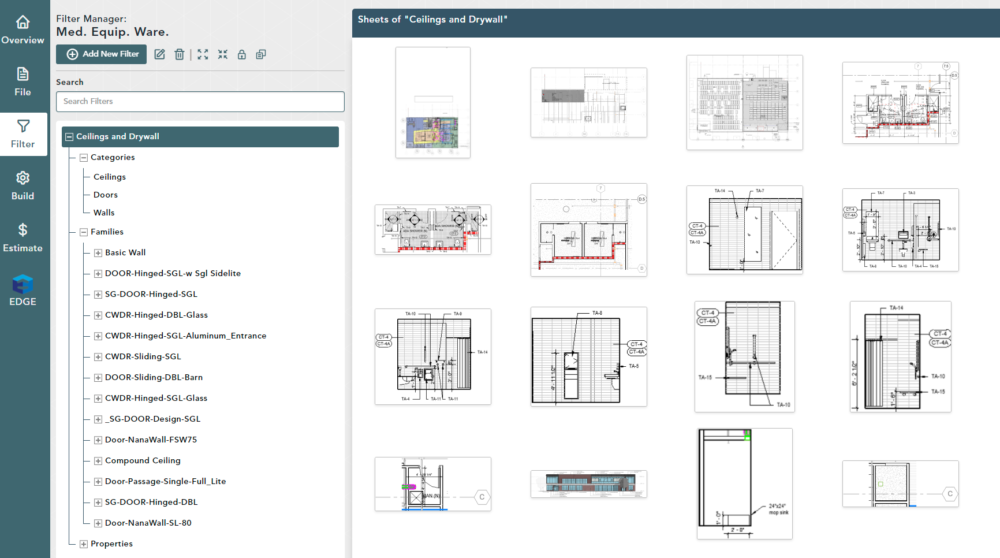
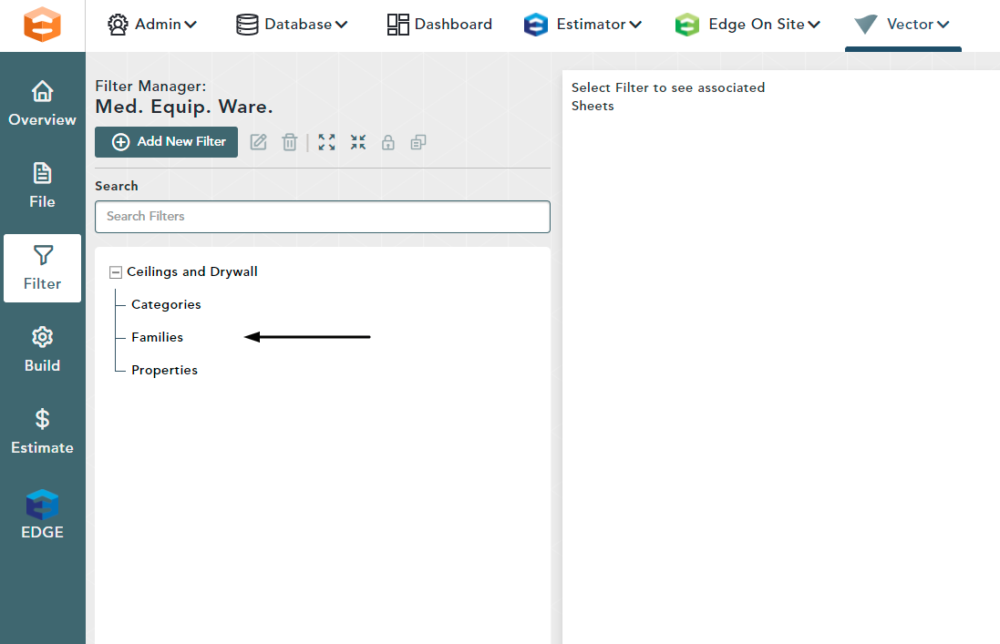
Filter Manager
Click Filter on the left-hand side of the window
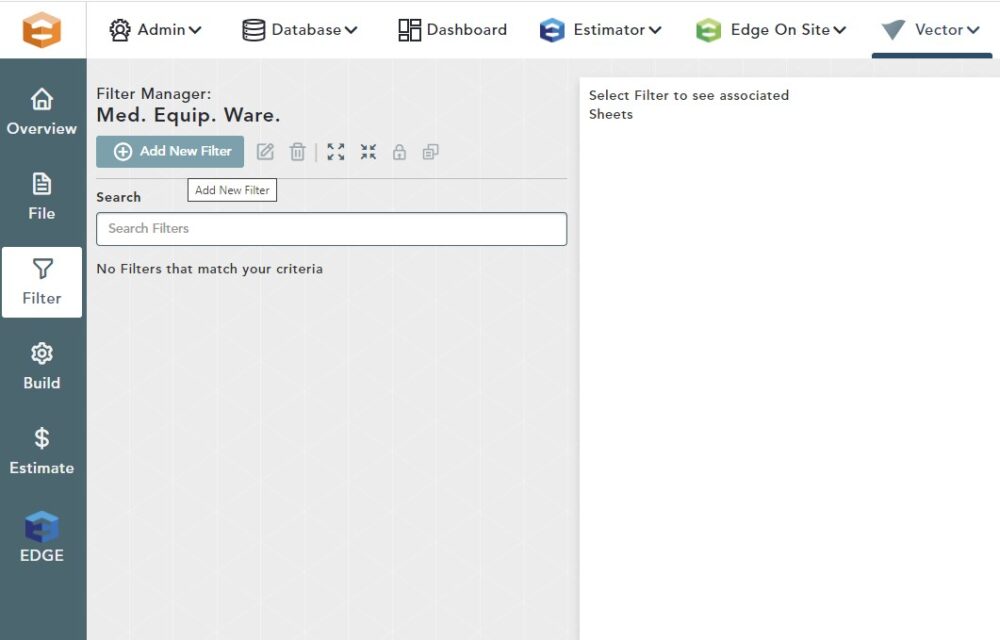
Add New Filter
Click on the Add New Filter button
Type in a Name and Note
Click Add Filter

The Filter Name has been inserted on the left hand side.
Underneath the filter there are three labeled branches; Categories, Families and Properties.
These branches represent a different data identifier native to the REVIT Application itself.
Open Filter Wizard
Click Edit Categories

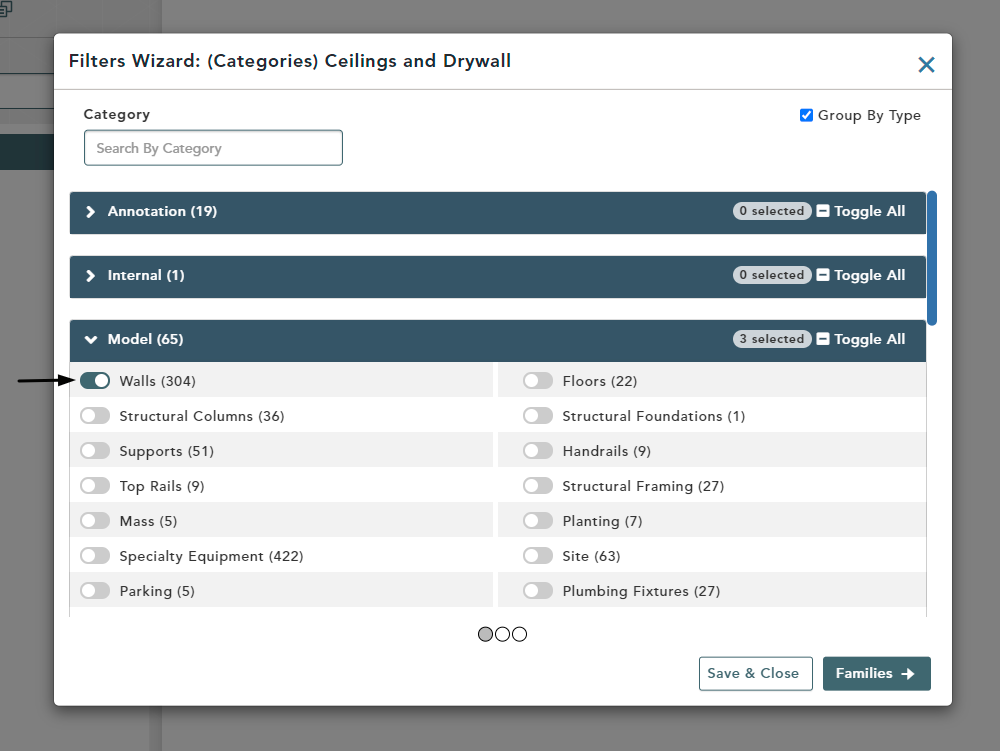
Within the Filters Wizard (Categories), Click Model to view all relevant categories within the REVIT File
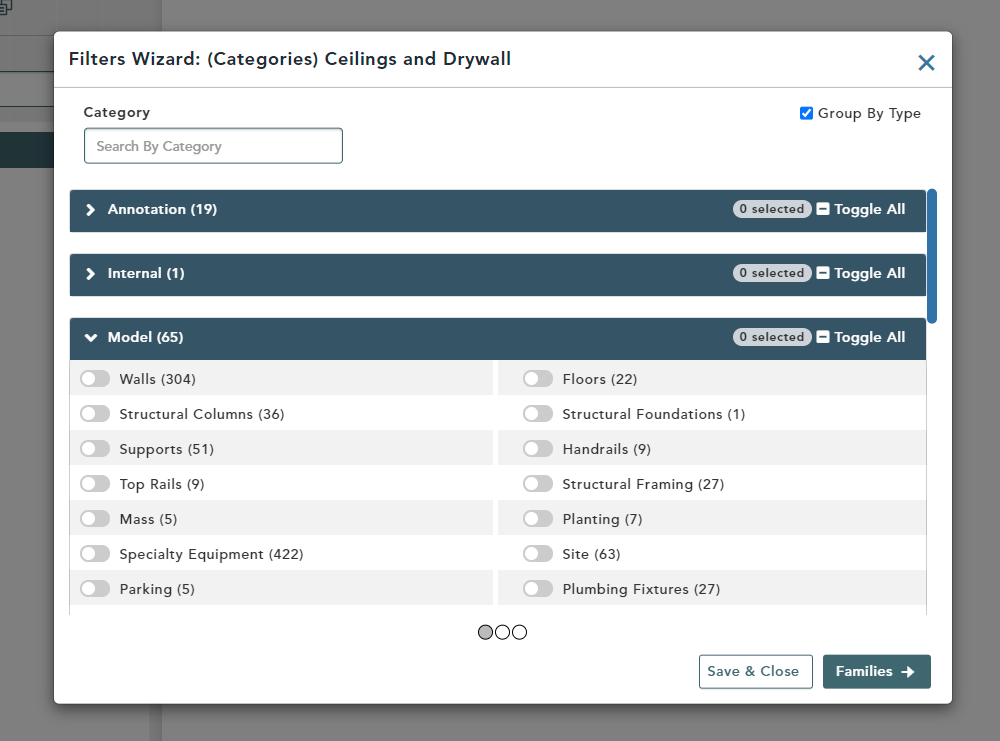
To bring in data from specific categories, click the corresponding Toggle buttons next to each one.
You can also use the Search Bar to quickly identify a category and select it.
Keep in mind that moving to the next level and filtering further is optional; stopping now would mean that you would be bringing in all data from your walls ceilings and doors categories with no further exceptions.
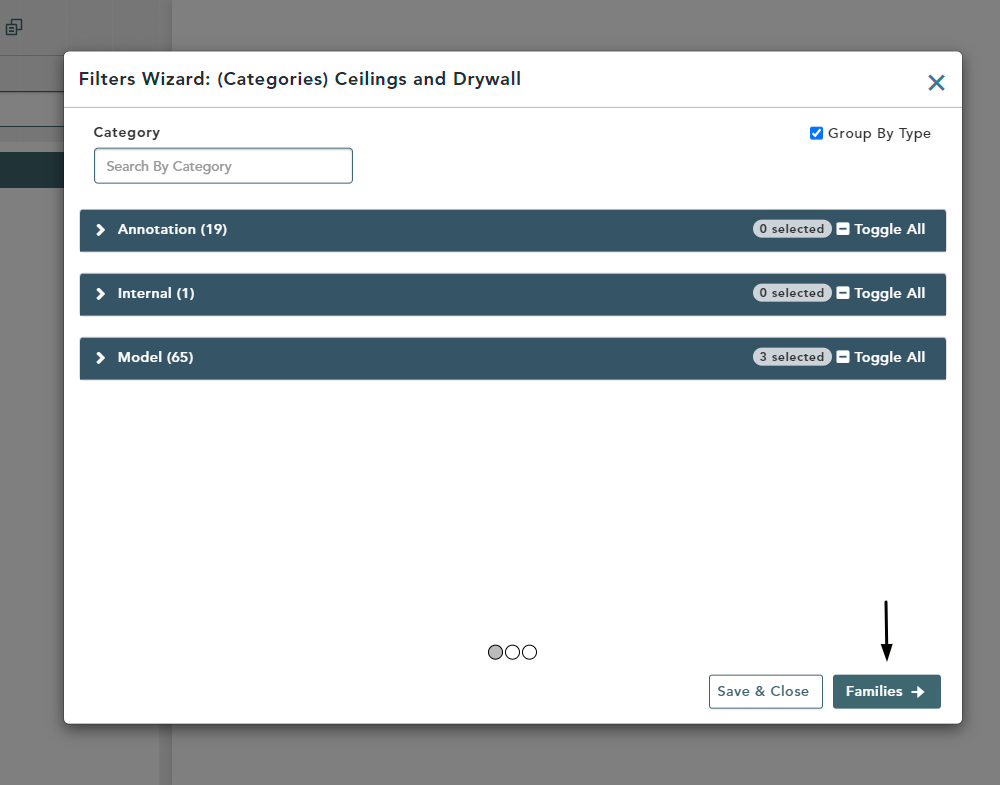
Filtering to Families
Click the Families button
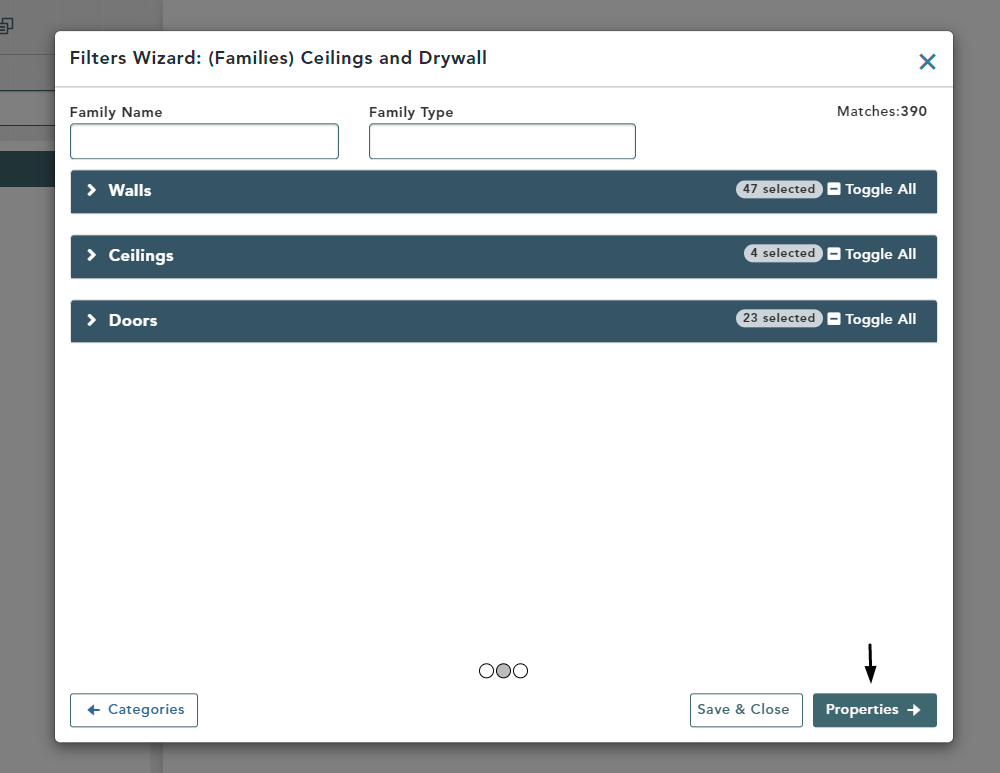
Walls, Ceilings and Doors are now displayed in the window.
Click the Walls category, then click Basic Wall
The 47 various Family Types that exist inside of this Family Name are displayed
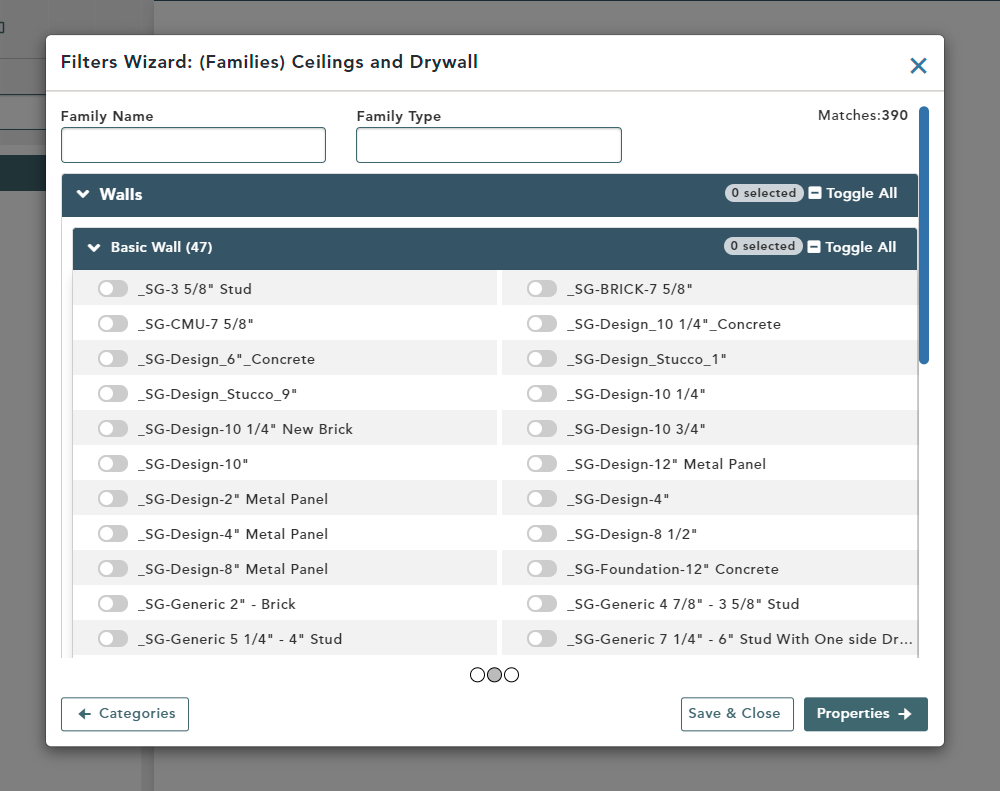
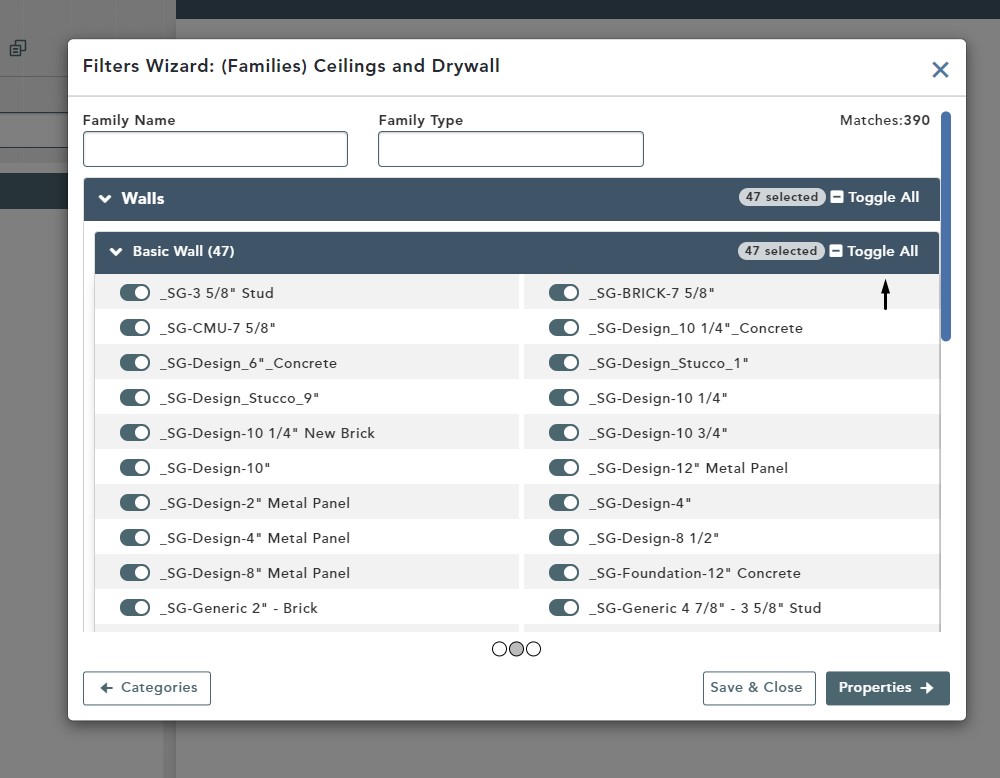
Click the toggle next to each wall type you would like to bring in or click the Toggle All button to choose all that are on the list.
You can repeat these steps for Ceilings and Doors as well.
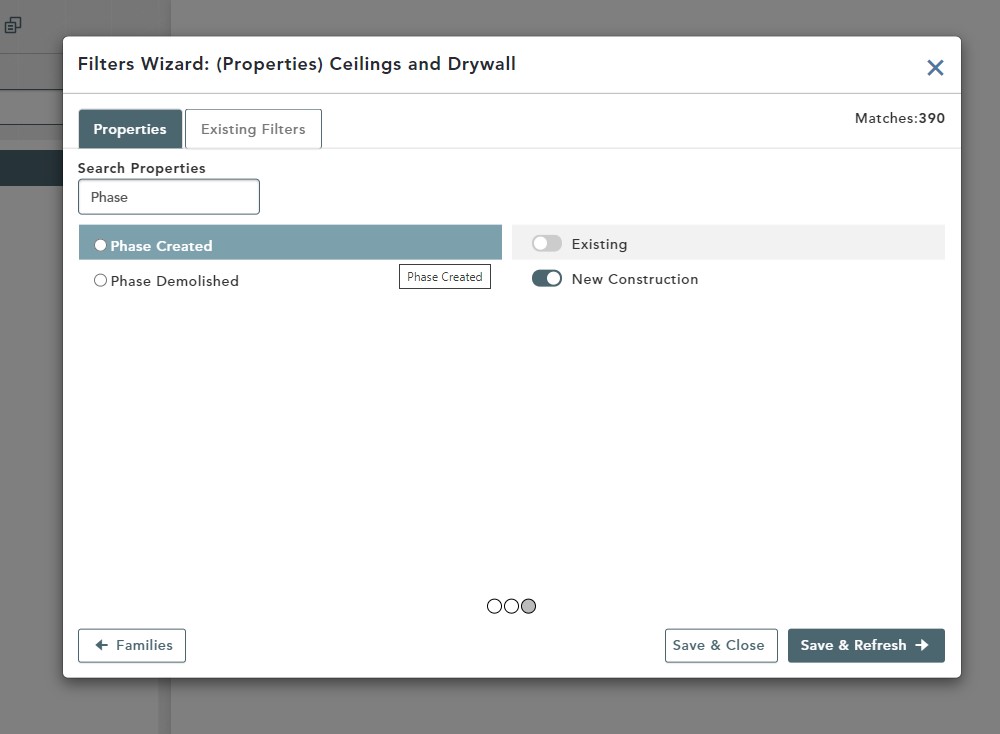
Properties Level Filtering
Click Properties
Here you will see various Properties of the different Wall, Ceiling and Door types that for this job.

Search for a specific property by typing in the Search Properties field.
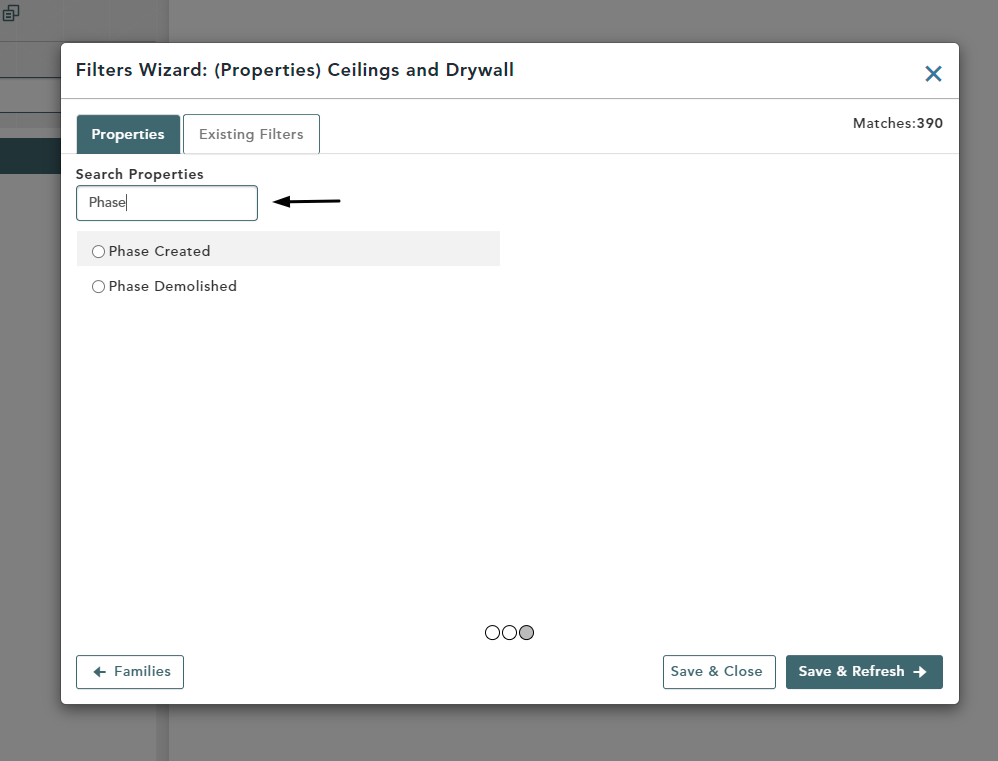
Click the toggle next to the Phase Created to view all possible options for this property
Then click the toggle for New Construction
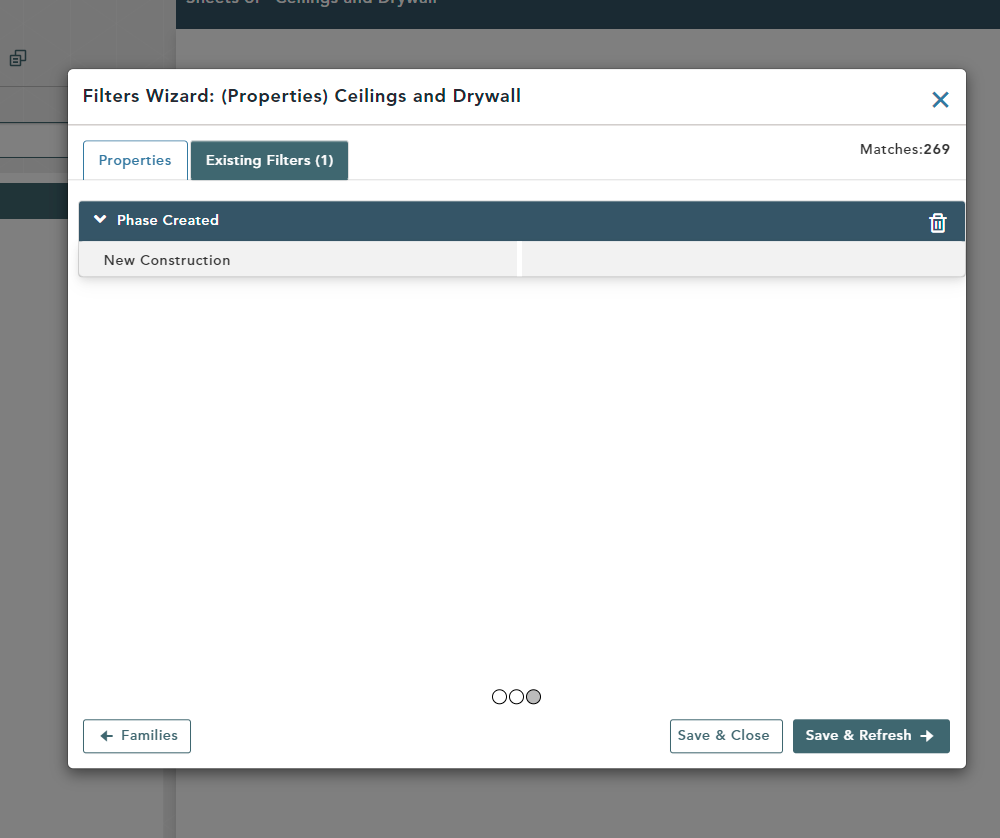
Then click the Save & Refresh button
Phase created is now a part of the Existing Filters set.
Click Save and Close to finalize building the Filter Set and close the Filter Wizard.
Click the plus sign to expand and view the Categories, Families, or Properties that have been activated.
On the right-hand side are the Sheets available based on the filters that were set.