Objective: In this video and/or step by step walkthrough, you’ll learn how to add a scenario and section to a vector bid
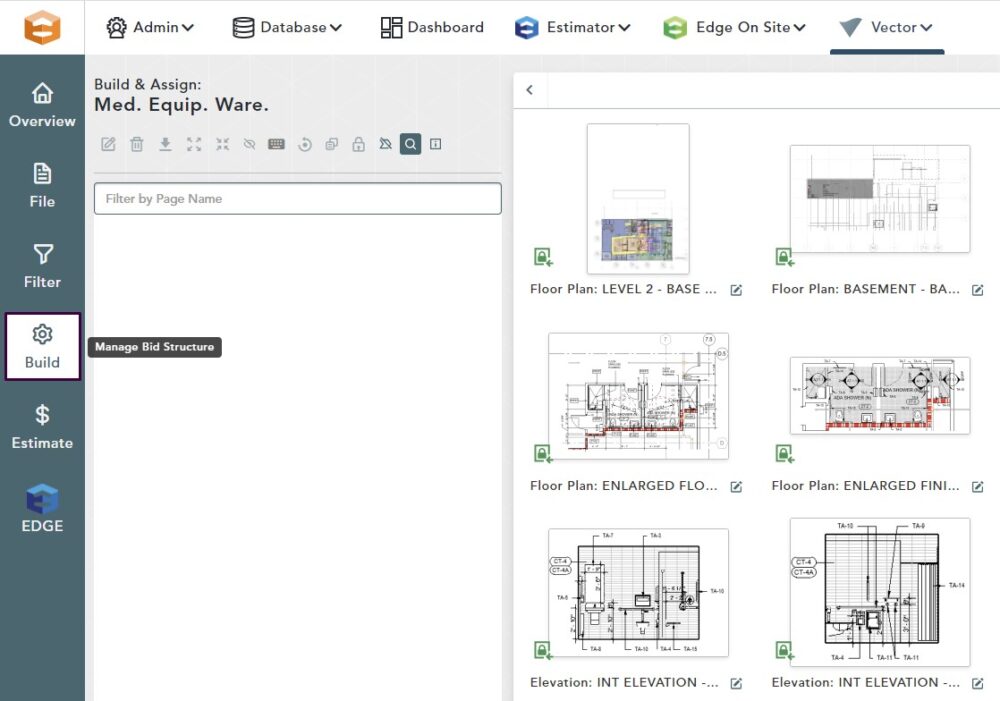
Access the Build Screen
Click on the Build icon on the left-hand side tool bar within the bid
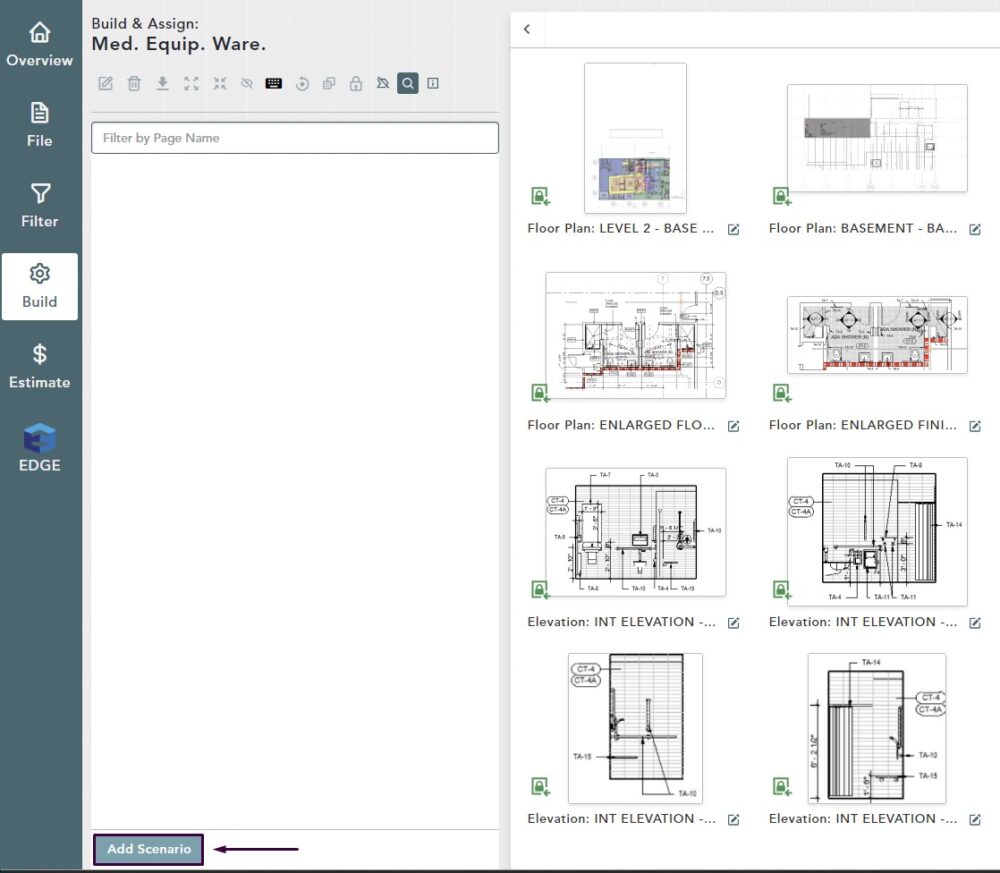
Add a Scenario
Left click on the Add Scenario button at the bottom of the screen
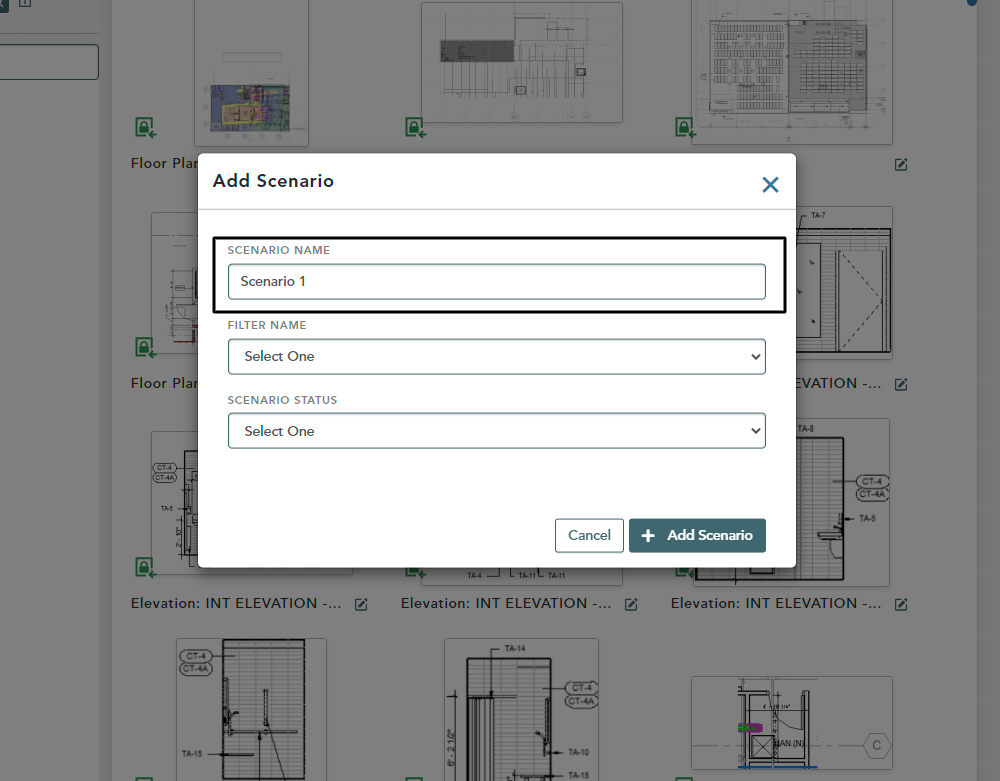
The Add Scenario pop up window will appear
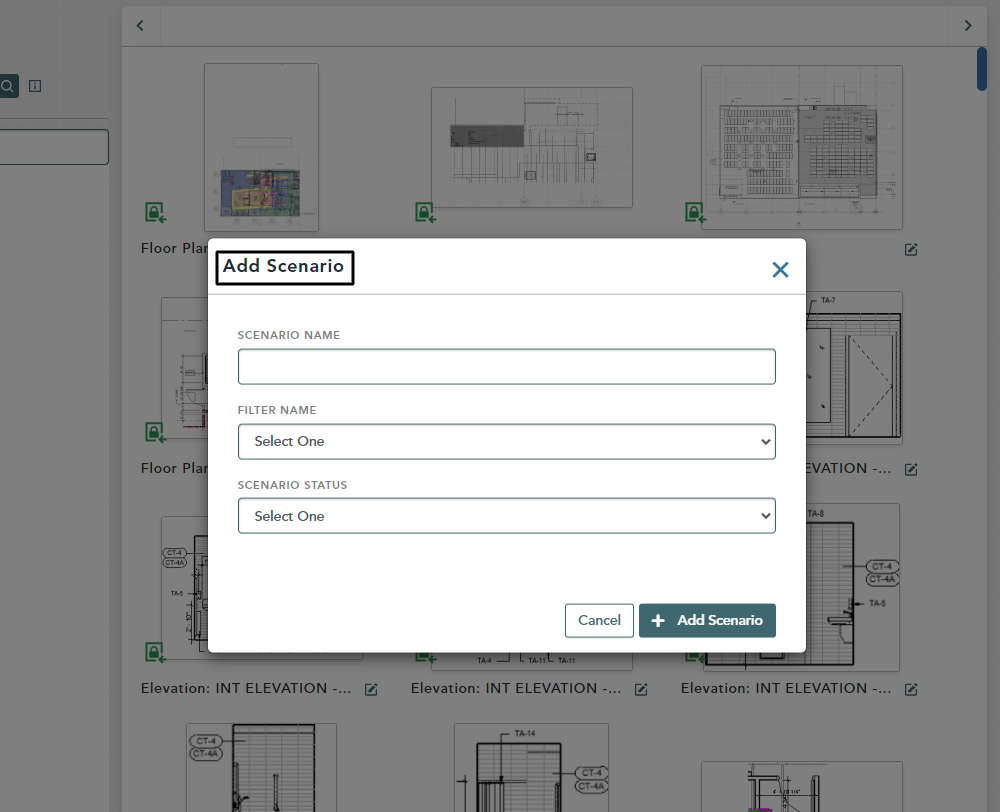
A scenario is a form of bid organization similar to creating a bid within a big. Every scenario will have its own individual pricing that we can see later on, on the estimate screen
Add Scenario Details
Type in a Scenario Name
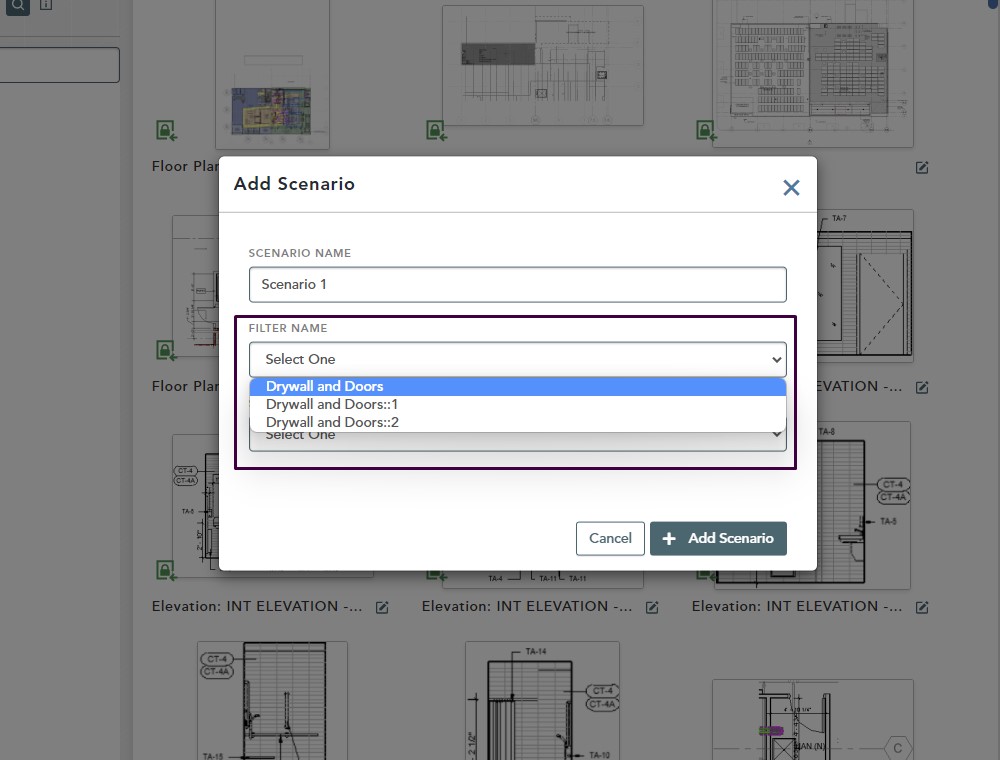
Click the drop down arrow under Filter Name and select the filter set you would like to apply to this scenario
Click on the drop-down arrow below the Scenario Status
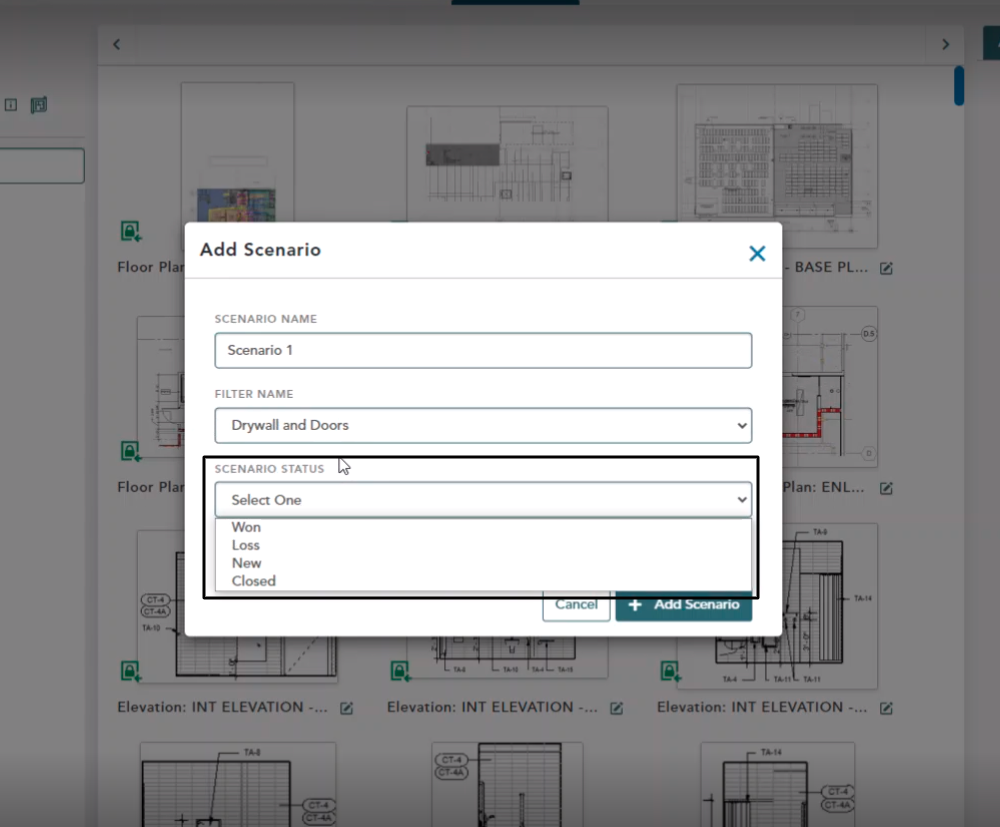
These drop-down options are defined in the company preferences portion of the Vector application
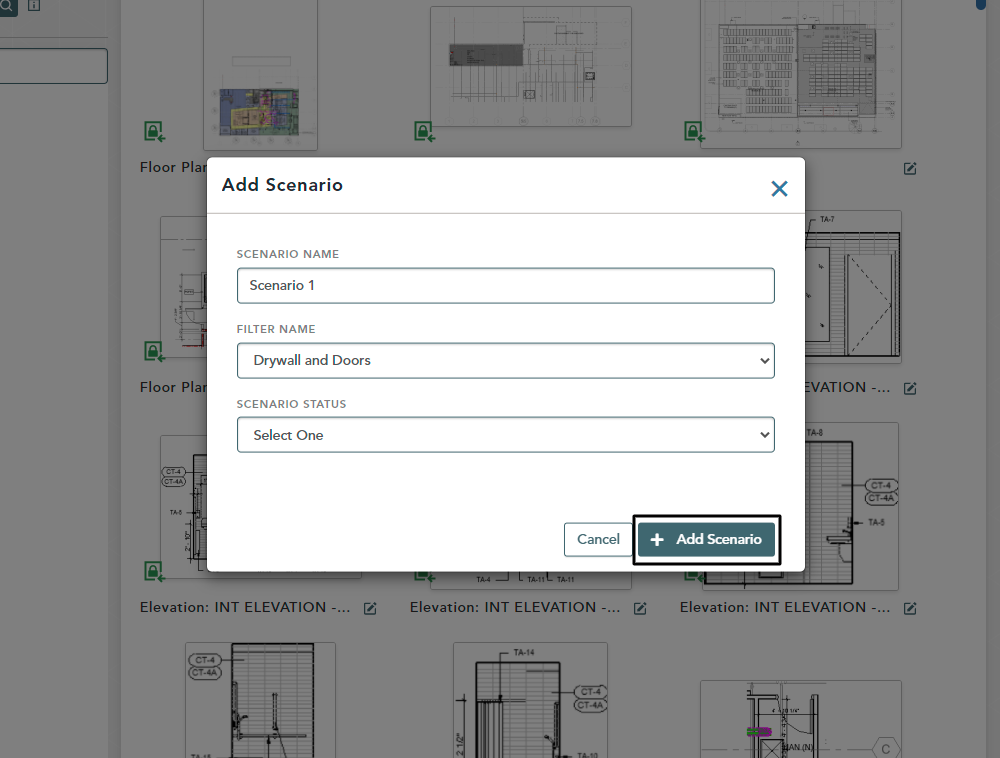
Click the Add Scenario button
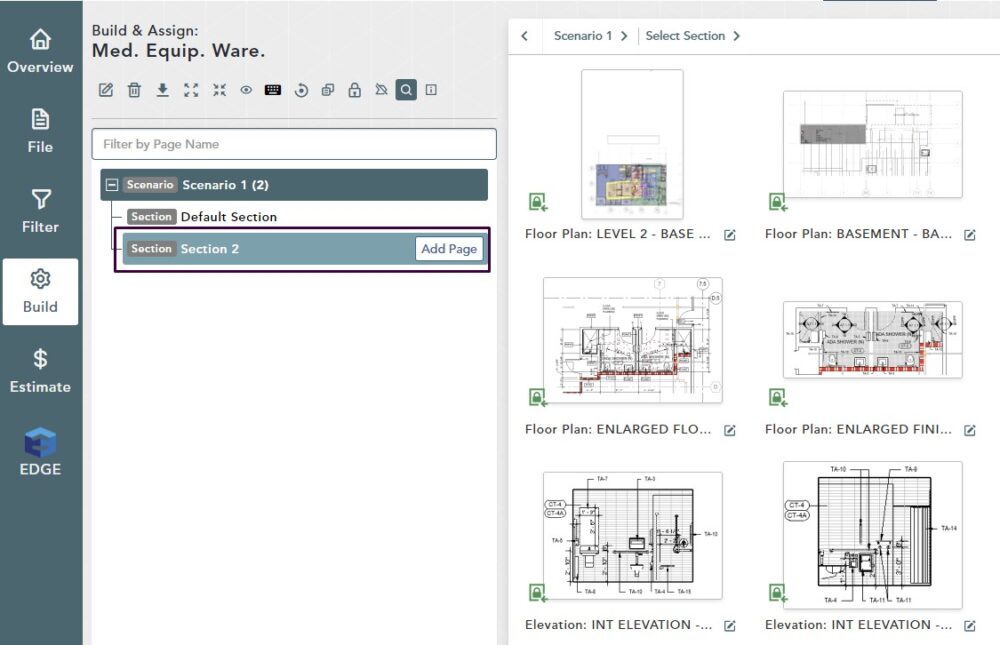
The Scenario now appears on the left-hand side of your screen under the Bid Tree
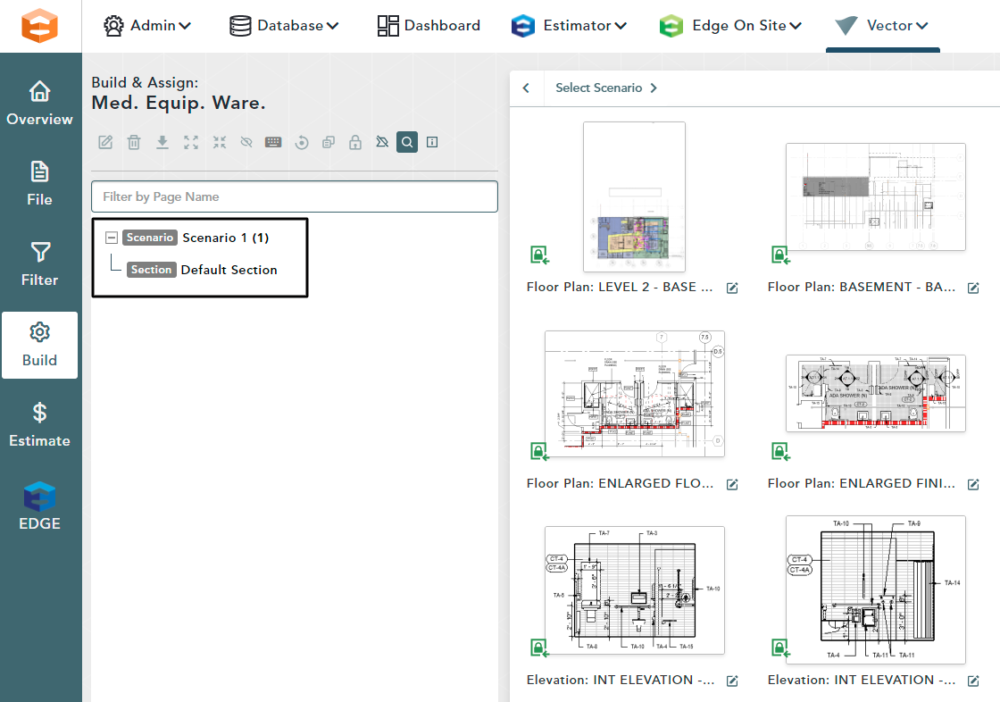
By default, a section will automatically be added to your scenario. Sections are another level of organization within your scenario
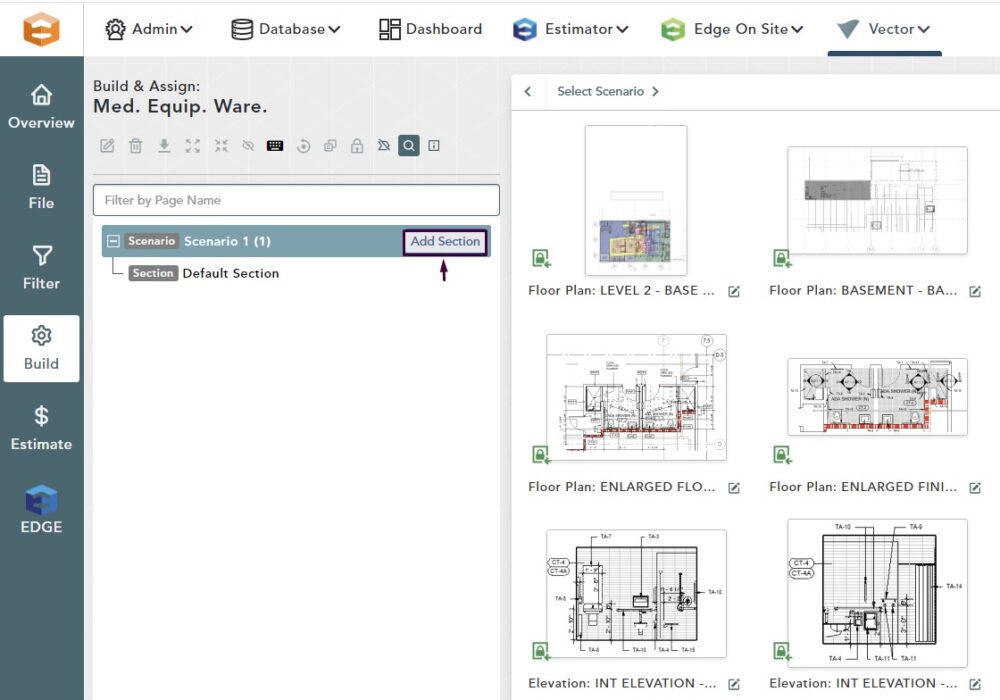
Adding Additional Sections
Hover over the Scenario portion of the Bid Tree
Click the Add Section button
Name your Section, then click Add Section
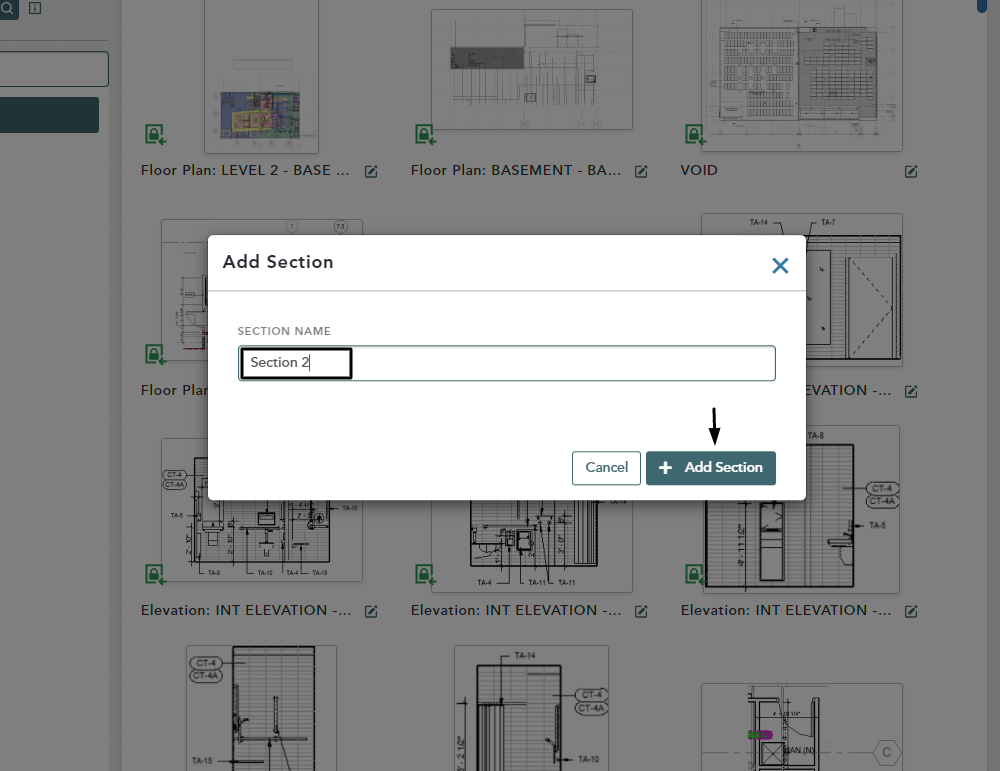
Your new Section will be inserted into the Bid Tree within your Scenario