Objective: In this video and/or step by step walkthrough, you’ll learn the various methods of selecting Revit elements on our page
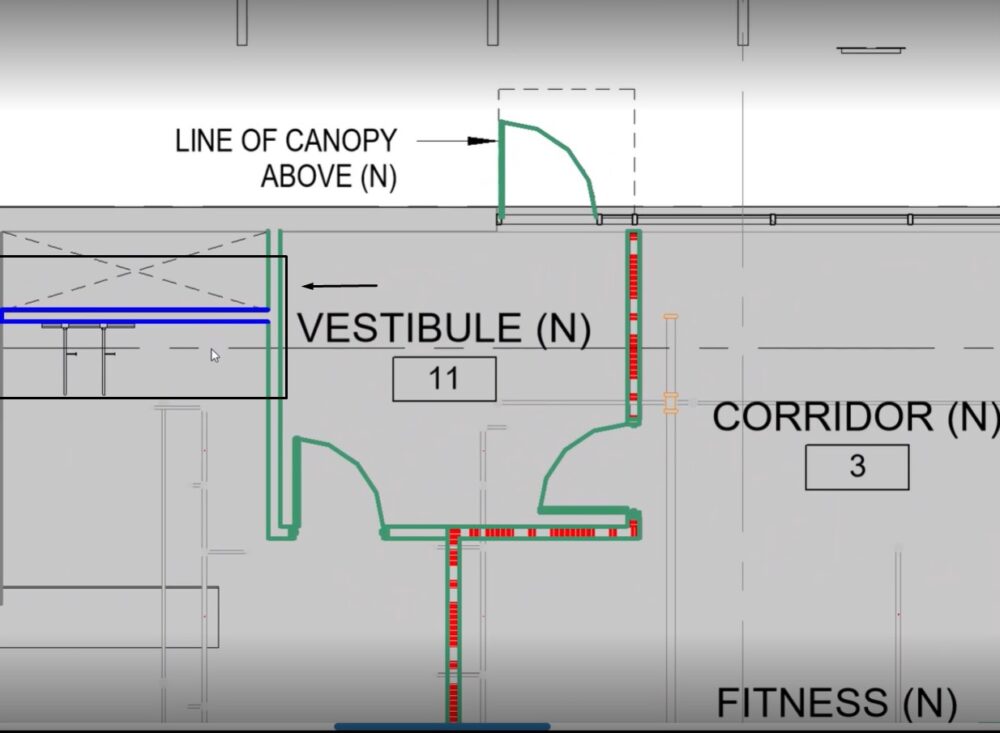
Select the Shape
Zoom in on the area that contains the shape
Click on the Green line for that shape
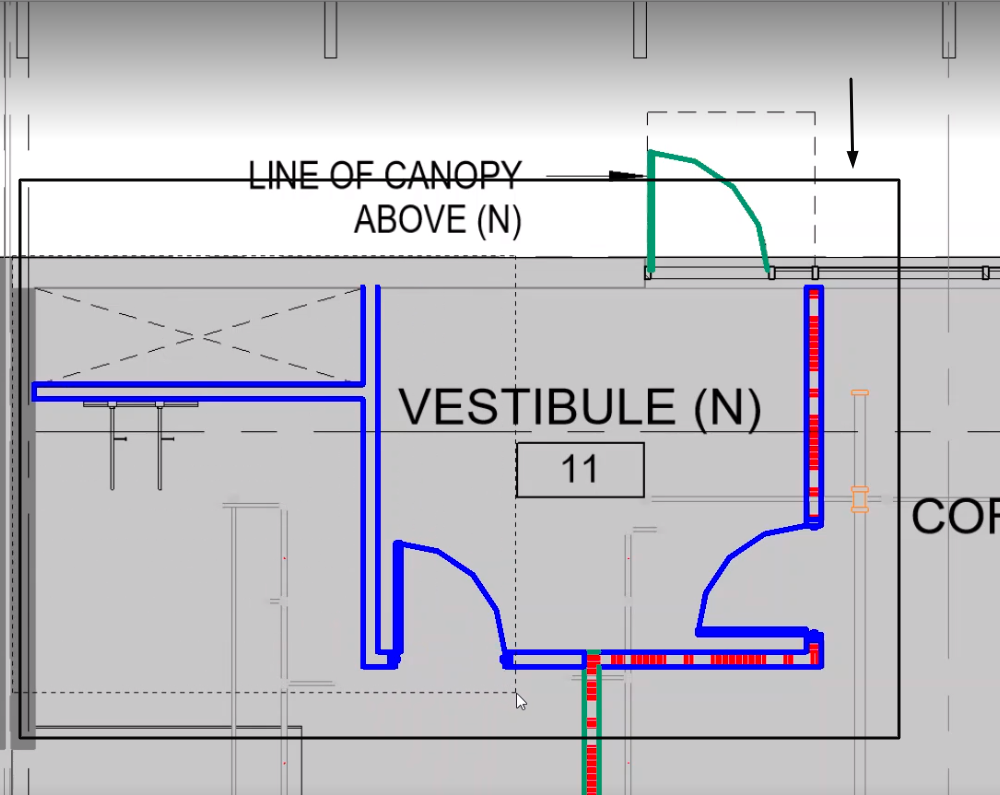
It will turn Blue to indicate it has been selected
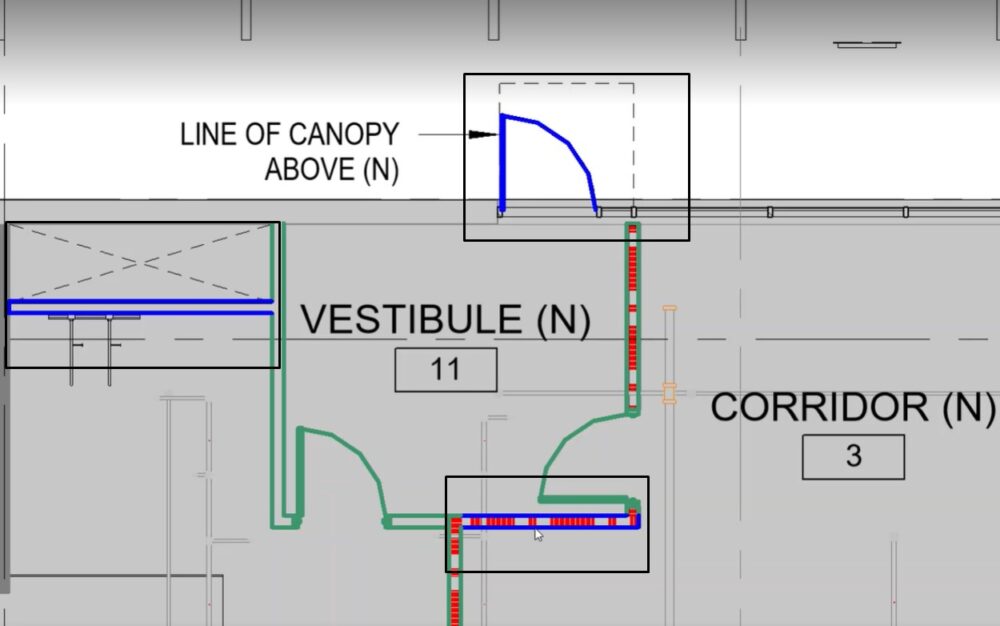
Selecting & Deselecting Multiple Shapes
Select your first shape, then hold in your Shift key on the keyboard and click on additional shapes to select them
To deselect a shape, continue to hold your Shift key and click again on any selected shape and that shape will be deselected
Selecting Multiple Shapes – Option 2
Left click and drag around and lasso the shapes you would like to select
A shape will not be selected until the border of the lasso intersects with any green line from the REVIT element
Any shapes encompassed in the lasso will become part of the selection
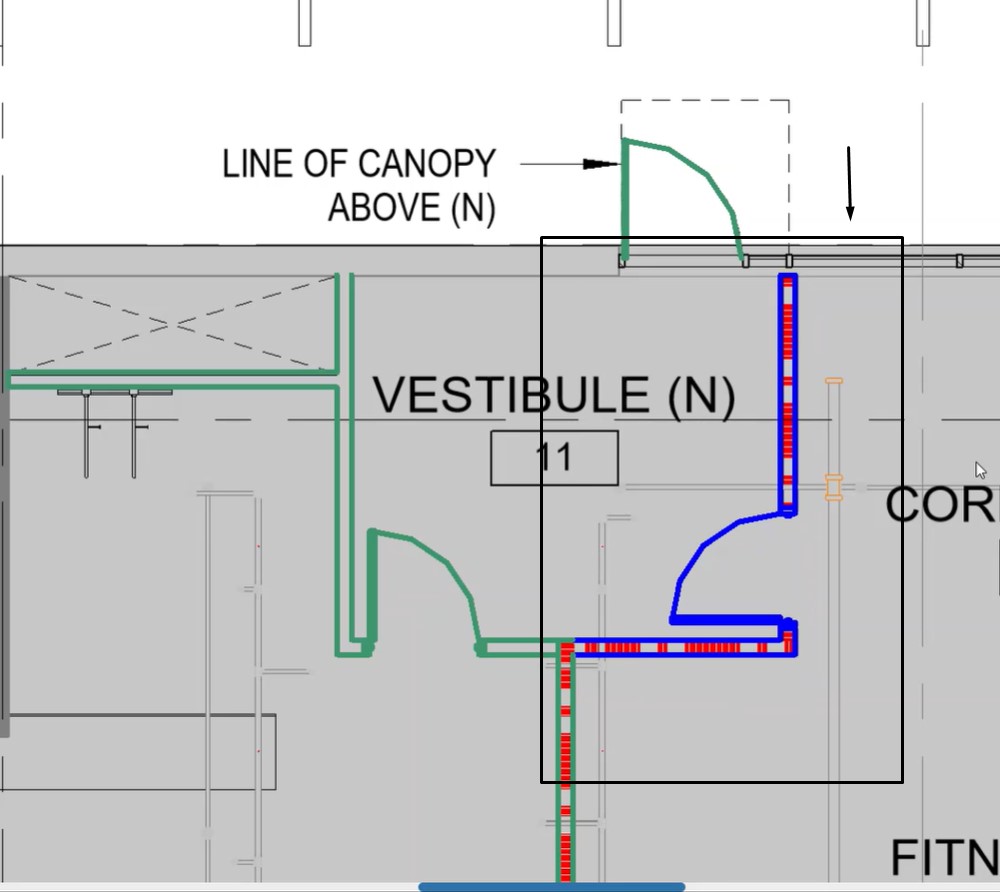
Lasso Additional Shapes
Hold in your Shift key on your keyboard and click and drag around additional shapes to add them to your group
To remove any additional shapes, use your lasso again to deselect them
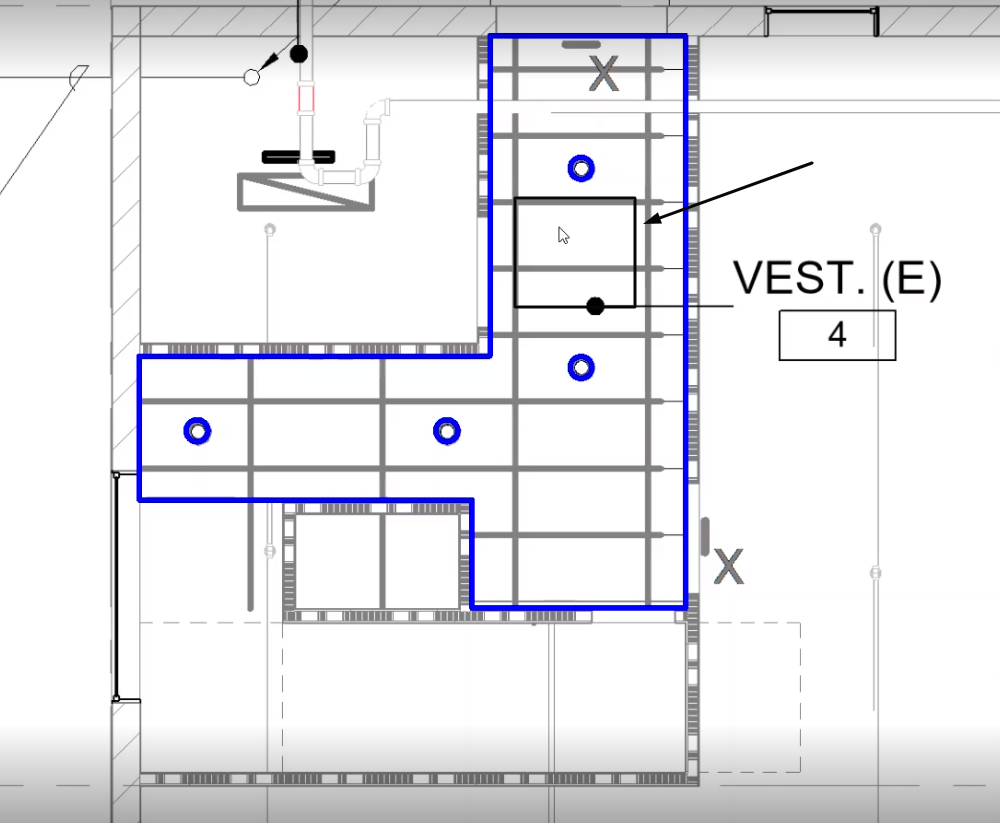
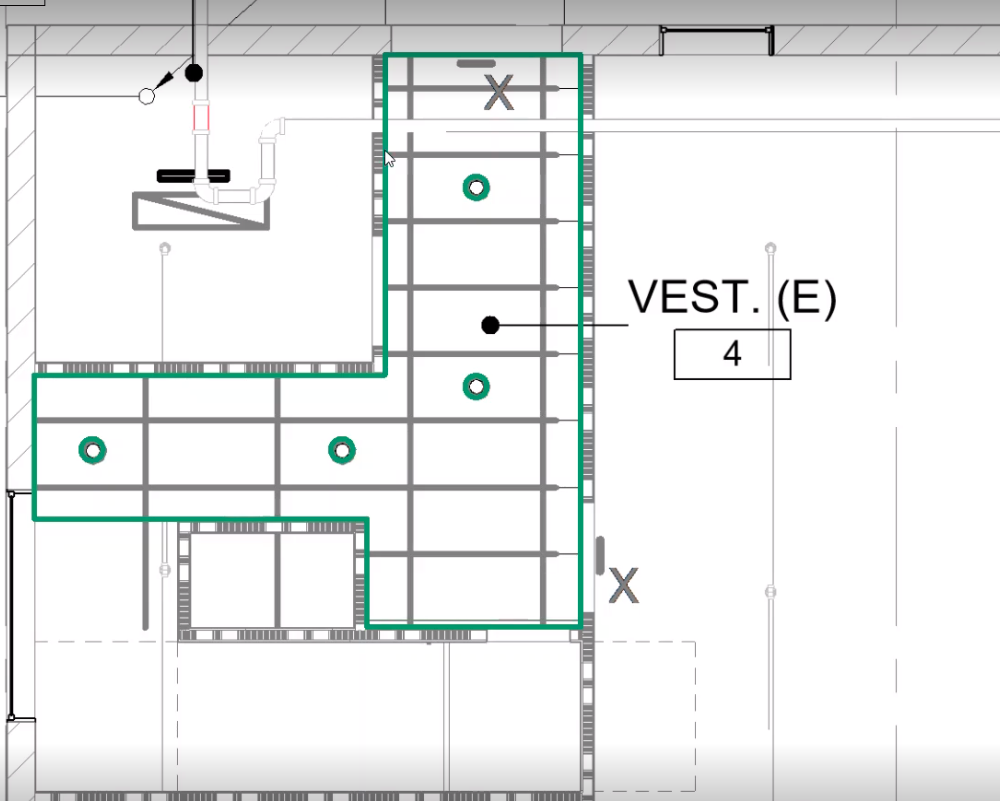
Area Fill Shape – Ceiling
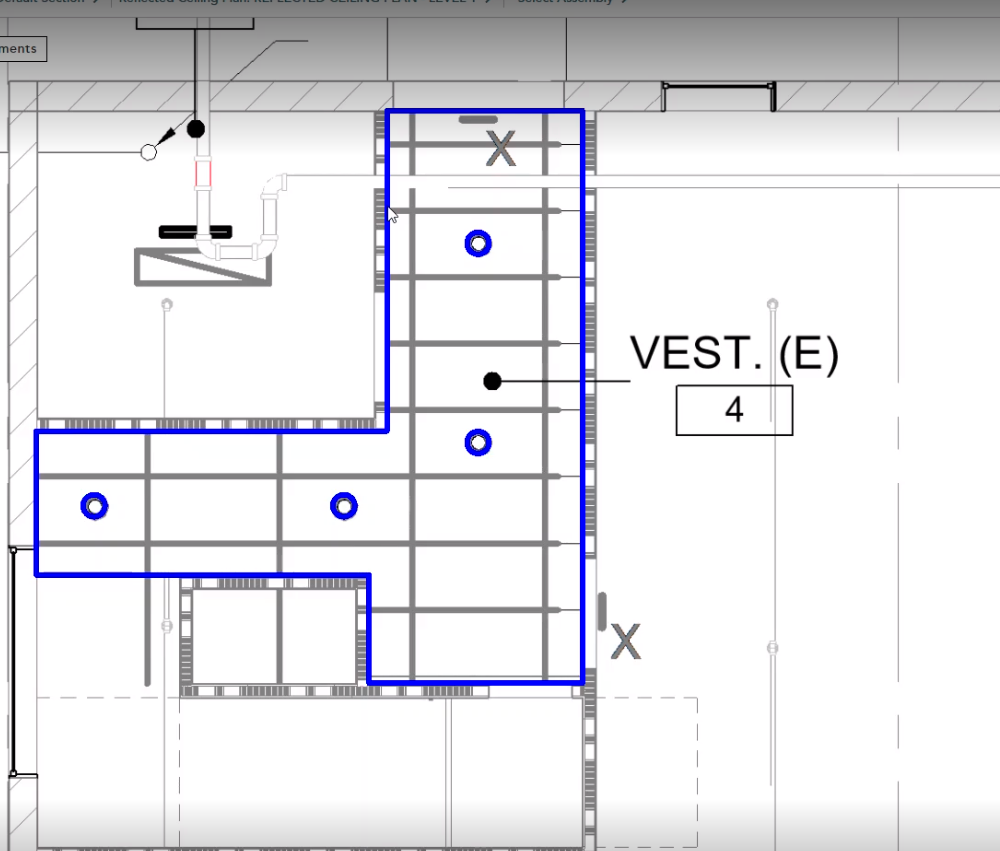
Click on the green area fill line; it will now be blue to show it has been selected
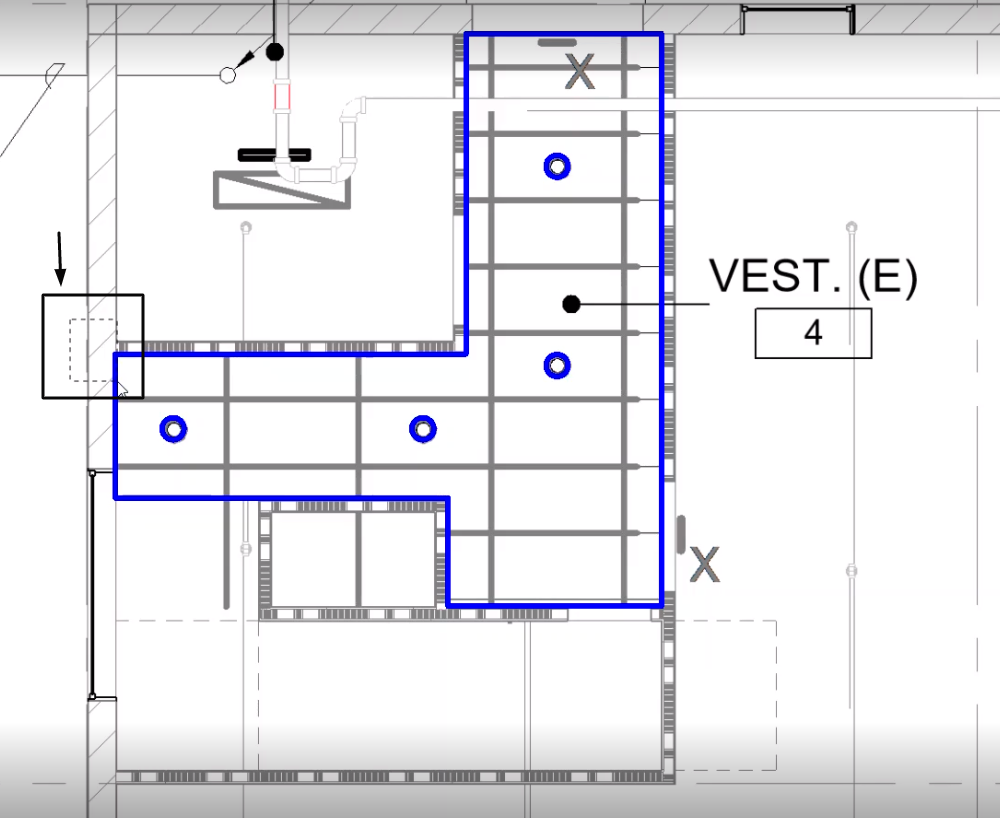
Area Fill Selection – Lasso
Left click and drag until your lasso intersects with any of the green perimeter lines to select the area
Area Fill Selection – Third Option
Click anywhere inside of the shape (within the green perimeter lines) to select the entire shape