Objective: In this video and/or step by step walkthrough, you’ll learn about settings on the estimate screen
Settings Button
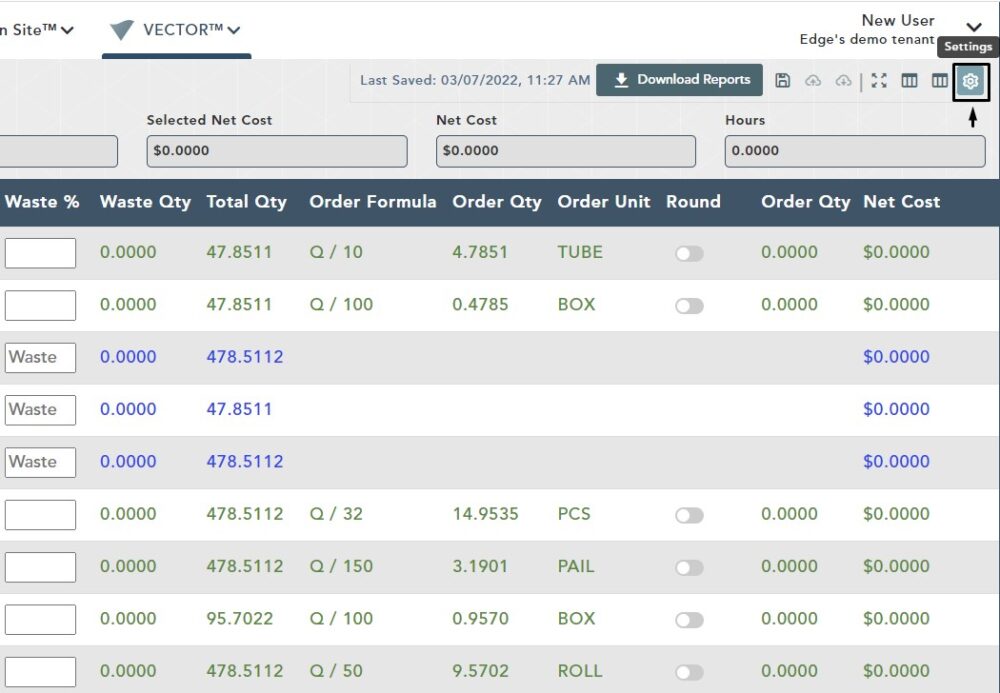
To access Settings for the Estimate screen, left click on the Settings button in the upper, right-hand corner of your screen
Settings Modal
Upon clicking on the Settings button, the Settings Modal will appear with available options
The scroll bar on the right-hand side allows you to view all options
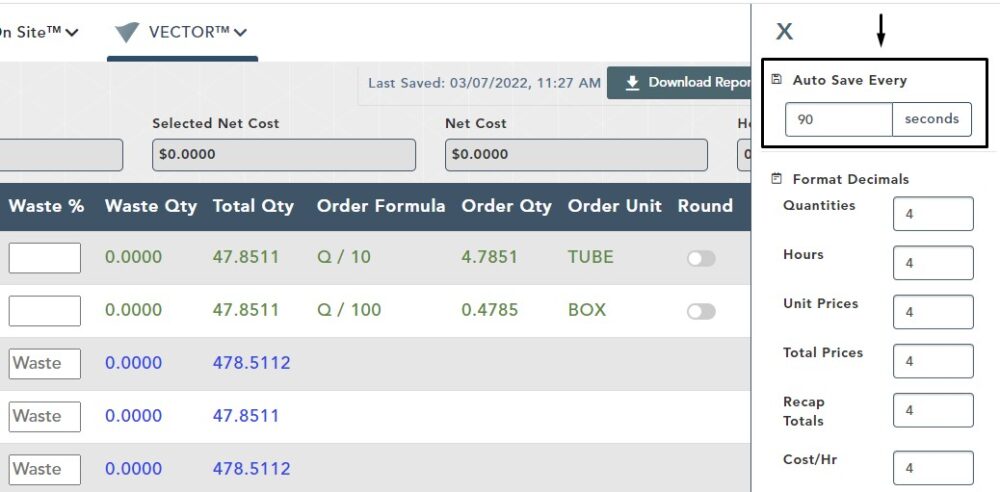
Auto Save Every
Auto Save is initiated after you have remained idle on the screen for an allotted period of time.
Default Auto Save is 30 seconds
To change the value for Auto Save Every, click inside the box, backspace and type in a new value from 30-200 seconds
For this example, we are changing the Auto Save to 90 seconds. To save your new entry, left click outside of the box and you will see a message confirming that your settingd were saved
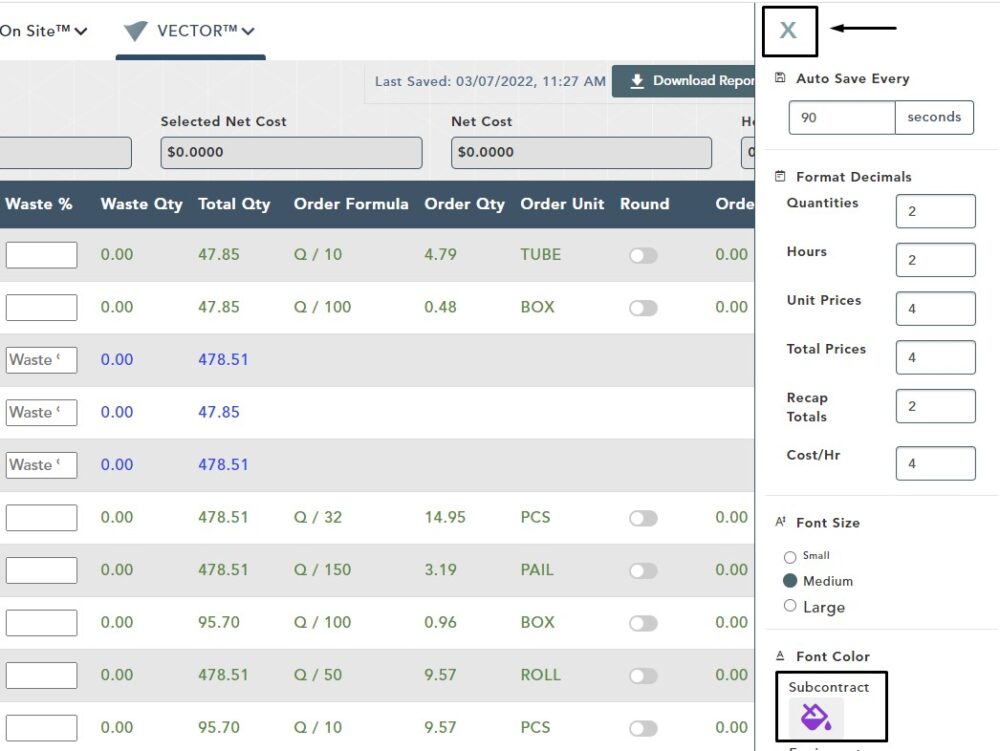
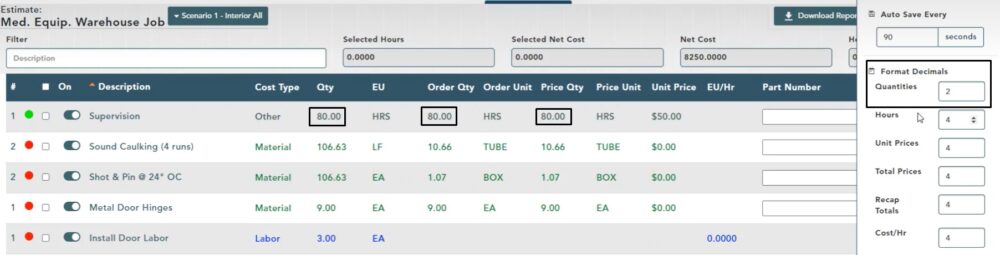
Format Decimals Fields
Format Decimals allows you to change how many decimal places numbers are displayed in various different fields on the Estimate screen
Left click inside the box, then backspace to type in a new value
Left click outside of the box to save your changes
For this example, we are changing the Quantities decimal points to “2”
After we make the change, you can see on the Estimate screen that any quantities have been changed to 2 decimal points
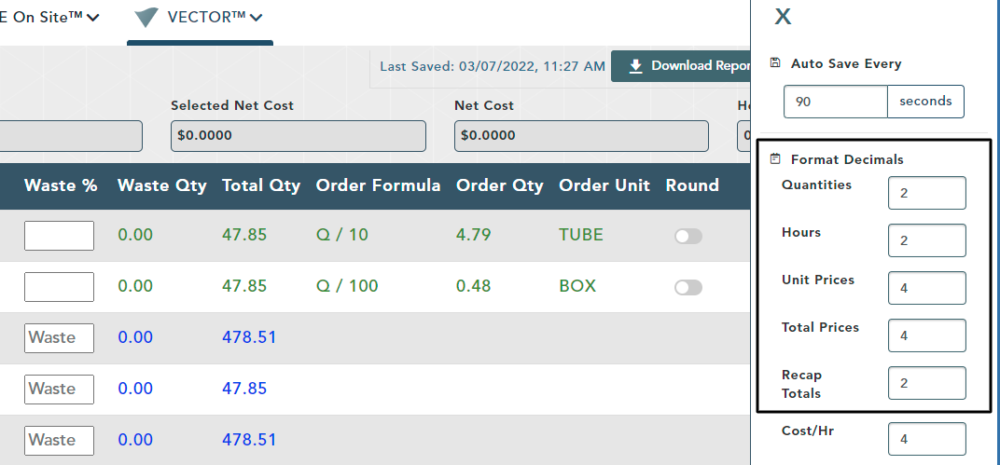
Hours, Unit Prices, Total Prices, Recap Totals
You can make the same types of changes to the other fields under Format Decimals for Hours, Unit Prices, Total Prices, Recap Totals
After making all of your changes, left click outside of the box to save your changes
On the Estimate screen you can view how these changes have effected each field
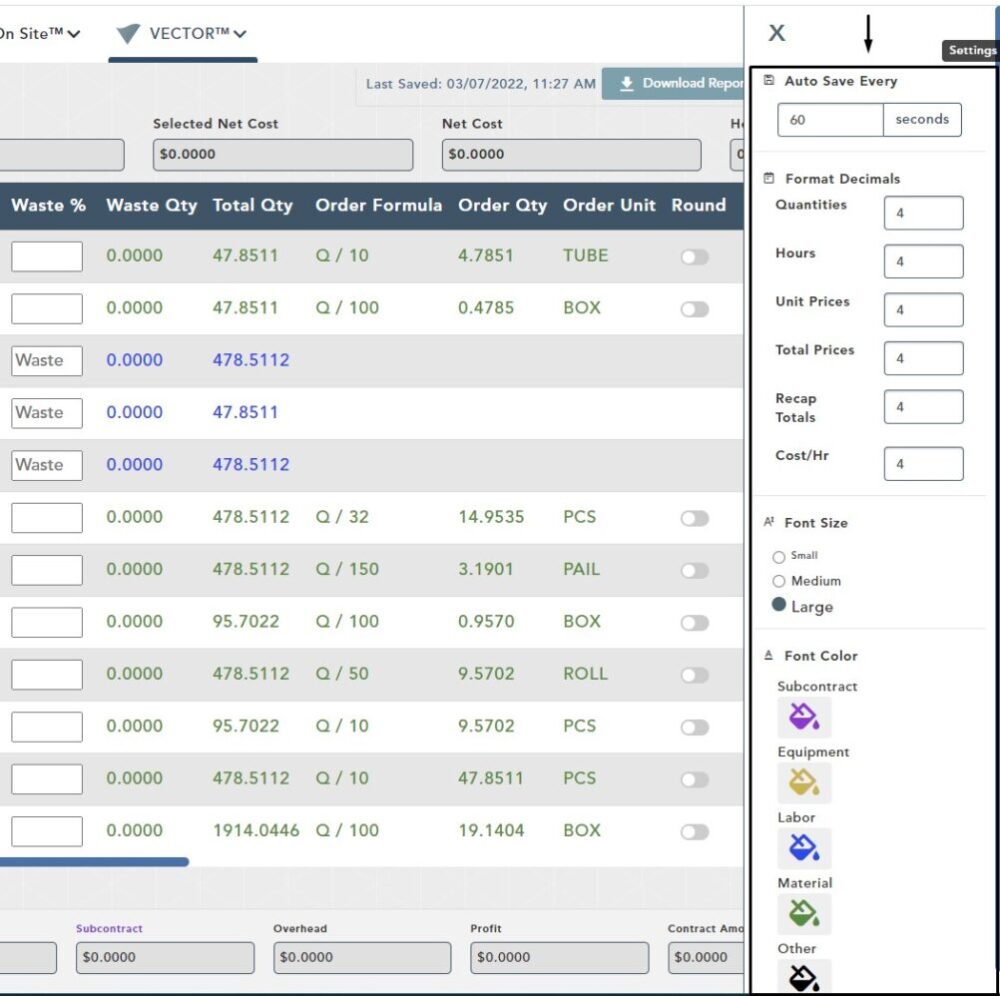
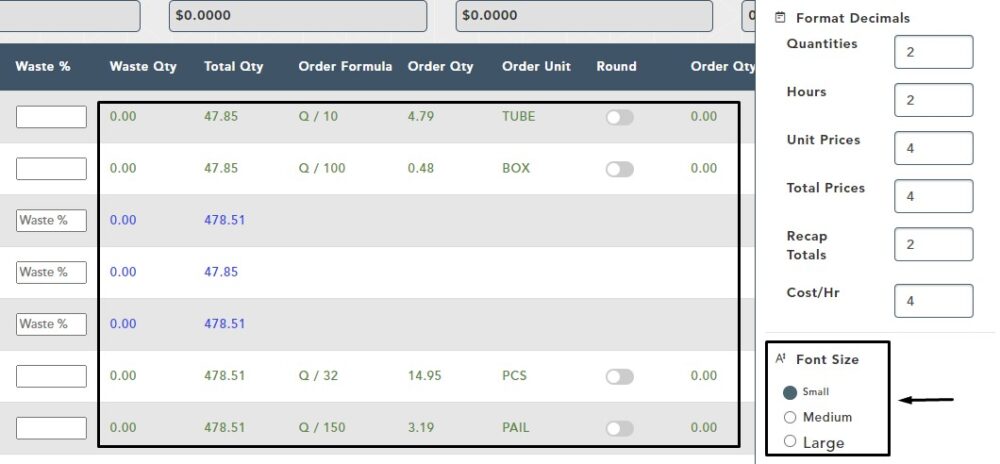
Font Size
Default Font Size is Medium but you can change to Small or Large. This change effects the size of the font on your Estimate screen
To change, click the radio button next to your choice
For this example we have changed the font to Small and you can see on the Estimate screen the change that has been made
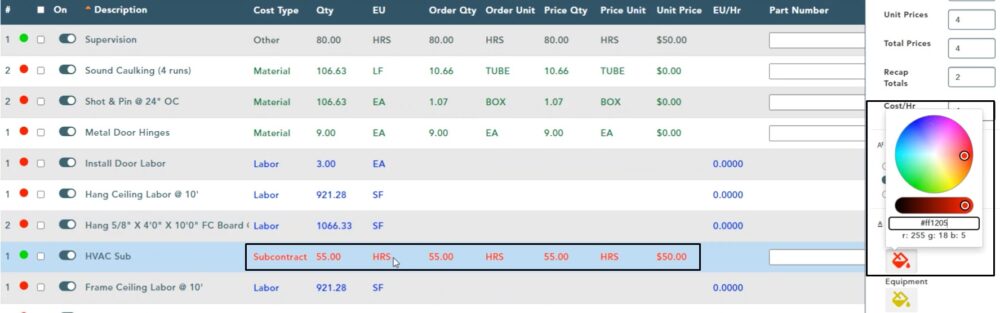
Font Colors
The Font Colors represents all text related to each cost type
Left click on the paint bucket icon
Select your base color and hue
For this example, we have changed the Subcontract to a shade of Red
You will now see that all text for Subcontract has been changed to your selected color
Exit & Close
To exit the font color picker, left click the icon or anywhere else in the settings modul
Click the X to close the settings