Objective: In this video and/or step by step walkthrough, you’ll learn about saving to and refreshing from the database functionalities with an item on the estimate screen
Refresh From Cloud
To understand this example, please refer to the video to see the original view of the item we are working on
Once on the Estimate Screen, to restore that item to the values in the original database
Select the checkbox next to the on/off toggle and description of this item
In the upper, right-hand corner there are now 2 icons that were previously grayed out; Send to Cloud and Refresh from Cloud
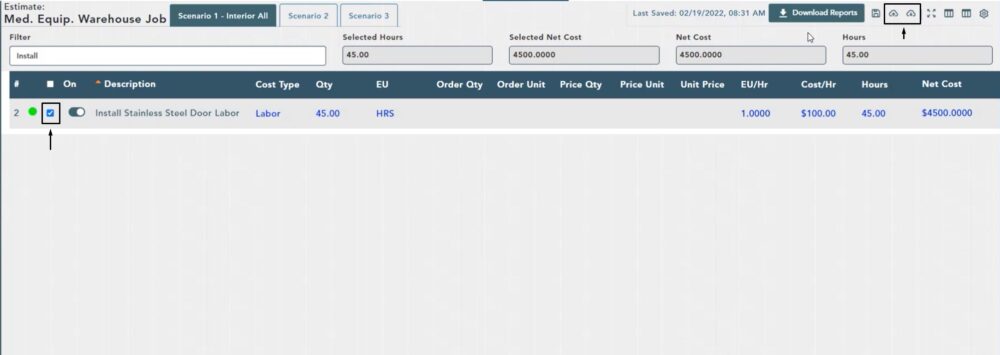
To restore this item to its default values from the database
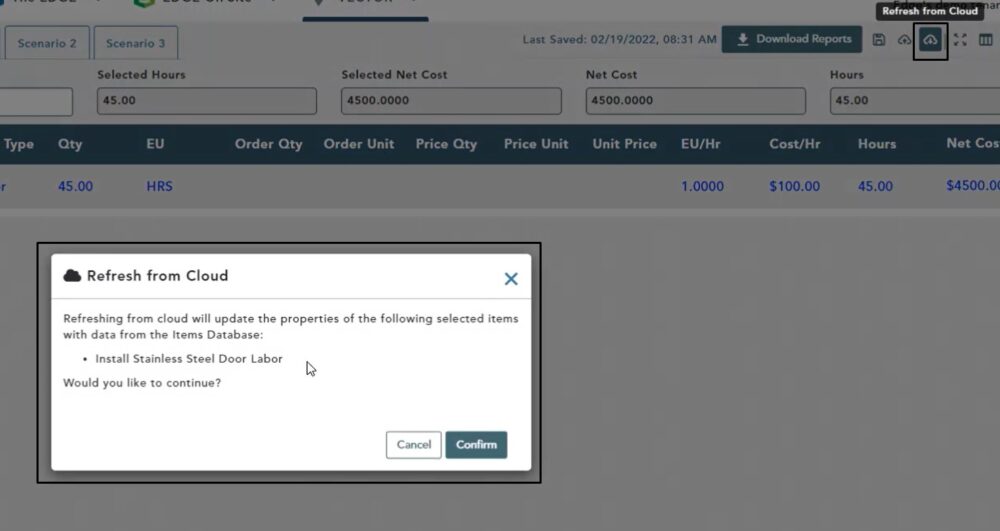
Left click Refresh from Cloud and a popup will appear
Click Confirm
When you return to the item it has been reset to the database value
Click the Save button in the upper, right-hand corner
Quick Edit Module Changes
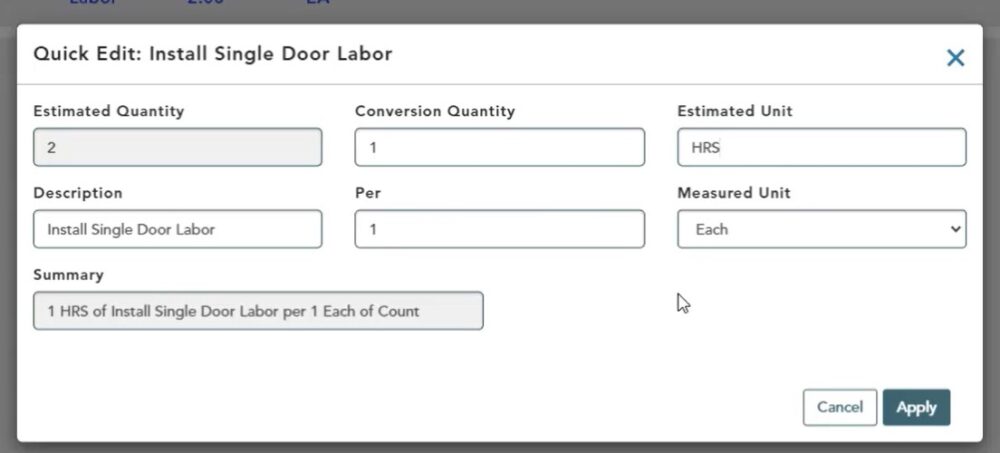
For this example, we make changes via the Quick Edit module by adding the word Single to the description and changing the estimated unit to HRS
Note: See our other videos in the estimate screen knowledgebase section titled Quick Edit it to understand how we’re making these changes
Left click on Apply, then click Save
Send to Cloud
Select the checkbox next to the on/off toggle and description
Then click Save to Cloud in the upper, right-hand corner of the window
Click Confirm, Then Save
Note: See video to view the updated items on the Item Manager screen
